Three Ways to Fill Your Images with AI Generative Fill
Filling your images is often referred to as image inpainting, and it's essential for many reasons, such as restoration or content creation. It also empowers artists and graphic designers to enhance their art by easily adding complex elements.
Furthermore, this process can automate editing tasks through AI to save time and enhance the experience of photo editing tasks. In this article, we will explore how to use the AI image fill-in technique using insMind and two other methods.
Table of Contents
Part 1. How to Effectively Fill Images With insMind AI
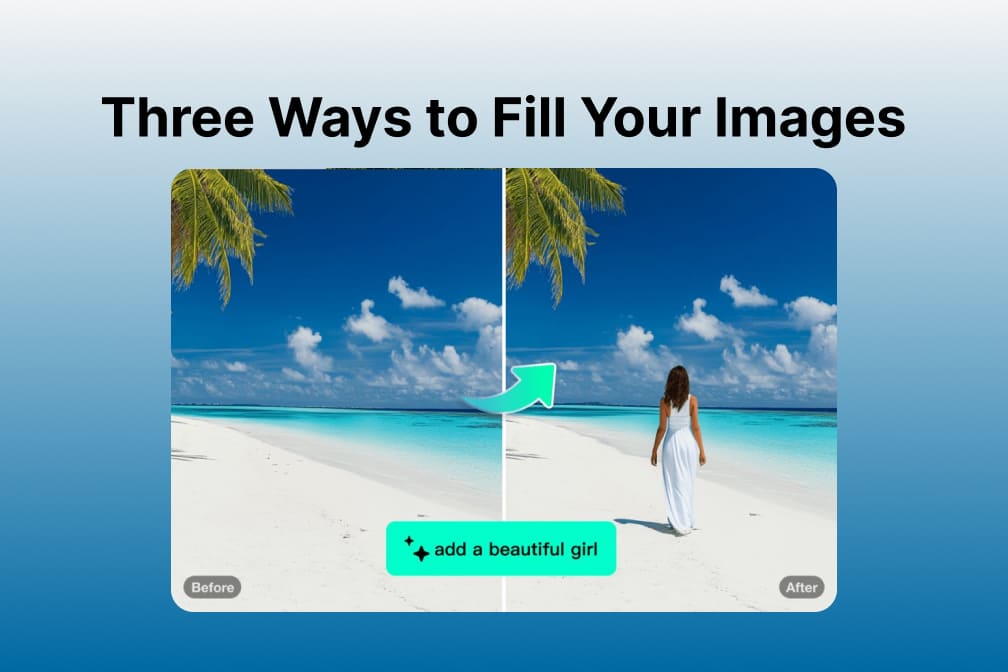
As discussed, image filling plays a vital role in adding an artistic touch to your dull photographs while covering unnecessary objects. Thus, make your images flawless and try insMind, which streamlines your work through its AI assistance. With the help of the AI fill-in image feature of insMind, users can generate realistic fills, ensuring that the edits blend naturally with the original image.
Moreover, this tool enables users to fill their images with the help of its AI Replace tool, which excels in understanding your prompt because of its innovative and latest AI algorithms. Follow the simplified step-by-step guide given below to achieve a natural-looking filled image through insMind:
Step 1. Access the AI Image Replacer and Upload Your Image
To start the process of AI fill-in image, launch the AI Generative Fill tool through the "Tools" tab of insMind's homepage. Here, click the "Upload a Photo" button to upload the required picture from your computer storage.

Step 2. Apply AI Replace Feature by Sending Prompt to AI
After uploading your image, a window will appear where you must shift to the "Select" tab using the right panel and choose the object you want to replace. Moving forward, send a prompt through the dedicated text box to replace your selected subject with your desired element. Finally, press the "Start" button to start replacing your subject and naturally blending it with your background.

Step 3. Make Final Edits to Your Image
Once your image is filled with the desired element, you can make further edits to improve your overall viewing experience. By using insMind "AI Enhancer" feature appearing in the right panel, improve your image quality from high to ultra-high and match your creative vision.

Step 4. Download Your Final Filled Image
After satisfying yourself with the output, head to the "Download" tab at the right corner of your screen. From the available options, choose your preferred image format and quality to download your image. After doing this, click the "Download" button to save your final filled image.

Part 2. How to Use the Fill Tool in Adobe Photoshop
Being a powerful image editor for decades, it enables a generative fill feature, which helps refine images by sending prompts to AI for a more professional look. Furthermore, its content-aware fill feature intelligently analyzes surrounding pixels to fill selected areas or remove unwanted objects. Hence, follow the steps below to use the AI fill-in image feature of Adobe Photoshop:
Step 1. Start the process of filling by launching this tool on your device and importing your desired image. Once your image is imported, select the subject you want to remove using the "Lasso" tool available on the left side of your screen. Now, from the floating toolbar, select the "Generative Fill" feature to access a prompt box on your screen.

Step 2. Afterward, the floating toolbar will provide you with a prompt-sending option to generate your required subject on the image while replacing the previous one. After writing your prompt, hit the "Generate" button to get multiple options.

Step 3. Now, you can send prompts to its AI assistant and add variations to the subject you replaced according to your preference. After selecting the variation you like the most, save your final image for later use.

Part 3. How to Use ClipDrop for Image Filling?
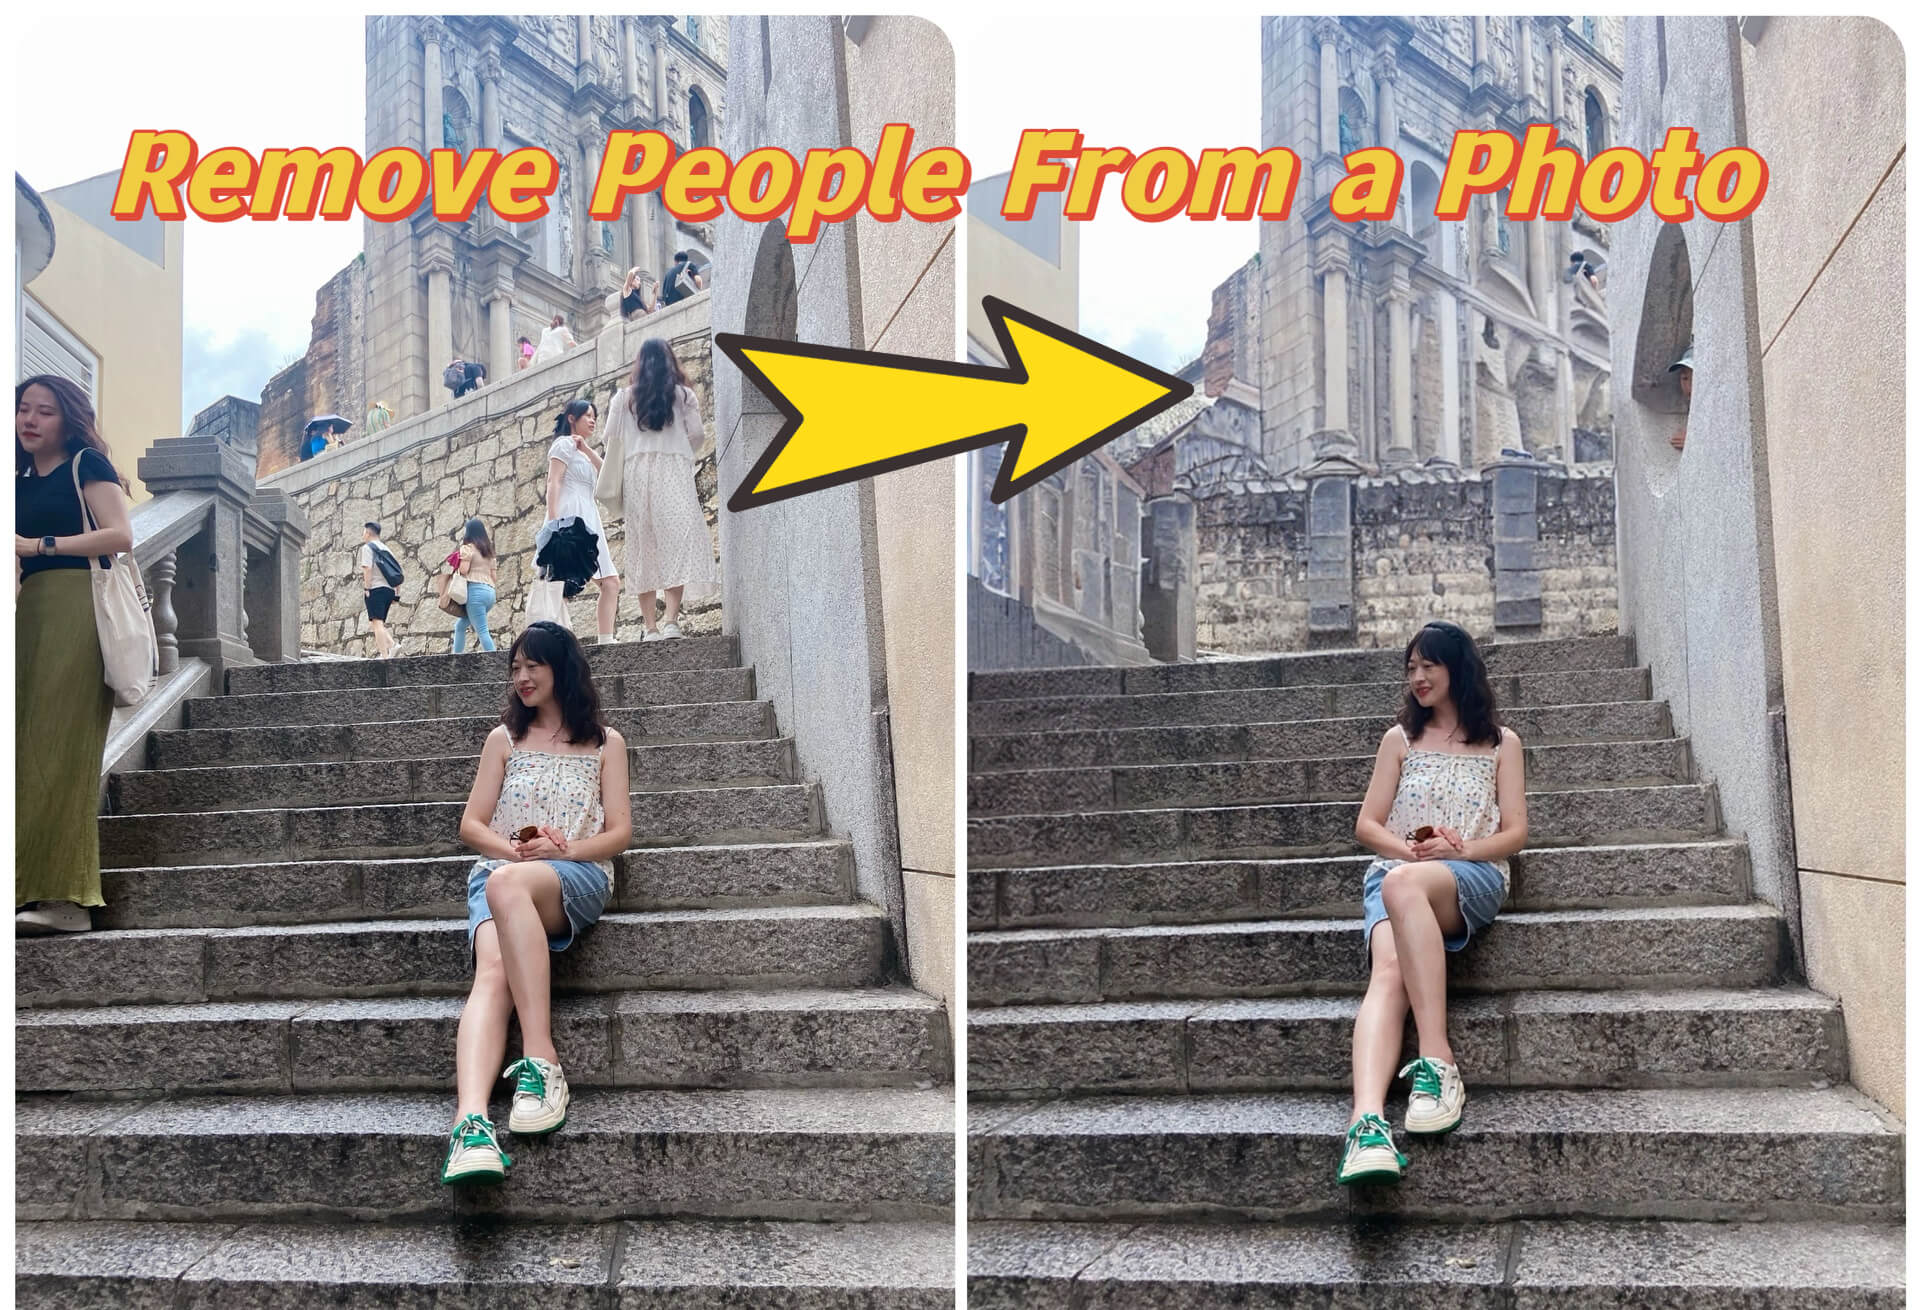
ClipDrop provides users with convenient features for filling images and advanced AI technology to enhance the overall visual content. With the help of its Generative Fill tool, users can effortlessly remove unwanted objects and let AI fill in the image.
Additionally, ClipDrop empowers professional users to capture, edit, and export images with only a few clicks. By following the steps below, you can achieve a professional AI-generated image using ClipDrop:
Step 1. Open the main webpage of Generative Fill from ClipDrop's website and upload your desired image to proceed with the process of generating an AI-filled image.

Step 2. Once your image is uploaded, select the area of the image by moving the cursor to pick your desired subject on the image. Afterward, a chat box will appear, enabling you to send a prompt to generate the subject you require. Now, hit the "Generate" button to fill in your image and enhance the overall look.

Step 3. After generating your required filled-in image, head to the "Download" button to quickly apply changes and save your final image to your device.

Part 4. Exploring the Best AI to Fill in Image Tool
When considering the best AI to fill in an image, it is suggested that insMind be used as it intelligently analyzes the context of an image. It not only aids in removing the unwanted subject from your image but also facilitates its users to replace it with a reference photo of their choice.
Moreover, you can also take advantage of its AI assistance to send a prompt to remove the specific subject and enhance the creativity of your image. By using its AI feature to fill in images, users can avail the following benefits:
- Make Aesthetic Photos: With the help of its erase and replace AI tool, distracting subjects can be successfully replaced with appealing elements to match the design of your product.
- Replace Image Content: You can easily remove undesired objects from photographs and substitute them with the object of your choice by using its powerful AI object replacer.
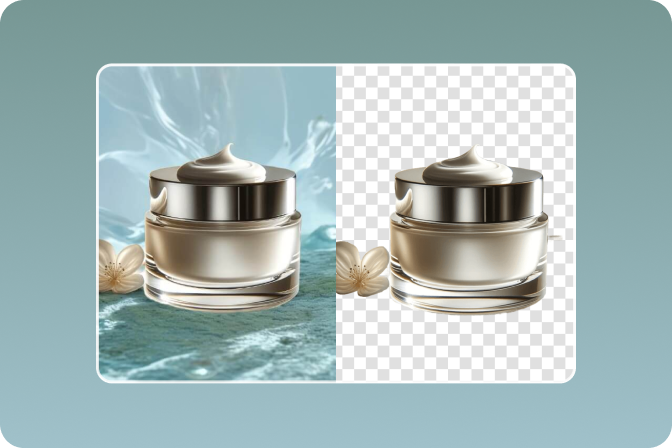
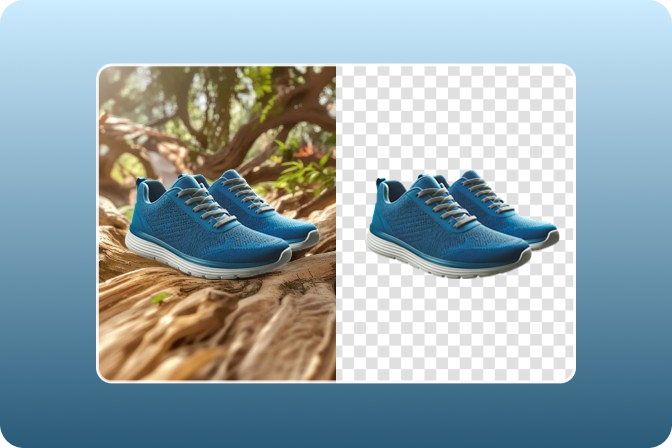
- Background Replacer: It lets you replace an existing background with a more professional or compelling appearance to achieve the desired look.
- Face Replacement: Using its AI face-swapping tool, you can easily replace the face from the image by specifying your desired new face effectively.
Part 5. Major Industries That Can Benefit from Fill-in Images
After focusing on the importance of using the insMind AI fill-in image feature, let's now discuss some common cases where we can use this feature effectively.
- Marketing Purposes: Take your marketing skills to the next level by using this feature, as it lets you edit pictures for a specific campaign by changing the background or objects. By creating engaging visuals using insMind's fill-in feature, you can ensure that you have a compelling image that stands out among all.
- E-commerce: You can also demonstrate products in various situations without physically arranging them since insMind can do it for you. Furthermore, users can also use their professionally captured pictures by removing unwanted objects and blurting subjects from the background.
- Social Media Content Creation: Leveraging the fill-in feature of insMind, you can generate eye-catching content that resonates with your audience. Whether it's for personal branding or social media campaigns, one can modify images to fit a specific theme or trend.
- Event Planning and Promotion: The fill-in feature of this tool is perfect for creating custom visuals to promote events such as weddings or product launches. You can even customize event posters, invitations, and social media graphics by adding or changing elements to match your event's theme.
Conclusion
To sum up, insMind is an exceptional option for producing AI-generated filled images due to its extensive feature set. It serves both beginner and professional designers with its AI-driven assistance and additional advanced editing capabilities. Therefore, it is suggested to consider employing insMind AI to fill in the image in order to embrace the future and see a spike in product marketing efforts.






















![How to Add Logo to Photos Online for Free [The Simplest Method] How to Add Logo to Photos Online for Free [The Simplest Method]](https://static.xsbapp.com/market-operations/market/side/1718795949162.jpg)
![How to Remove Tattoos from Photos [Ultimate Guide 2024] How to Remove Tattoos from Photos [Ultimate Guide 2024]](https://static.xsbapp.com/market-operations/market/side/1718787534476.jpg)
