Enhance Your Images with insMind's Stunning Image Overlay Effects
Image overlay is a digital creativity playing field in which the users take one image and overlay it on another to give the image a layered full of depth, creativity, and professional polish. Whether you’re a beginner or a professional, the act of overlaying pictures with textures, artistic elements, or watermarks is common.
Luckily, insMind’s photo overlay feature makes it easy with its easy-to-use platform for overlaying photos with precision and customization. The image overlay tool from insMind is an easy-to-navigate tool which makes it good for anyone of any experience level.
Whether you're a designer looking to refine branding visuals or a social media creator wishing to create eye-catching posts, it will work for you exceptionally well. Let us discuss in detail some of the best free online image overlay tools, and some tips for a professional finish using insMind’s feature to overlay images.
Table of Contents
Part1: Best & Top Free Online Image Overlay Tools
Most of these tools offer an overlay feature. So, here’s a quick look at some of the top options for making adding overlays easy and user-friendly.
1. Canva
Canva is known for its user-friendly drag-and-drop design platform that can be used to add overlay to images which is great for beginners. It offers a lot of templates, you can overlay images, add text, and change transparency. So, it's great for social media graphics, presentations, and posters.
2. Pixlr
The tool is very popular for photo editing, Pixlr has features that allow layers and blend different images. It works with transparent images and supports opacity controls for a great overlay effect. The tool’s interface is very intuitive, but the editing is very advanced so it’s suitable for advanced to intermediate users.
3. Fotor
Fotor has overlay features that make it easy to add one image over another, and then use brightness, contrast, and blending effects to edit. It has a library of textures and effects so it's perfect for users who want a quick artistic overlay effect without lots of design experience.
4. Lunapic
Photo overlays are one of the creative effects of Lunapic which is a powerful tool. This makes it great to experiment with artistic fun layering options and add transparency, making it a popular choice. Its simplicity is the strength of Lunapic because it makes breaking into it accessible to beginners.
5. insMind
insMind is a full-functionality photo editor that provides much more than a straightforward overlay feature. It comes with a broad range of tools that are perfect for creating professional-quality edits. Its ease of control makes insMind’s platform one of the best choices for overlay experiences of images in creative projects be it from adjusting the opacity to refining textures.
These tools offer specific benefits, but insMind is a strong choice for overlaying images simply because it’s one of the more versatile of these tools. We’ll take you through why and show how to use insMind’s image overlay to get the best results.
Part2: Guide: How to use insMind's Image Overlay Feature
Overlay images on top of insMind are easy to do and are optimized for beautiful results. Follow these steps to start overlaying your images in a few clicks:
Step 1: Access the Image Overlay Tool in insMind

Go to insMind’s website on a browser and open the Image Overlay tool. Clicking it will initiate the editing process, and the platform will take you to the Image Upload Section.
Step 2: Upload Your Base Image

Uploading the main image, you want to use as the background should be your starting point. It can be a product image, background texture, or just about any base layer you can imagine for your design.
Step 3: Add Your Overlay Image

To add the image, you wish to overlay click on the Add Image button and then you can adjust the placement, rotation, and size of the overlay image for complete customization.
Step 4: Adjust Opacity and Blending

With insMind’s opacity slider, use it to change the overlay image transparency so that it blends in naturally with your overlay image. That all lets you control how much of the underlying image stays seen. There are options to blend the images smoothly. Here you can make other required edits as well.
Step 5: Save and Download

Once you’ve got the overlay effect you like, save and download your final image in whatever format you want to, insMind can save your edited image in many formats, and is easy to use across platforms.
Part3: Image Overlay Tips for a Professional Look
As you are working with insMind to use the image overlay feature, there are a lot of minor details that can make your images appear more professional. Here are some of our expert tips that will help you improve your image overlay results.
Align Elements Carefully
When working with overlay elements, you must align them properly for a balance and cohesion effect in the design. Users using insMind’s alignment tools can center or evenly distribute overlays, so symmetry is maintained to create a pleasing visual flow. Aligning properly is critical to a nice-looking ad or product display.
Choose Contrasting Colors
Contrasting the overlay with the background color gives us a sense of each element pop out which makes things appear more impactful. For instance, light overlays work great on black backgrounds, and vice versa. It improves readability and draws the viewer's attention to the most important elements of the image, therefore effectively and engagingly designed.
Use Opacity for Subtlety
Overlays can be given a better, more natural blend to the background by adjusting opacity. Setting an overlay to semitransparent let's user on the person without getting in the person's way.
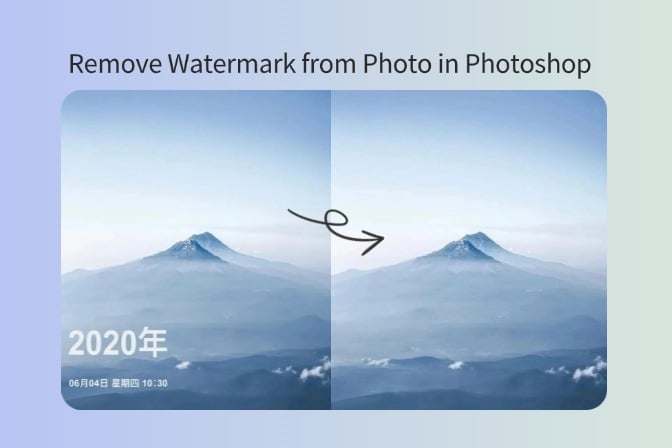
This is a particularly great technique when you want to incorporate textures, watermarks, and branding elements, without it detracting from the overall layout and balance of your work.
Layer Textures and Patterns
Putting additional textures or patterns as overlays onto images can lend depth to an image and an artistic touch. A small grain or abstract pattern might be such a small addition that it doesn't take away from the main content. However, it rather amplifies the intelligence of the image.
Users can experiment with textures with insMind, generating dynamic visuals and they are eye-catching, particularly if you’re going to use them on social media or in marketing materials.
Use insMind's Shadow Tools
Overlays work best when shadows are added to help them feel stuck within the image. Using insMind’s custom-fitting shadow options, users can have the angle, blur, and opacity to provide a perfect effect. Shadows are an excellent technique for product photography especially, they add dimension and make objects seem more real and attractive.
Part4: Do More with insMind's Features
While insMind packs a rich experience for you whenever you want to add image overlays, it does not stop just there. With insMind, you get to use other in-depth and professional image editing online features as elaborated below:
Photo Enhancement
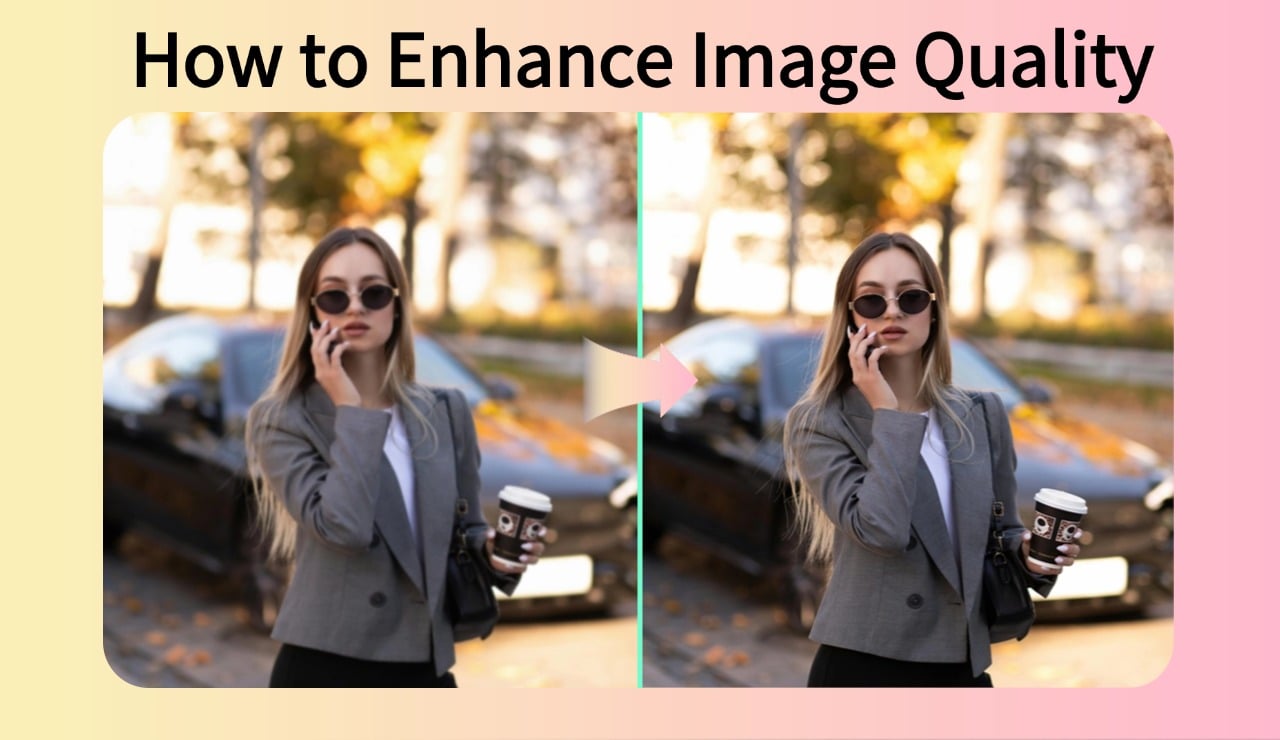
insMind's AI image enhancement feature is its lighting, contrast, and color adjustment feature that perfects photos to get them more vibrant and polished. The result is a better image, with this tool corrects image problems like underexposure, or lack of contrast, for example. Whether it's for a social media or e-commerce platform, images help grab more attention as well as a professional look.
Image Expansion
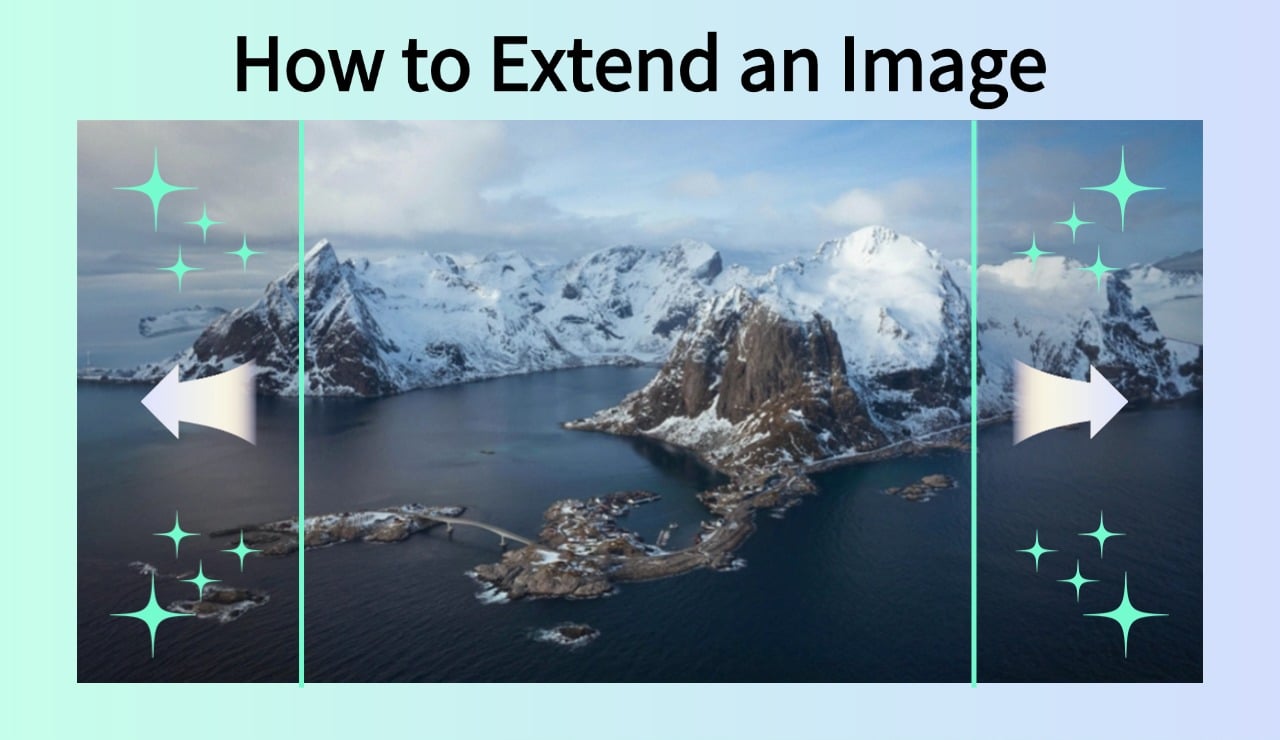
The AI image expander tool is designed to allow you to expand the image in ways that yield better composition. This feature is great if you need more space for text, branding, or other overlay elements. Image expansion lets users design their images to a channel without cutting out or losing their important digital assets.
Shadow Addition
Shadows, when added can create depth and make images appear more three-dimensional and super visually appealing.
Picture shadow generator is especially useful in product photography when helping to make products stand out against a background by creating a realistic shadow. insMind provides the option to customize this shadow with angle, opacity, and distance options.

AI Filters
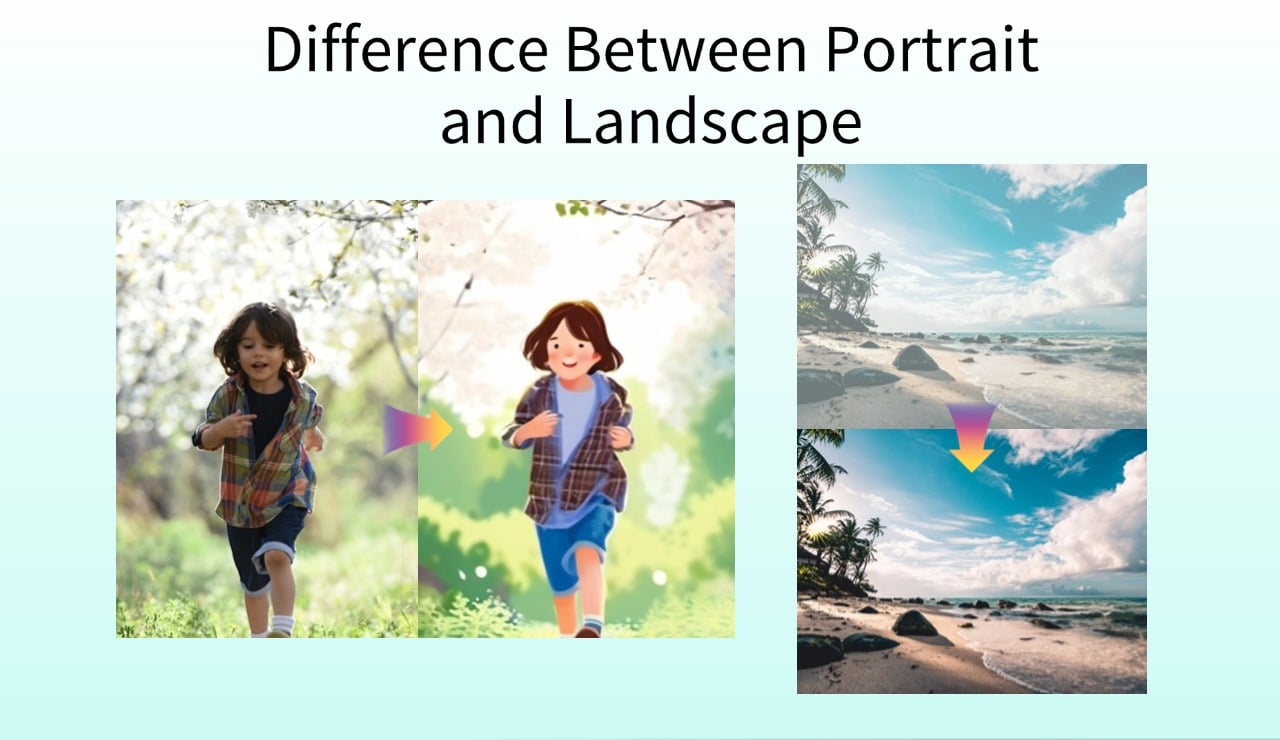
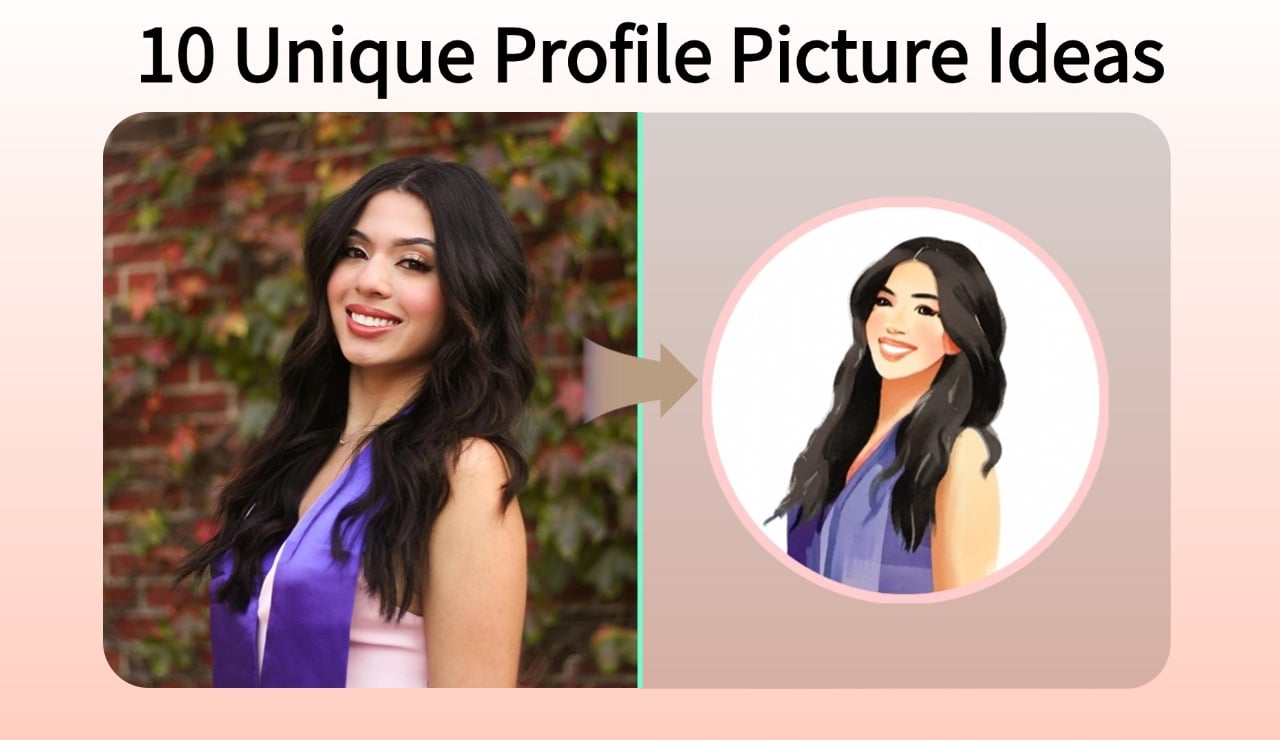
AI filters from insMind instantly transform an image with artistic and mood-altering effects. Filters span from vintage aesthetics to the splash of bold color schemes, which use AI to make complex adjustments in seconds. This is a great feature for any users who want to try different looks without editing manually.
Background Removal
Having the background removal tool makes it easy to separate subjects from their background and then place them in a different, much more desirable background, which is a godsend. All this is made possible by AI that powers this feature to perform precise cuts, even around challenging features like hair.
For branding and product photography, background removal is especially useful to give users clean, highly distraction-free images.
New Background Addition
After removing a removed background, insMind users can generate background or upload their own. This is great because it allows us to change photos into seasonal themes, campaigns, or even serve on a specific color palette. Visuals can be created by users that fit right in with the brand and marketing goals.

Conclusion
Building high-quality dynamic visuals using insMind’s photo overlay feature is quick and easy. With its versatility as a tool not only for novices but also for professionals, the platform is a powerful choice, with a rich toolkit just beyond the basics of overlays.
Inspired by blending techniques and opacity adjustments, insMind provides users the power to experiment and create amazing overlays that captivate and engage.
Try insMind’s image overlay free tools today and start experimenting to find your more creative side and create visuals that stand out! Visit insMind and see the full range of insMind’s photo editing tools, and enhance or add media without fuss, with professional quality overlays.
Ryan Barnett
I'm a freelance writer with a passion for editing and designing photos. Here at insMind, I strive to educate users on image creativity, photography, and enhancing product photos to help grow their businesses.


