How to Fix Pixelated Images with Photoshop and Online Tools
In the modern world, people cannot do without visual content, professional presentations, social media posts, or personal projects. Although visual aids are often used to draw attention, sharp and clear images are even more effective in passing information. However, poor image quality, such as pixelation due to wrong resizing or excessive compression, results in ineffective blurred and jagged visuals.
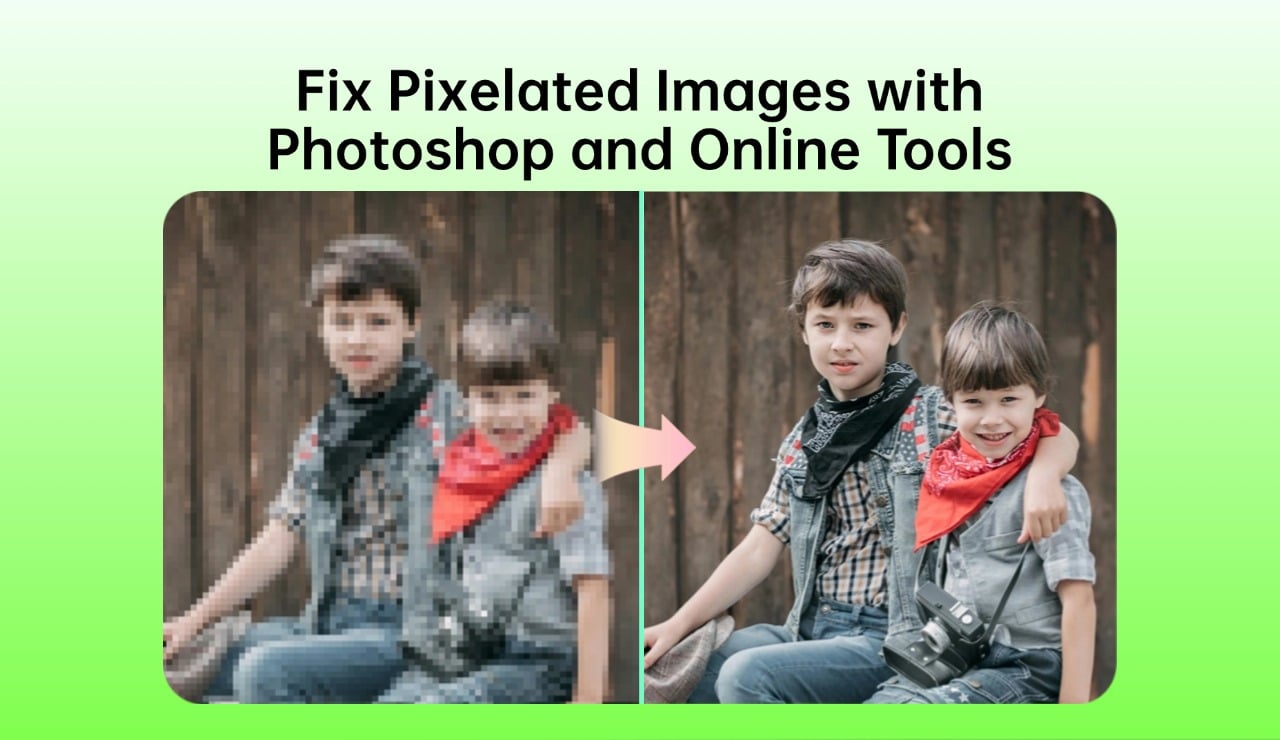
Pixelation is a common issue when an image is stretched beyond its resolution limit or excessively compressed to reduce file size. This leads to the formation of squares or shaking that is noticeable on the face of the image. Fortunately, there are effective solutions to solving this problem using professional tools.
This article explores two practical solutions to restore image clarity: Adobe Photoshop and insMind. Photoshop allows for very controlled, manual adjustments for pixelated images, making it perfect for those who desire complete control. insMind provides an easy, automated online option that is perfect for quick fixes without needing technical skills. Both tools can enhance image quality and ensure your visuals look their best.
Table of Contents
Part1. What is Pixelation?
Pixelation is the blurring of an image due to the enlarged or overemphasized pixels, the small squares that make up an image. It refers to the appearance of images that have a granular, unclear, or blurry look with visible pixels. This issue can usually be a significant concern for the image quality, making it look unprofessional or even blurred.
What Causes a Photo to Get Blurry or Pixelated?
Several factors cause pixelation, the most frequent being poor resizing or compression.
Resizing
The software calculates the missing pixels when an image is enlarged beyond its original size. Since the original data is insufficient, it stretches the existing pixels, resulting in blocky visuals.
Compression
Compressing a file to occupy a small space on the storage medium often comes at the expense of detail, and you see pixelation. This is normally seen when the format used is JPEG, especially when the picture has been compressed.
Low Resolution
Low-resolution images have relatively low pixel density and become pixelized when viewed on a large screen or printed.
Editing Errors
Images can become pixelated if edited or saved several times or mistakenly converted into the wrong format.
How to Fix Pixelated Images
Correcting pixelated images requires methods to blur sharp lines, improve the quality of the image, and bring back focus. Although it is impossible to fully recover a fully pixelated image and make it look as good as the original, several techniques can greatly enhance the image.
Smoothing the Pixels
Some of the effects that can be used to mitigate the visibility of the pixels include blurring of the edges. The most basic noise reduction and slight blurring can make the image look smoother.
Sharpening Details
Edge enhancement softens the pixels to make the image look unblurred. This step assists in restoring order and direction.
Resizing Carefully
Do not over-enlarge—that is a big no! Slowly resizing an image rather than drastically reducing pixelation can also prevent the loss of quality during resizing. Tools that interpolate pixels can also help.
Adjusting Contrast and Brightness
Adjusting the brightness and contrast of an image can help mask artifacts such as pixelation and, in turn, make the image look more professional.
Restoring Missing Data
Adding manual changes to missing or blurred image parts may enhance its quality.
If applied wisely, these strategies will help decrease pixelation's effects and enhance image quality.
Part2. Using insMind's Online Photo Enhancer
Everyone needs to take quality photos and images in today's digital world. Using insMind's AI image enhancer, enhancing an image is a breeze. This easy-to-use tool lets anyone turn their pictures into high-definition masterpieces in just a few steps. Below is how you can utilize insMind's image quality enhancer to enhance your images.
Step-by-Step Guide
Step 1: Access the photo enhancer page in insMind
To start the journey, you must access the AI photo enhancer page. It is very easy and uncomplicated and helps avoid any difficulties initially.

Step 2: Upload Your Photo
Then upload the image you wish to enhance on the insMind online photo enhancer.The tool will work with any image type, whether you need to improve a family photo, enhance an e-commerce product's image, or edit a social media post.
Step 3: Enhance Image Instantly
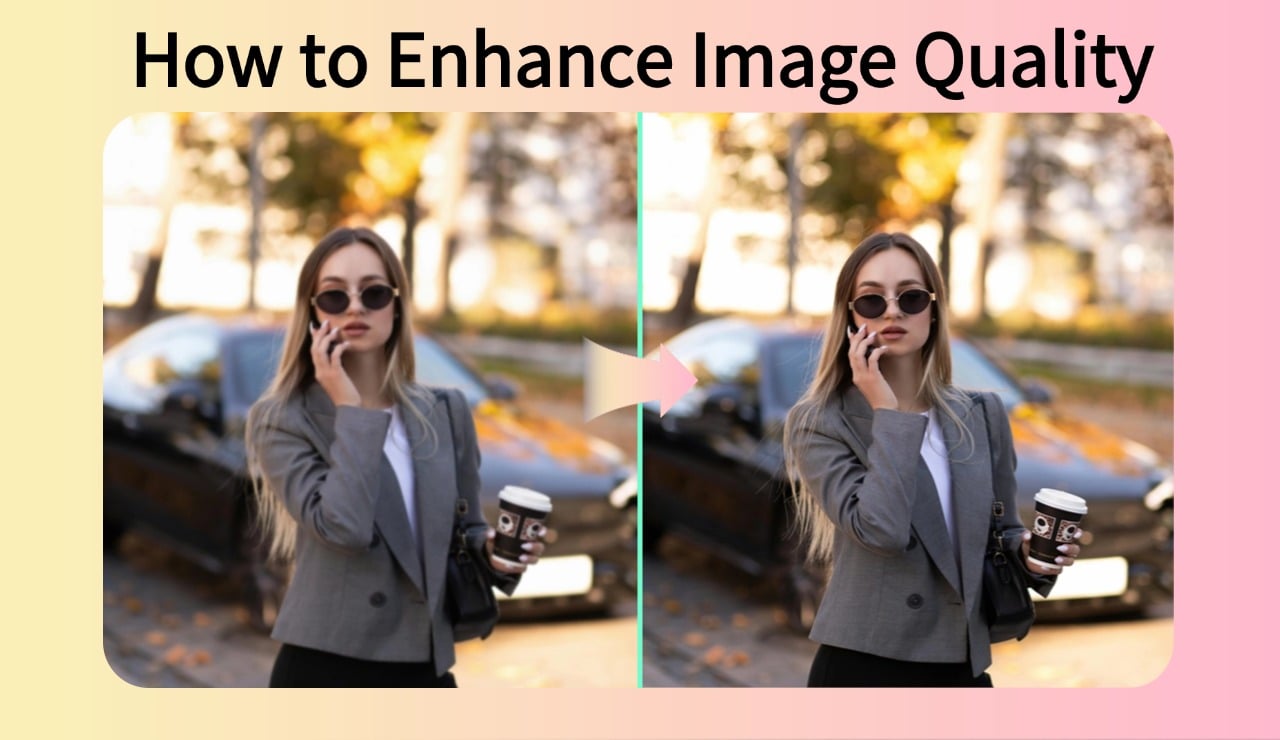
After that, the uploaded image undergoes enhancement through the AI image enhancer. With the help of advanced AI, insMind improves the quality of the image without changing its size. The enhancements are applied automatically, from improving sharpness and brightness to removing noise and adding vibrancy. The AI also detects and corrects imperfections, effortlessly delivering a superior image.
Step 4: Download Your HD Photo
Once the enhancement process is done, you can easily get your improved picture. The last output is high quality and does not lose the essence of the original image. For that reason, it is ideal for both personal and professional use.

Why insMind AI Image Upscaler?
AI-Driven Excellence
The platform uses state-of-the-art AI tools for accuracy and quality, such as the AI enlarger and photo enhancer. These technologies ensure that the outcomes achieved are even better than expected, whether you are resizing, refining, or enhancing your photos.
User-Friendly Interface
However, simplicity is one of the most impressive aspects of insMind. The interface is intended for simple changes, which allows users to upload, edit, and download images quickly. Since the process is quite straightforward, it will also be easy for first-time users.
Uncompromised Quality
Unlike many other tools, insMind guarantees that the enhancement process does not affect the photo's dimensions and integrity. The result is a high-definition image with a lot of depth and colors.
Advantages of Using insMind
This AI image enhancer of insMind is great for anyone who wants to quickly enhance the quality of their photos. It is a simple tool that anyone without experience can use and is suitable for beginners and experts. It is an online platform; thus, the user does not have to download and install other software for the system to work.
Just click the ‘upload’ button, and the AI will do the rest, including optimizing the image’s brightness, sharpness, and quality. This simple approach guarantees remarkable results with minimal effort. For that reason, whether you are using it for personal or business purposes, insMind is a perfect tool to help you enhance your visuals on the go.
Part3. Using Photoshop to Fix Pixelation
Pixelation can ruin the quality of an image, making it appear blurry or distorted. Luckily, Photoshop offers advanced tools to fix pixelation effectively, ensuring your images look sharp and professional. Here’s a detailed guide to help you refine pixelated images and improve their overall appearance.
Why Use Photoshop?
Pixelation may degrade an image's quality, making it look blurred or fuzzy. Fortunately, Photoshop has several advanced tools to help with pixelation problems and produce high-quality pictures. This article will give you a clear understanding of how to enhance pixelated images and their quality.
Photoshop boasts better and more sophisticated tools than similar software. It facilitates accurate settings for enhancing sharpness, noise reduction, and edges to make your pixelated photos look clear and natural.
Step-by-Step Guide
Duplicate the Layer and Convert to a Smart Object
First, copy your original image layer. To convert it to a smart object, right-click on the layer and choose "Convert to Smart Object." This helps you edit non-destructively, and you can always revisit the changes you made later.
Apply the High Pass Filter
Click on Filter > Other > High Pass. Move the radius slider; you should see a faint selection around your image details. This step improves the edges, making them more evident.
Use the Unsharp Mask (USM) Filter
In this case, go to Filter, Sharpen, and Unsharp Mask. The amount, radius, and threshold sliders can increase detail without increasing noise levels.
Adjust Curves to Control Brightness and Tone
Open the Curves tool (Ctrl+M or Command+M) to adjust the image's brightness and tone. Make minor changes if you see that it is overexposed or has unnatural shadows.
Combine and Adjust with the Camera Raw Filter
Combine the layers and apply the Camera Raw filter to finalize the image. Adjust the sliders for clarity, vibrance, and contrast to enhance the image and make it slightly brighter.
Tips for Best Results
Do not overdo sharpness when enhancing pixelation; this will make the image look unreal. The user can fine-tune filter settings to balance the images' sharpness and natural appearance. Take more time and set it on different modes for the best result.
Due to its many tools, Photoshop is perfect for restoring images with pixelation while keeping their initial quality.
Part4. How to Pixelate an Image with insMind's AI Photo Filters
Pixelating an image is important because it gives a special effect in artwork or when one wants to conceal the content of a picture. At insMind, using an AI image enhancer is easy and simple and does not involve technicalities. Here is a simple guideline that will help you pixelate your images without compromising their quality.
Step-by-Step Guide
Step 1: Access AI Filter Tool in insMind
Now go to the insMind website and choose the AI Photo Filter option.

Step 2: Upload Your Photo
Then upload an image you want to pixelate, drag the cursor to the "Upload a Photo" button and select the image you want from your local storage. The platform's image enhancer helps avoid upload problems and prepare your photo for changes.
Step 3: Select a Filter
After that, insMind offers a set of AI filters for further creative changes. These styles include watercolor, cartoon, anime, and others. For pixelation, there's the pixel filter, which can turn an image into a pixelated image while still keeping the artistic aspect of the image. Another feature is available in the real-time preview, which helps you choose and make the final adjustments.
Step 4: Apply and Download
Once you have chosen the pixel filter, click the apply button to complete the process. After the editing, click the "Download" button to save the image to your offline storage. The result is a precise pixel image that meets your requirements since insMind has the best AI image enhancement capabilities.
Why Choose insMind?
insMind is a multi-purpose image quality enhancer. This software is easy to use and has real-time preview features, making it ideal for anyone, whether a novice or a professional. Moreover, the tools used on the platform are AI-based; hence, editing is never a problem while maintaining high quality.
Conclusion
Thanks to insMind’s AI, you can easily create pixel art from images or improve their quality. insMind is a convenient tool for applying the pixel effect, reducing a photo’s blurriness, or enhancing image details when editing. The AI image upscaler and AI image enlarge functionality guarantee that images of poor quality are enhanced and retain high definition without any loss of quality.
By combining ease of use with advanced AI-driven functionality, insMind empowers users to achieve professional results effortlessly. Turn your imagination into reality and enhance the value of your photos with the most advanced options of insMind!
Ryan Barnett
I'm a freelance writer with a passion for editing and designing photos. Here at insMind, I strive to educate users on image creativity, photography, and enhancing product photos to help grow their businesses.


