Ultimate Guide: How to Change Photo Backgrounds Online
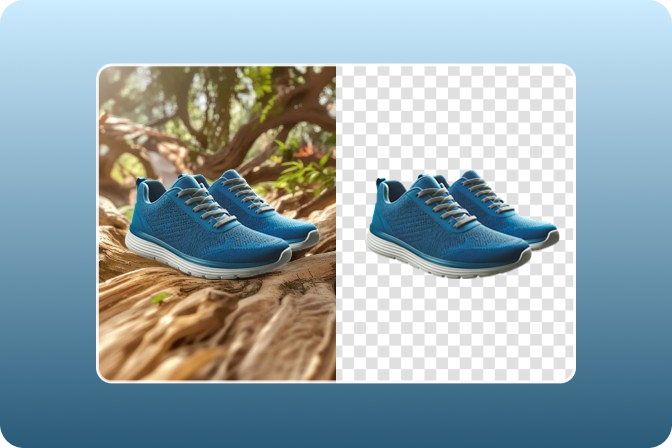
Removing or replacing the background of a photo can substantially improve the quality and variety of each picture. AI and its penetration in the sphere of technology have brought significant changes in photo editing that are helping make photo edits easier than before. Specifically, insMind presents a new service called Change Photo Backgrounds based on the usage of one of the most advanced AI techniques.
It is a useful online tool that can be leaned on to input a wide range of changes into your photos for different uses. In this ultimate guide, we will explain to you why background changes are important, teach you how to do them step by step, and give you tips on the use of artificial intelligence for that purpose.
Table of Contents
Part 1. Why Change the Background from the Image?
There are many reasons for modifying the background of an image including the challenges and benefits of both form and function to improve the image.
Removal of unwanted background
A major benefit includes the possibility of eliminating unwanted or ugly backgrounds such that a clearer focus is created for the object of keenness. This can be particularly useful for profiling kind of shooting like professional photography where the point of focus should be very sharp.
Ensuring uniformity in the background
Also, modification of the background is useful in establishing a unified theme or appearance, which is crucial in branding and advertising.
Contextual improvements in the image
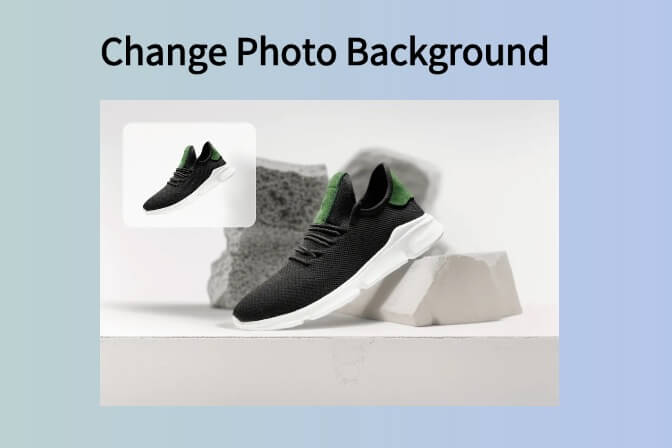
Another advantage with it is the freedom that it offers in the alteration of the images in as much as a certain context is involved. For example, the advertising photo of a particular product can be placed on different backgrounds as per the season that is ongoing the campaign in progress, or the target group that it aims to target.

This flexibility can prove beneficial because one photo can be utilized in several ways. Further, the backgrounds of the images may be switched to give more stories or create a feeling that fits the photo subject.
Changing the background with the help of tools that include AI, like the insMind, is a perfect way to enhance the choice, achieve better results, and increase the flexibility of the work done at both amateur and professional levels of photography.
Part 2. Step-by-Step Guide to Changing Photo Backgrounds with insMind
What is thought to be a complex job when doing it manually becomes very simple and easy when you leverage the power of AI. Here, insMind makes things very easy for anyone regardless of their professional editing experience or the tools they have for this task. Below is our ultimate guide on how you can use this AI background generator.
1. Preparing your photo for background change

The first step in this process is the preparation of your photo. Many people make the mistake of not capturing the best photo which results in a bad final product after editing. So, when you want to use an AI photo background generator, you must ensure to get the perfect image in terms of angle, focus, lighting, and most importantly contrast.
2. Uploading your photo to insMind’s AI Background tool

When you have the best photo, you can go to insMind to open the AI background generator option from Free Tools or click here to open it. After this tool opens, you will click Upload a photo to select and upload your desired photo. Alternatively, drag the image into the browser interface and drop it inside insMind to upload it.
3. Selecting and applying a new background
Here AI will do most of the work for you. You only need to select the background from the wide range of options available. AI will automatically detect the main object in your photo and adjust the background to the perfect fit. So, you can click and try different backgrounds as per your needs.

4. Customizing the background for a perfect fit
After AI has added background to your image, you may still need to do some more refining. It ensures that the results look natural and perfect as per your needs. With insMind’s easy-to-use interface, this step becomes effortless, and you can make as many customizations as you want.
5. Saving and downloading your edited photo

Finally, click the download button from the top right corner to select your desired file format as well as the image quality and hit download again. Your product image with background added by the AI photo background generator will be downloaded on your offline storage.
Part 3. Best Practices for Using AI-Generated Backgrounds
It is quite important to achieve the natural intertwining of the subject and the background to stay as realistic and unforced as possible. Thus, the blending of the cut-out objects to the new background saves the picture from a choppy look and makes the picture look more realistic to the viewer. Here are some tips to follow and mistakes that you must avoid.
Tips for choosing the right background
Follow these tips to ensure that you always choose the best background available:
· Select a background that would enhance the subject and relevance of the photo being taken. Using labels, and backgrounds should complement the subject or topic, therefore they should not overshadow the topic.
· It is important to ensure that the illumination of the background and the subject complement each other so that they will be similar.
· When choosing the background, it should be colors that work well with the colors of the subject. This helps in developing symmetry and the anesthetic interplay of colors also aids a lot.
· Ensure that the backgrounds you are using have a high resolution as that of the subject picture. Some of the conspicuous backgrounds are in low resolution to the extent that they can diminish the general appeal of a house.
· The background should be plain, clear, and with minimal distractions to the subject of what is being recorded. Lack of space creates a fast pace and can distract the viewer's attention from the primary subject.

· Make sure that the background of the picture relates to the subject in terms of context. Something that stands for the background that does not belong to the scene will look odd.
· Try out the different background types to learn which one is more effective. Sometimes it may take a few attempts to secure the right one.
Common mistakes to avoid when changing photo background
When using a background generator, you must be careful to avoid these mistakes:
· If the lighting contrast of the subject and their backdrop does not match, it will look unworthy and confusing.
· If the background or subject is not correctly resized, it leads to images being unattractive and unrealistic.
· Using very complex backgrounds that draw attention away from the actual subject matter.
· Not synchronizing the point of view of the subject with that of the background can bring about such an appearance.
Conclusion
The changing of photo backgrounds can make a massive difference between a good photo and a great photo. To be more precise, insMind’s Photo Background Changer is a simple, effective solution that allows it to provide great outcomes without significant effort from the user.
The features like AI yield professional editing hence making your pictures look exquisite. You are welcome to use this tool for convenient modification of the presented images and see the enhancements yourself. With insMind, your images can easily be transformed as soon as you sign up with us today.





































































![How to Add Logo to Photos Online for Free [The Simplest Method] How to Add Logo to Photos Online for Free [The Simplest Method]](https://static.xsbapp.com/market-operations/market/side/1718795949162.jpg)
![How to Remove Tattoos from Photos [Ultimate Guide 2024] How to Remove Tattoos from Photos [Ultimate Guide 2024]](https://static.xsbapp.com/market-operations/market/side/1718787534476.jpg)
