How to Curve Text With 6 Ways
In this era of creativity and dynamic styles, curving the text adds an artistic look to your logos, posters, and other visual content. For designers, it offers versatility and uniqueness to the brand, which attracts customers. Apart from that, the curved text emphasizes the brand and your product, thus making the viewer focus more on its special features. This article will provide you with 6 ways to demonstrate how to curve text with various tools.
Table of Contents
Way 1. How to Curve Text Online Free With insMind - The Best Method
You can spice up your style with various font styles and effects using the insMind Curve Text Generator, which is equipped with advanced AI technology. With this feature, you can unlock a diverse collection of text effects with insMind's various free text presets. Moreover, users can personalize the curved text in circular, rectangular, heart-shaped, and other styles in varying intensity.
Using the insMind curve text feature, you can twist the text in multiple styles by adding a wave, swirls, and patterns. Furthermore, this AI feature even offers diverse font styles according to your brand, such as using sales text, back-to-school, product features, and more. Anyhow, follow the given steps on how to add curved text to a photo using this tool's text curve generator:
Step 1. Open insMind and Upload a Photo
Access the insMind's Curve Text Generator on your browser from its main website page. From the opened website page, click the "Upload a photo" button and import a photo from the dialogue box.

Step 2. Add Suitable Text Across the Photo
After adding the image, the photo will appear on the main editing interface on a new page. Now, head to the left-side panel and press the “Add a Text” option to add a text box to the image. The text box that appears will display text customization options on the right-side panel. Upon adding desired text, make suitable changes, like the font, color, and alignment of the text. You can also pick any text style from the various available styled designs from the left-side panel. You can choose from text styles, like back-to-school, product features, holidays, and more.

Step 3. Choose Wrap Text Styles and Add Curved Effect
When the desired text and text style are added, move to the right panel of the tools. Here, click the “Wrap Text” option to display different curved options for selected text. Now, select any wrapping style and adjust its “Intensity” by moving the scale right to curve the text downwards and left to curve it upwards.

Step 4. Change the Position of the Added Text
As the text is curved to an appropriate angle, reposition the text by dragging it anywhere on the image. There are various options available in the right-side panel to adjust the opacity, size, and more.
Step 5. Download The Final Curved Text Design
Once you are satisfied with the final result, head to the top right corner and press the “Download” button. From here, choose any format and quality of the image from the drop-down menu and click “Download.”

It is clear that insMind Curve Text Generator offers multiple advantages to marketing and social media influencers. You can generate appealing product photos with eye-catching curved text with this tool. Moreover, learn more about its benefits from the following points.
- Personalized Designs: The Curve Text Generator is an excellent tool for creating a diverse range of stylized posters, brochures, and brand logos.
- Diverse Curved Layouts: This feature offers an array of diverse curve design presets and templates for high-quality, appealing results.
- Tailored Needs: You can find various text styles and curve options that are tailored to your needs, such as for branding business, advertising products, and more.
Way 2. How to Curve Text in Canva
Canva's Curved Text Generator lets you captivate the audience with its unique text and curve effects. With this generator, artists can stylize images with different curved text with swirling and wavy letters to create stunning logos and labels. Moreover, they can jazz up their portraits and craft branded logos to showcase some personality. Anyone can easily learn how to curve text in Canva by following this step-by-step guide:
Step 1. Open Canva's curve text feature from its main website on any of the browsers. Following this, click the "Create Curved Text" button to open Canva's main editing interface.

Step 2. Following that, choose any text style you want or simply tap the "Add a Text Box" option on the plain canvas. After that, go to the top toolbar and press the "Effects" option to begin text customization.

Step 3. On the "Effects" left-side panel, select the "Curve" option under the "Shapes" section and change the curve intensity by dragging the scale from right to left. When concluding the process, navigate to the "Share" button on the top-right and export the curved design under personalized settings.

Way 3. How to Curve Text in Photoshop
Adobe Photoshop is an ideal place to keep your creative juices flowing with its curved text feature. You can easily control the position and behavior of the text by learning how to add curved text in Photoshop, reverse it, and wrap it in various positions. Furthermore, it offers multiple curve styles, such as arc, wave, rise, and more, with varying optimization options that you can explore after learning its real-time operations:
Step 1. Launch Photoshop on your desktop and access the main editing interface. Navigate to the left-side panel, pick the "Text" tool, and write anything on the blank canvas. From here, head to the top toolbar and hit the "Wrap Text" icon.

Step 2. This will open a pop-up "Wrap Text" menu from where you have to choose a "Style," such as "Arc" and stylize it any way you want. Here, adjust the bend, horizontal, and vertical distortion, and press "OK" once happy with the result.

Way 4. How to Curve Text in Illustrator
With a powerful illustrative and graphical tool like Adobe Illustrator, professionals can create stunning curved text in different styles. By using the type tool, users can add full paragraphs and add multiple wrap effects to make the text stand out. It also makes suitable adjustments to these effects and creates stunning designs for your logo, poster, and brand. Follow the given easy-to-follow steps and learn how to curve text in Illustrator:
Step 1. Access Illustrator on your device, and from the left side of the main interface, choose the "Type" tool. Now, write the desired text and modify it with various formatting options.

Step 2. After that, head to the top toolbar and reveal the various options in the drop-down menu of "Effects." From here, hover the cursor over the "Wrap" option and select any curve style from the extended side menu.

Step 3. Once the style is selected, it will pop up a small settings dialogue box with different adjustment options. After making the necessary adjustments, click the "OK" button to finalize your curved text design.

Way 5. How to Curve Text in InDesign
Adobe InDesign has an advanced AI curve text mechanism that you can use to craft interactive catalogs and brochures. Marketing professionals not only modify the text to fit their design but also bend it along various shapes or paths. You can alter the lines of text and create a path line, circle, or rectangle to type in eye-catching wrap designs. Understand how to curve text in InDesign in your flyer or logo using the following steps:
Step 1. Open the InDesign software on your computer and access the main editing interface. From here, go to the left-side toolbar and choose the "Ellipse Frame Tool" icon. Now, select the respective option and draw the circle any way you want.

Step 2. Once the circle is drawn, tap on the "Type Tool" icon and select the "Type on a Path Tool" option. Later, select a path on your drawn circle, click on it, and this will give you a text box to type.

Step 3. From here, you can type in the desired text on the selected path line and modify the text or path after writing the text.

Way 6. How to Curve Text in Silhouette Studio
Silhouette Studios is a free and powerful designer tool that allows you to create designs with creative freedom. Additionally, with over 60 designer tools, like tracing and warping, you can customize designs and create stunning projects. With the freehand pencil, you can draw any path and add curved text for a personalized feel. If you want to know how to curve text in Silhouette Studio, follow the given steps:
Step 1. After installing the software, access its main interface and go to the left panel to pick the "Text" pencil icon. Write the desired text onto the blank canvas and modify it in different fonts, size, alignment, etc.

Step 2. Choose the "Drawing Tools" shape icon from the left toolbar and select any shape you want. Add the picked shape onto the canvas and adjust its size to suit your design.

Step 3. Afterward, double-click the text and pick the whole text by the four-pointed arrows on the colored bounding box. From here, drag the text over the shape, let it snap to the shape, and position it however you want by adjusting the slider.

Part 7. What is the Best Way to Curve Text
In the previous sections, we learned several methods on how to add curved text to a photo with different tools. However, insMind Curve Text Generator is still the better option and offers its users the following benefits:
- Diverse Wrap Text Styles: Users can access various typographic effects, like circles, rectangles, and more, to create personalized stylish designs.
- Multiple Text Options: insMind has a wide range of text style collections on multiple situations, such as Labor Day, neon, sales, emojis, and more.
- Free & High-Quality Results: You can expect studio-quality, unique curved text designs on your posts, flyers, and brand logo, all for free.
- Easy-to-Use Interface: This feature is simple, easy, and convenient to use, and beginners can easily navigate through different options.
- Variety of Effects: It supports various luminous, 3D, and graphical effects that you can apply to your curved text.
Conclusion
If you want to stay ahead of your competition, generating special and unique styles by learning how to curve text can be helpful. In this article, we went through 6 tools that provides you with easy-to-follow steps on how to add curved text to your logo, brochures, and posters.
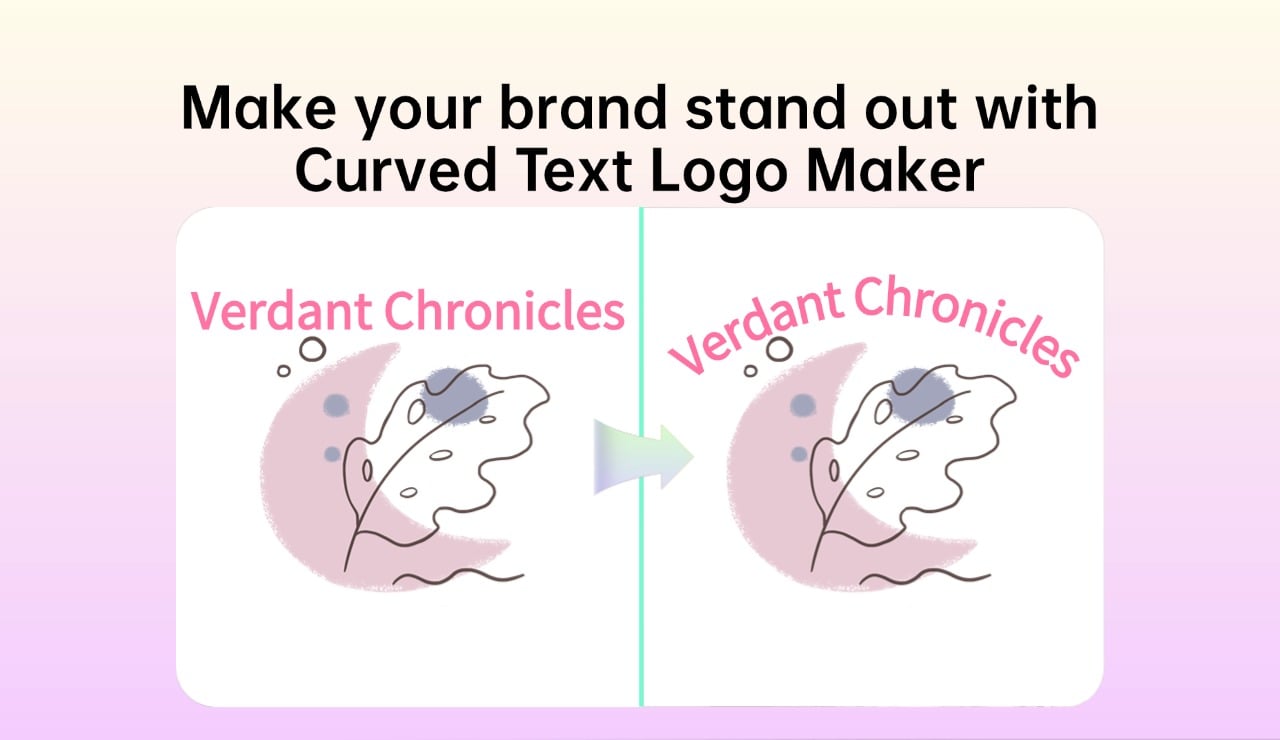
Above all, insMind Curve Text Generator offers a versatile range of curved layout options that lets you curve text in a circular, spiral, and more. You will be able to find multiple 3D and graphical text effects with color, stroke, and other adjustable options. Try this feature for yourself and many more by heading to the insMind website right now.

























































![How to Add Logo to Photos Online for Free [The Simplest Method] How to Add Logo to Photos Online for Free [The Simplest Method]](https://static.xsbapp.com/market-operations/market/side/1718795949162.jpg)
![How to Remove Tattoos from Photos [Ultimate Guide 2024] How to Remove Tattoos from Photos [Ultimate Guide 2024]](https://static.xsbapp.com/market-operations/market/side/1718787534476.jpg)
