How to Improve your Social Media Photos, A Complete Guide

In the age of digital marketing and personal branding, high-quality social media photos are crucial. They not only grab attention but also communicate your brand's aesthetic and values. Using tools like insMind's Background Removal, AI Background Generator, Smart Resize, and Magic Eraser can dramatically enhance your images. This guide explores how to utilize these tools to create stunning visuals that engage and captivate your audience.
- Part 1. The Importance of High-Quality Social Media Photos
- Part 2. Removing Backgrounds with insMind
- Part 3. Generating Backgrounds with insMind AI
- Part 4. Smart Resizing for Perfect Fit
- Part 5. Using the Magic Eraser to Remove Unwanted Objects
Part 1. The Importance of High-Quality Social Media Photos
High-quality social media photos are essential for capturing attention and engaging viewers. Visual Appeal: First impressions matter; vibrant and clear images can immediately draw in users, keeping them engaged longer on your content. Images of superior quality tend to perform better in terms of likes, shares, and comments, directly influencing audience interaction.
- Brand Image: Consistently high-quality photos help establish and maintain a professional brand image. They reflect the standards and care you put into your product or service, fostering trust and credibility among your audience.
- Competitive Edge: In a crowded marketplace, standout visuals can be the difference between getting noticed and getting overlooked. Quality imagery can set you apart, showcasing your uniqueness and professionalism.
Investing in good photography and utilizing advanced tools like insMind ensure that each image you post is optimized for impact, driving greater engagement and enhancing your social media presence.
Part 2. Removing Backgrounds with insMind
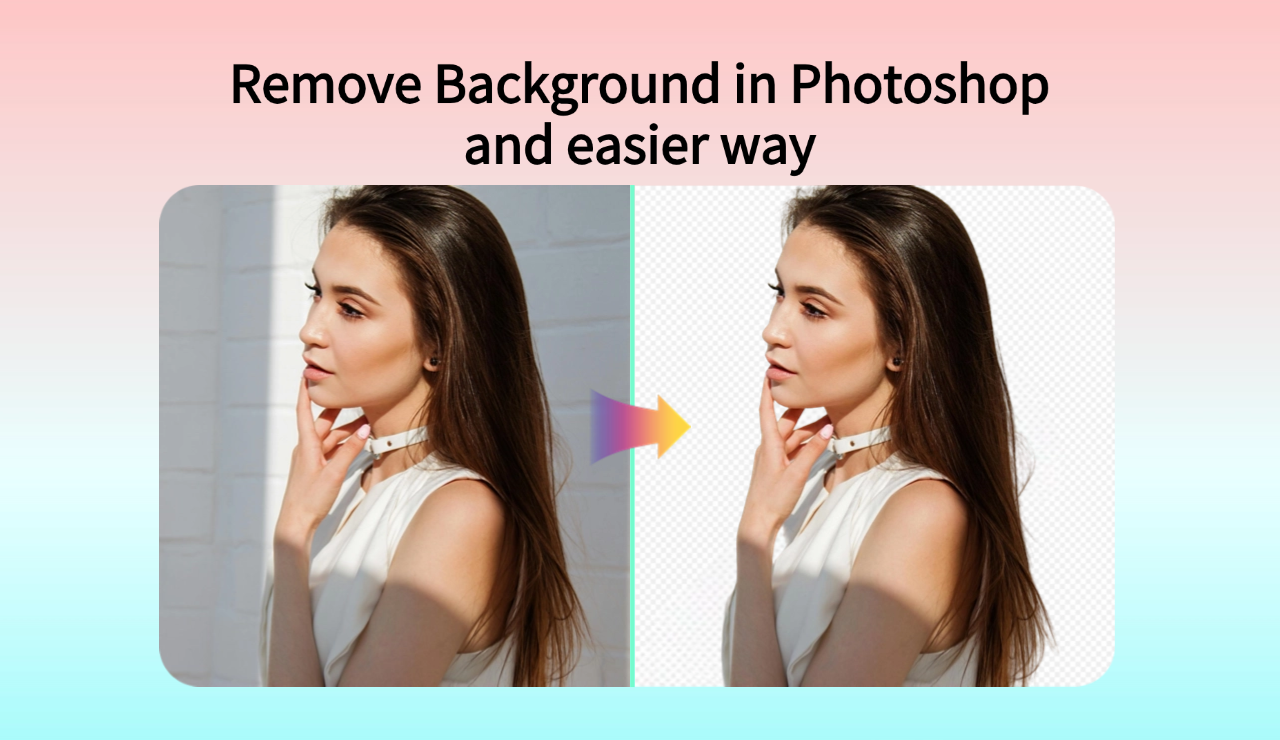
Removing the background from images is a powerful way to emphasize the subject and enhance the overall composition of your photos. insMind's background removal tool is designed to make this process both simple and effective, regardless of your technical expertise.
Step 1. Select the ‘Background Removal’ Tool
Step 2. Upload your photo and instantly remove the background
Step 1: Select the ‘Background Removal’ Tool
Navigate to the Background Removal feature within the insMind tool suite. This feature uses advanced AI algorithms to automatically detect the main subject of your photo. The tool is intuitive, reducing the complexity typically involved in such edits.
Step 2: Upload your photo and instantly remove the background
Begin by uploading the image from which you wish to remove the background. insMind supports a variety of file formats, allowing flexibility for users working with different types of images.
Step 3: Adjust and Save Your Edited Photo
After the AI removes the background, you might find it necessary to make minor adjustments. Once you are satisfied with the image, save the edited photo directly within the platform. You can choose to download it with a transparent background or select a new backdrop from insMind’s library to add immediately.


Using insMind to remove backgrounds not only simplifies the editing process but also enhances the visual impact of your images, making them more engaging and suited for diverse applications, from marketing materials to personal projects.
Part 3. Generating Backgrounds with insMind AI
Creating the perfect background for your photos can transform them from good to spectacular. insMind AI offers a robust background generation tool that utilizes advanced algorithms to produce backgrounds that are both beautiful and suitable for your specific needs.
Step 1: Select Your Photo
After removing the original background, or starting with a photo with a transparent backdrop, choose the ‘AI Background Generate’ option within the insMind platform. This tool is specially designed to integrate seamlessly with images lacking backgrounds.
Step 2: Choose a Style
insMind AI provides a diverse array of background styles to select from. Depending on the purpose of your photo, you can choose from simple, abstract patterns to more detailed and realistic scenes. The AI recommends backgrounds that best complement the subject of your photo, taking into account factors like color, theme, and composition.
Step 3: Apply Your New Background
Once you’ve chosen your desired background, apply it to your photo. insMind AI ensures that the integration between your subject and the new background is smooth, adjusting elements like scale, perspective, and shadows for a natural look.
Step 4: Final Adjustments and Save
After applying the background, make any final tweaks to ensure that the overall image meets your expectations. This might include adjusting the brightness, contrast, or saturation to make the subject blend better with the new background.

With insMind AI’s background generator, anyone can add stunning backgrounds to their photos, enhancing their appeal and making them ready for any use, from professional presentations to social media posts.
Part 4. Smart Resizing for Perfect Fit
In the digital world, where each social media platform has its own preferred image dimensions, resizing photos correctly is essential for visual impact. insMind AI’s Smart Resize tool helps ensure that your images always look their best, no matter where they are displayed.
Step 1: Upload and Select the Resize Tool
Start by uploading your image to insMind. Once uploaded, select the Smart Resize tool from the options available. This feature is tailored to help users adjust their photos to fit various social media formats without losing quality or important aspects of the composition.
Step 2: Specify Dimensions
Enter the specific dimensions required for your target platform, whether it’s a square for Instagram, a banner for Facebook, or a header for Twitter. insMind AI also offers preset dimensions based on the most popular requirements, making it even easier to select the right size.
Step 3: Save Your Photo
Once you are satisfied with the resized image, save it directly from the insMind platform. The photo is now optimized for perfect display across your chosen social media channels, ensuring maximum engagement and visual appeal.

With insMind AI’s Smart Resize tool, you can confidently prepare your images for any platform, ensuring they always look professional and are crafted to capture attention.
Part 5. Using the Magic Eraser to Remove Unwanted Objects
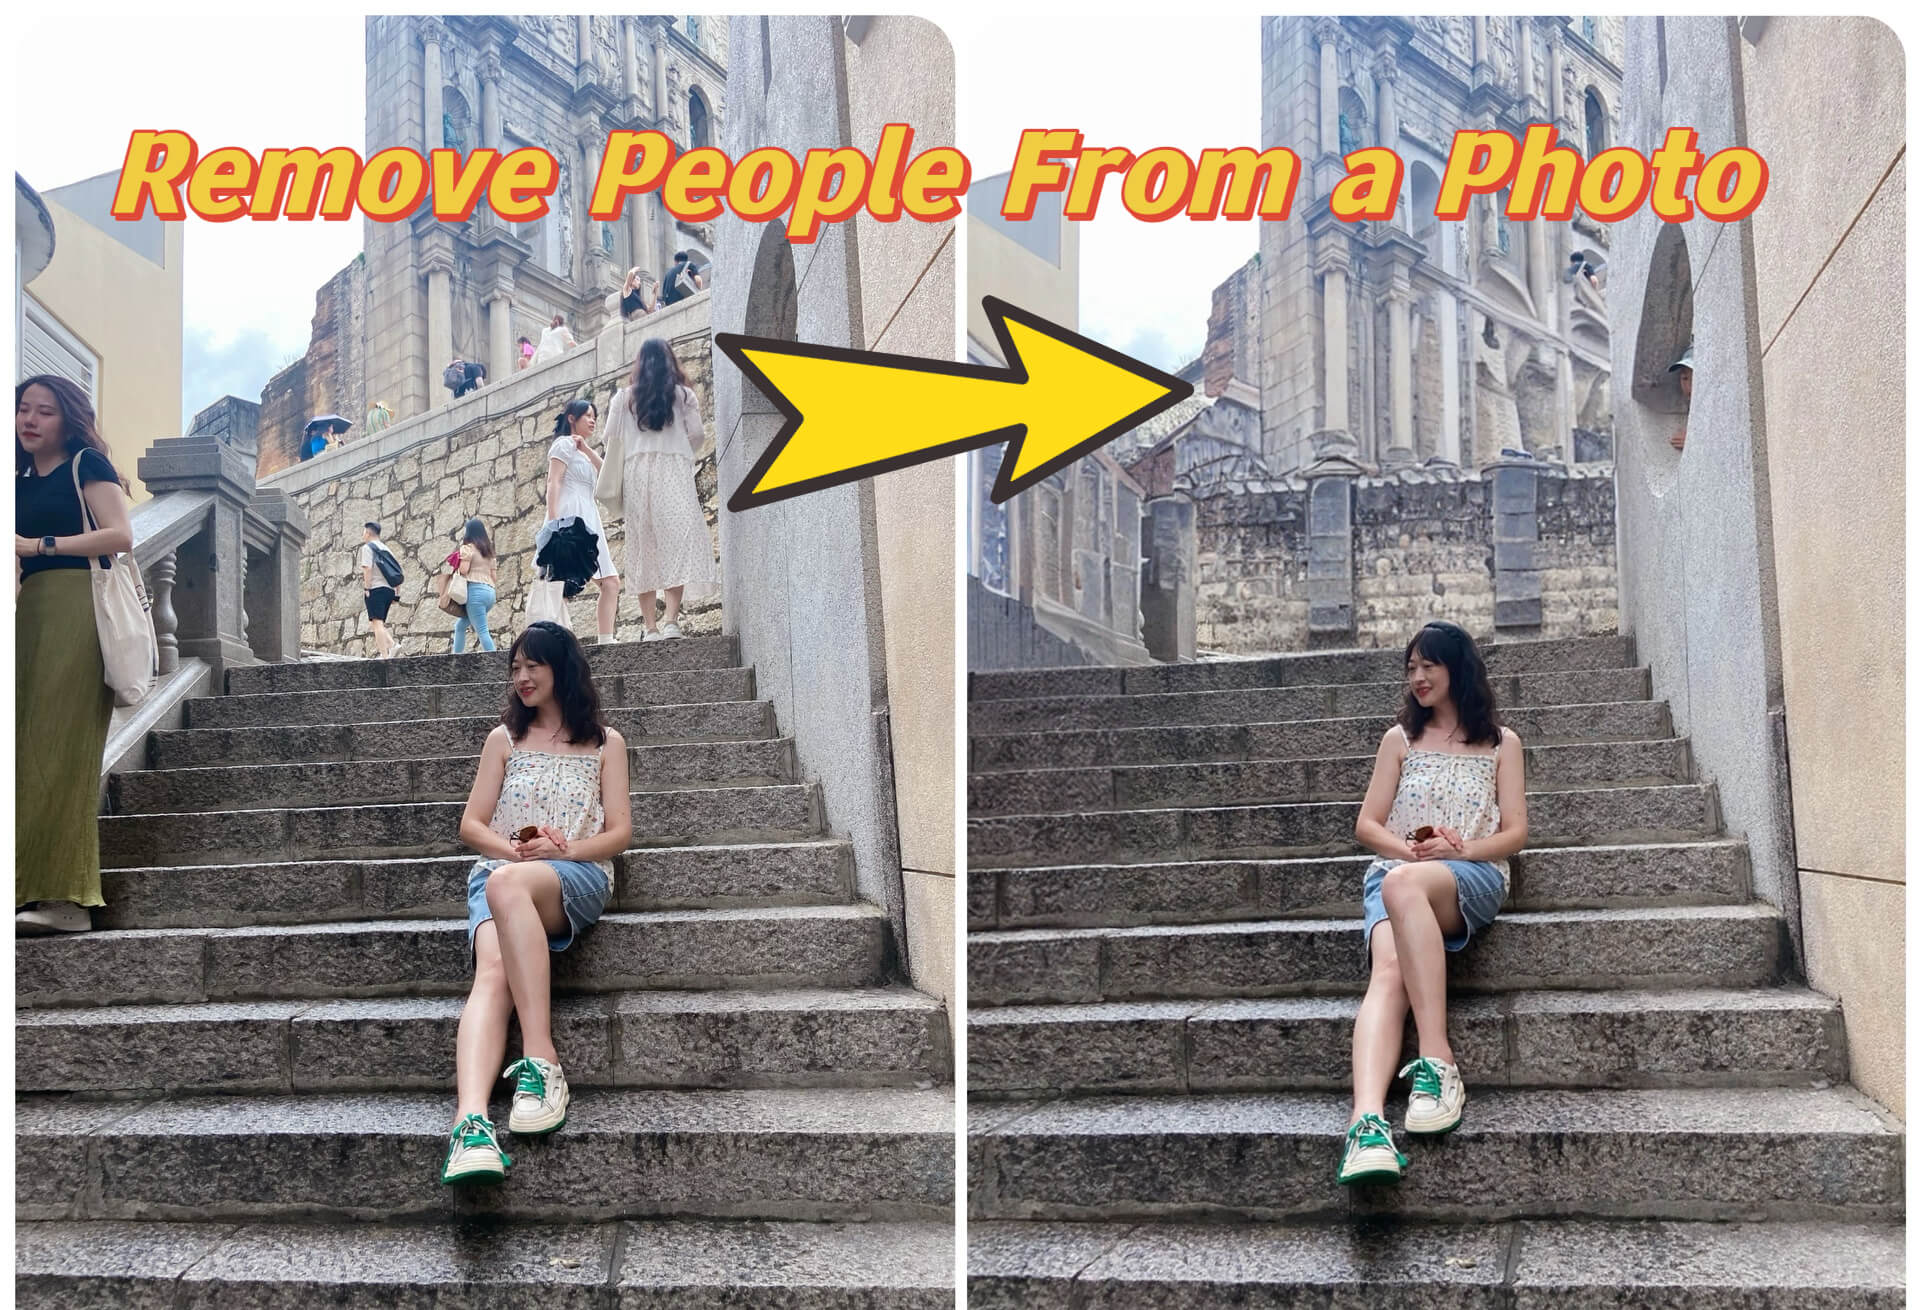
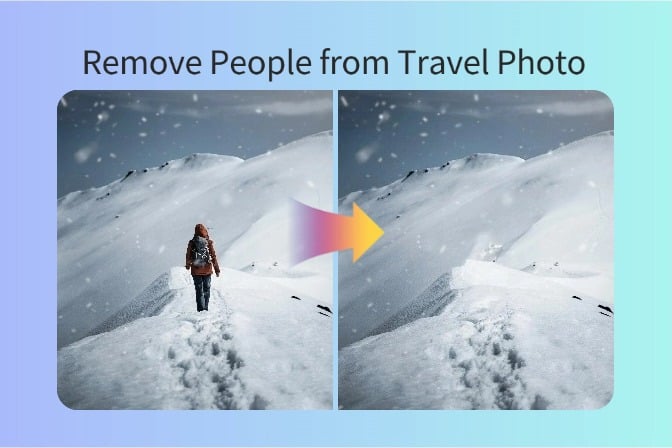
Whether it's a stray passerby in a perfect landscape shot or an unsightly blemish on a product image, unwanted elements can detract from the focus of your photos. insMind’s Magic Eraser tool is designed to help you cleanly remove these distractions without a trace.
Step 1: Select the Magic Eraser Tool
From the tool menu, select the Magic Eraser. This feature utilizes advanced AI to detect and highlight unwanted objects in your photos, making it easier for you to remove them.
Step 2: Highlight Unwanted Objects
Use your mouse or touch interface to draw around the object you want to remove. The Magic Eraser will automatically refine the edges and ensure that only the unwanted element is targeted for removal.
Step 3: Erase and Refine
Click the erase button. The Magic Eraser works its magic, seamlessly removing the object and intelligently filling in the background. If necessary, make use of additional touch-up tools to perfect the area from where the object was removed.

The Magic Eraser tool from insMind is a straightforward solution for enhancing the composition of your photos by removing any unwanted elements, ensuring your final images are clean and professionally presented.
Conclusion
By leveraging insMind's comprehensive suite of photo editing tools, you can significantly enhance the quality of your social media images. Whether you're adjusting backgrounds, resizing for different platforms, or cleaning up distractions with the Magic Eraser, insMind helps you create professional-level visuals. Invest time in perfecting your photos with these advanced tools to stand out on social media and leave a lasting impression on your audience.




























































![How to Add Logo to Photos Online for Free [The Simplest Method] How to Add Logo to Photos Online for Free [The Simplest Method]](https://static.xsbapp.com/market-operations/market/side/1718795949162.jpg)
![How to Remove Tattoos from Photos [Ultimate Guide 2024] How to Remove Tattoos from Photos [Ultimate Guide 2024]](https://static.xsbapp.com/market-operations/market/side/1718787534476.jpg)
