Learning Explicit Ways of Making the Images Bigger
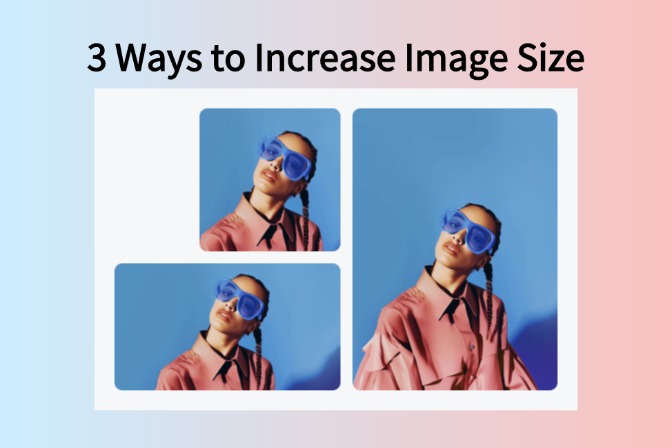
High-quality images are considered valuable assets in the image generation process. Modifying the pictures without ruining quality is one of the major concerns while generating compelling content. Whether you need pictures for social media posts or for a professional portfolio, you can make changes to the size with the right tool. In this article, we will discuss the top ways to make an image bigger without compromising on its quality.
Table of Contents
Part 1. How to Make an Image Bigger without Losing Quality
Scaling a picture while maintaining the original quality requires a balance of technical expertise and the right tools. One of the reliable tools that offers a complete set of features to resize photos is insMind. This AI photo editor is explicitly designed to make your pictures look beautiful instantly.
One of the standout features of insMind is the ability to resize photos effortlessly without compromising their quality. The tool provides various levels of resizing, allowing users to customize their scaling to the fullest. Utilizing the power of artificial intelligence, you create images that are perfectly sized according to different platforms.
Step-by-Step Guide to Make Image Bigger
Achieving high-quality results can be a daunting task, especially when scaling images into smaller or larger sizes. In the steps provided next, let us learn how to make images bigger using insMind:
Step 1. Upload Your Photo Using The Dedicated Button
After accessing the insMind's homepage, click on the "Free Tools" on the top bar and select "Smart Resize". Then click on the "Upload a photo" button to add a photo you want to modify.

Step 2. Input Resizing Options within the Tool
As you upload the picture successfully, look for the "Smart Resize" button across the "Size" section on the right. Provide your options across the "Custom Size" section or use the "Suggested" options before clicking the blue button "Add 1 new canvas".

Step 3. Download Resized Results
After the tool processes your request, it displays the result across the canvas, which can be saved using the "Download" button on the top right. Provide the format and quality requirements for saving the resized photo successfully into your computer.

Part 2. How to Make Images Bigger with insMind Image Expander
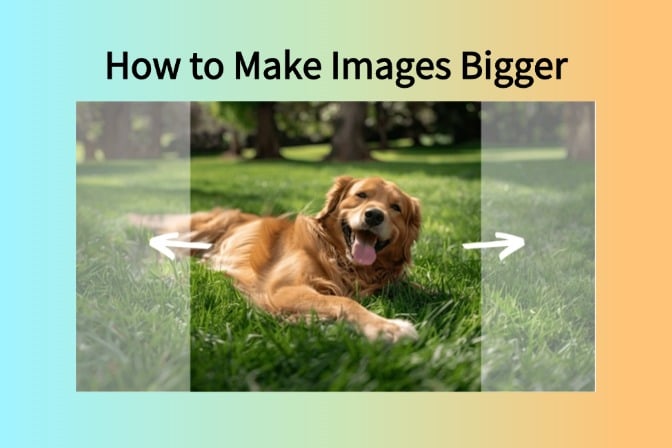
Besides image resizing, another essential aspect of modifying pictures is image expansion. This utility seamlessly can increase image size and expand the overall canvas of your image to generate high-quality results. And insMind can also offer seamless photo expansion.
Utilizing the power of AI, this video editor allows users to add more canvas to their photos and make them look beautiful with the image expansion feature. This feature works perfectly for individuals who need to generate high-quality product images for their businesses.
Steps To Make Images Bigger with the Image Expander
To take your product photography to the next level, you can utilize the AI-powered Image Expander feature to extend your picture's size. Let us explore the steps mentioned below to learn how to make images bigger without losing quality:
Step 1. Add Your Photo to the Interface for Expansion
After accessing the AI Expand feature from insMind's official website, click the button "Upload a photo". You can also directly drag and drop the photo to the tool's interface for processing further.

Step 2. Acquire the AI Image Expander Tool
Moving forward, access the right-side panel and select the "AI expands image" under the "Tools" section. In the next window, select the aspect ratio from the different options available on the right side. Finally, press the "Start" button to generate an expanded image using AI.

Step 3. Apply Image Expansion and Save the Picture
Click on the "Apply" button to apply the image expansion changes to your photograph. Finally, choose the "Download" button on the top right corner of the interface to save your expanded photo.

Part 3. Tips for Making Photos Bigger for Printing
While preparing images for printing, there are several aspects one must consider when resizing the picture. Following are some of the handy tips you can avail to generate high-quality pictures for printing after resizing:
1. Use High-Resolution Sources
If you want to make images bigger for printing, try using high-quality photos. Images with low resolution will become pixelated when resized for printing, and the final result of the photo is not ideal with low-quality images. Hence, it is crucial to utilize image sources that are of high quality.
2. Choose Suitable File Format
Before resizing the picture, always select the file format that is suitable for printing. TIFF and PNG are a few of the formats that offer lossless image modification, keeping the original quality intact for printing perfect images.
3. Check the Printing Medium
Consider high-quality printing mediums such as canvas and paper to blow up images without losing quality. Different materials may affect the quality of the final result on paper when the image is resized.
4. Print a Testing Output Before the Final Result
Before printing a final output of the enlarged image always print a test output. This gives you an idea of how the image will look on paper after you have increased the size.
Part 4. Efficient Tips for Making Pictures Bigger without Losing Quality
Multiple tools help you resize images, but there are only a few that maintain their quality. Provided next are some tips you should look into when resizing your photos to avoid quality losses:
1. Use AI-Powered Image Enlargers
To ensure that the images are of the best quality, try using tools and software that offer AI-powered image enlargers. These tools leverage the power of artificial intelligence to upscale your photo without disturbing the image quality.
2. Sharpen the Photo After Resizing
Another vital thing to do after enlarging is sharpening. Always use the tool that offers image sharpening to make the picture look of the best quality.
3. Upscale the Images Gradually
Try resizing images in small steps to avoid quality loss. If you jump from a low size to a very high size in one go, your picture will be pixelated. To prevent this, make sure to gradually increase the size of the photograph.
4. Pick the Right Interpolation Method
Selecting an appropriate interpolation method is pretty essential when resizing a photograph. Various interpolation methods seamlessly preserve the sharpness and smoothen the gradients resulting in high-quality images.
Part 5. FAQs about Making Small Pictures Bigger and Clear
1. Can I make a small picture bigger and clearer?
Many online and offline tools are available to make your pictures bigger and clearer. However, insMind is one of the most reliable photo editors that help to make an image bigger along with other photo enhancement functionalities.
2. How do you make a JPEG bigger?
You can utilize different online resources to make a JPEG image bigger. Simply upload your image in JPEG format and select your desired size to enlarge your photo.
3. How do I make a picture look bigger?
Many photo editors provide perfect image enlargement. insMind is one of the photo editors that make your picture look bigger without compromising on the quality.
Conclusion
Increasing the size of your picture not only enhances the visuals but also keeps the quality of the picture maintained. One of the best online tools that offer AI-powered photo expansion and resizing to make images bigger is insMind. This versatile platform boasts numerous photo enhancement features for its users.













































![How to Add Logo to Photos Online for Free [The Simplest Method] How to Add Logo to Photos Online for Free [The Simplest Method]](https://static.xsbapp.com/market-operations/market/side/1718795949162.jpg)
![How to Remove Tattoos from Photos [Ultimate Guide 2024] How to Remove Tattoos from Photos [Ultimate Guide 2024]](https://static.xsbapp.com/market-operations/market/side/1718787534476.jpg)


