How to Remove Blurriness from Photos with AI
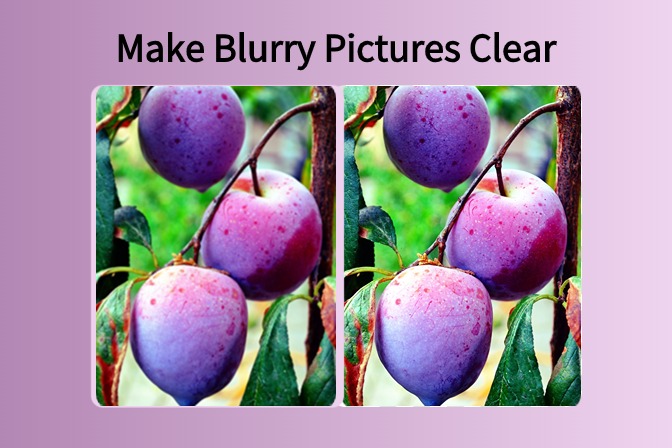
Some of the AI image tools can sharpen blurry images. These tools use innovative technology to analyze low-quality images and locate parts that should be edited. The technology can then enhance the image to make it clearer and reveal more features. This could be especially useful for photos taken from a shaky camera, where the picture was not perfectly focused or if objects were in motion.
AI image tools cannot make a blurry picture look crystal clear, but they will help it look less hazy and make out details easier. The effectiveness of the tool depends on the extent of the blur and the amount of detail that was preserved initially. For better results, it is advisable to use quality images, and any very blurred image should not be used.
Table of Contents
Part 1. Why Unblur an Image?
Unblurring a photo can correct issues and improve it. If your picture was taken while the camera was moving or something else was not in focus, unblurring will help make the picture clearer and more able to see everything easily. This can be especially useful for photographers or anyone who requires clear images for commercial use, such as ads or presentations. Unblurring can also be performed on personal photos. Perhaps you have a family photo that is slightly out of focus, and sharpening it can assist you in keeping those memories fresh.
Part 2. How to Unblur Photos Using AI in insMind
Step 1: Go to the unblur tool on insMind's website
First, go to the insMind Image Sharpener. You can find it on their website.
Step 2: Upload your blurry photo

Click the "upload" button and choose the blurry picture you want to fix. insMind works with many standard picture formats, so you can upload your photo quickly.
Step 3: Finetune your photo

After uploading your photo, you will see it on the screen. Here, you can make adjustments if you want. Even though insMind's AI usually does an excellent job on its own, there are extra settings you can use to change the results a little bit. You can skip this step if you don't want to make any changes and just let the tool unblur image AI.
Step 4: Let the AI sharpen your photo

Click the "Start" button and watch as insMind's AI analyzes your photo. The AI will focus on making the blurry areas sharper. The time it takes will depend on the size and complexity of your picture.
Step 5: Download your improved photo

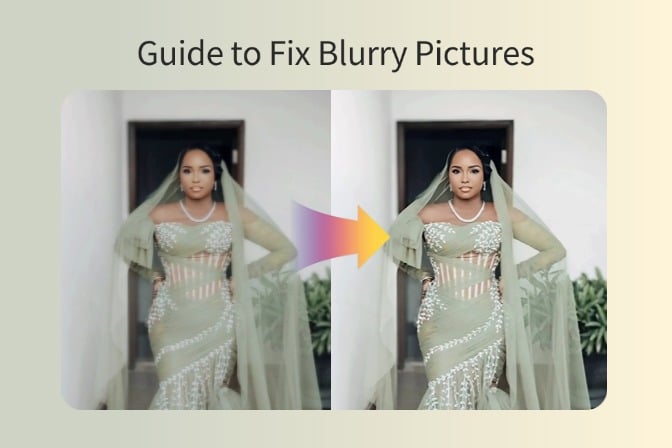
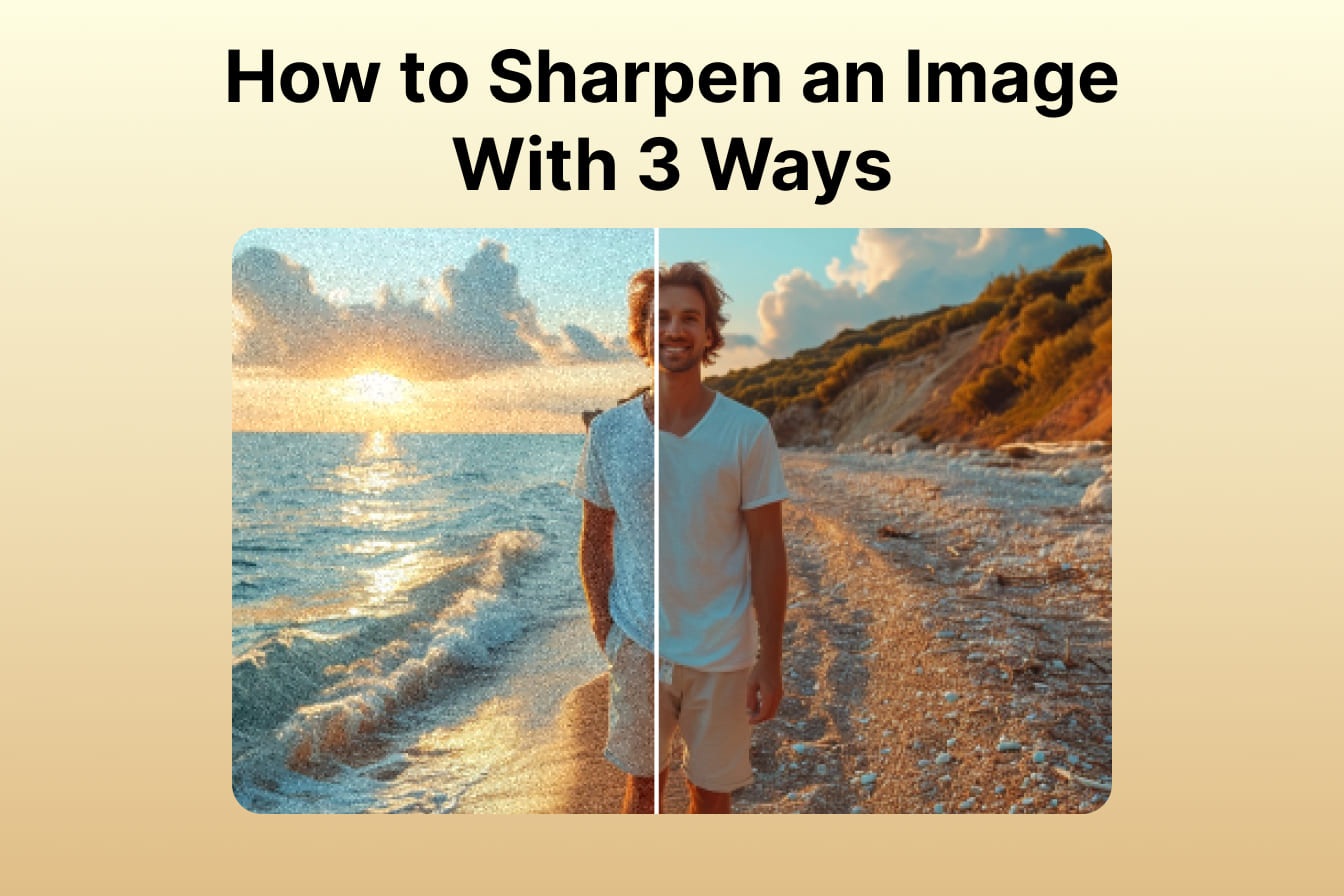
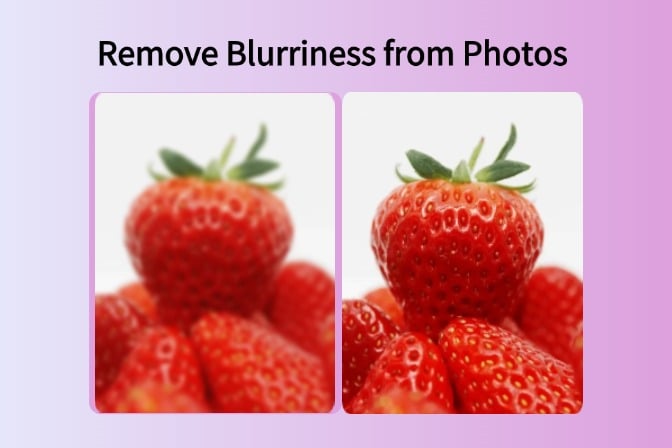
Once the AI is finished, you will see the improved version of your photo. By looking at them side-by-side, you can see the difference between the original blurry photo and the sharpened version. If you are happy with how the photo looks now, click the "Download" button to save the sharpened photo to your device. insMind's tool to unblur image-free is a fast and easy way to make blurry photos clear again.
Part 3. Creative Uses of Unblurred Images
Photography: Restore old or low-quality photos

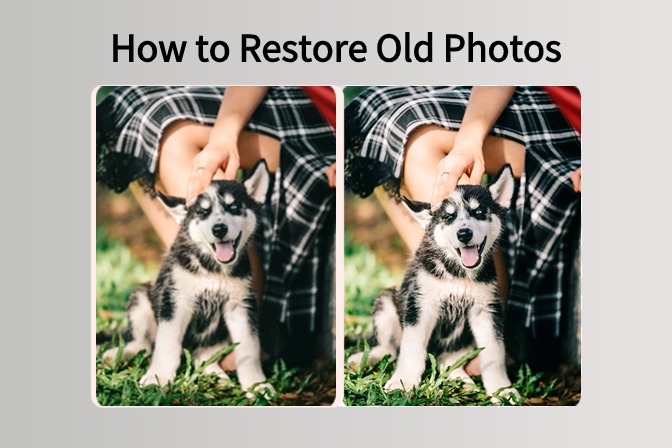
Unblurring technology is an excellent tool for photographers and anyone with old photos they care about. Old family photos that are faded or blurry vacation pictures can be fixed with AI image sharpening. insMind's tool can unblur image caused by a shaky camera, a little movement when the photo was taken, or even problems with the original film. This can make old memories look new again and let you keep them in sharper detail.
E-commerce: Enhance products

For businesses that sell things online, high-quality product pictures are essential to get customers. But sometimes, product photos can look blurry because of how the lighting is or the camera settings. insMind's unblurring tool can sharpen image online, making details like textures and finishes clear and crisp. This can make your products look more professional and lead to more customers trusting and buying your products.
Other Ways To Make Blurry Photos Clear
Take Another Picture: Focused and Steady
Sometimes, the only solution to clear a picture is to capture it again! If this is due to a lack of focus or movement of the camera while taking the photo, then you should try retaking the picture. Modern cameras have several settings to assist you in capturing sharp images. Some cameras come with the autofocus feature, which means that the camera adjusts to what you want to capture in the picture. If your camera has an autofocus feature, it is recommended that you switch it on before taking the image.
Generally, a half-press of the button initiates autofocus. When the camera is focused, a light will show, so wait for the light and then push the button fully down to take the best picture. A tripod can also help avoid the problem of handshaking. A tripod is a device that supports the camera so that it can remain steady.
Trim the Photo to Eliminate Blurry Corners
If you notice that your picture is blurry on the edges, you can easily enhance the overall clarity of the photo by cropping it. Cutting removes areas that are not required from the edges of the image. All the photo editing programs available in the market will have a tool for cutting. When you crop a photo to correct blur, attempt to retain the sharpest area of the image while eliminating the blurry perimeters. This will make the picture smaller, but it is useful if the photo is not workable and one needs to save it.
Adjust Brightness and Contrast
A photo taken with accuracy will appear blurry if there is inadequate light. Sometimes, making the image darker or brighter helps to recognize something. Most photo editing software usually has specific controls for brightness and contrast in the form of sliders or buttons. Increasing the brightness will make the details clearer, while increasing the contrast will make the difference between the light and black shades apparent. But don't go overboard with it because a picture that is too bright or contrasted may look unusual.
Sharpen the Photo with Basic Editing Tools
Many photo editing programs have essential sharpening tools that can help make blurry photos clearer. These tools work by making the edges in the picture show up more. This can make the images look sharper, but it's essential not to use them too much. Using sharpening tools too much can add unwanted artifacts to the picture, which are minor distortions or blocky pixels that can make the photo look even worse.
Try Stacking Photos (For Photo Enthusiasts)
For people who like photography and are keen to use advanced techniques, the stacking photo method can effectively avoid blurs. This is a process of shooting the same object several times but with different parts in sharp focus. After that, there are programs through which you can merge the best parts of two photos into one clear picture. Stacking can be very useful on images taken with a macro lens right on top of something where focus can be tricky.
Use Online Photo Editing Tools (Quick Fixes)
With sharpening and blur reduction being essential functions, numerous free and paid online photo editing tools are available. Such tools could be helpful for people who do not have photo editing software and need to make quick changes to the image. However, it should be noted that online tools offer lesser control in terms of editing when compared to photo editing software. Most free online tools may have limitations in the size of the picture or the quality of the image to be edited.
Conclusion
Blurry photos can be a drag, but don't give up! There are many ways to fix them. You can take another picture, ensuring the camera is focused and steady. Editing programs can help by cutting away blurry edges or making the image brighter and clearer. There are also essential tools to sharpen images online. For people who love photography, there's a more advanced technique called stacking photos that gets even better results. For quick fixes on the go, free online editing tools are available. If you want a super-strong AI tool to unblur images online, check out insMind.
Ryan Barnett
I'm a freelance writer with a passion for editing and designing photos. Here at insMind, I strive to educate users on image creativity, photography, and enhancing product photos to help grow their businesses.






























![How to Add Logo to Photos Online for Free [The Simplest Method] How to Add Logo to Photos Online for Free [The Simplest Method]](https://static.xsbapp.com/market-operations/market/side/1718795949162.jpg)
![How to Remove Tattoos from Photos [Ultimate Guide 2024] How to Remove Tattoos from Photos [Ultimate Guide 2024]](https://static.xsbapp.com/market-operations/market/side/1718787534476.jpg)
