How to Quickly Remove Photo Watermarks?

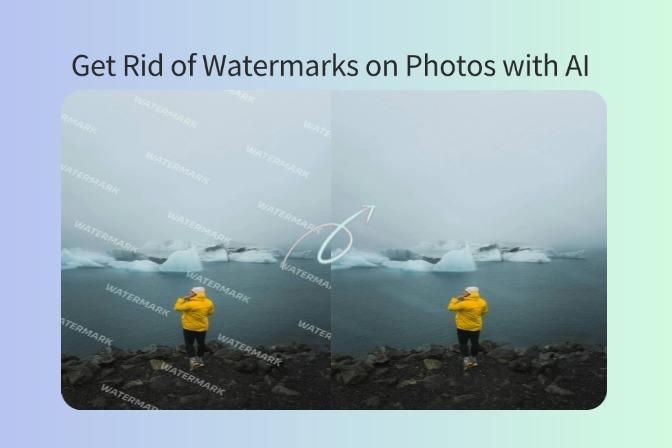
Do you get tired of those intrusive watermarks in your favorite photos? Watermarks are a real pain; they bother you no less than anything else, being a professional photographer or casual snapper. They do nothing but intrude on the excellent quality of the image and its usability.
So worry not if you were seeking an easy solution for removing watermarks from photos; you have come to the right place. In this article, we will help you learn how to remove objects from a photo using the insMind AI Magic Eraser tool.
We will show you step by step instructions for watermark or object removal from photos.
Alright, let's start.
Understanding Watermarks
Watermarks, those faint logos or text overlaid on images, serve various purposes in photography and digital media. They were first intended to protect the intellectual property of photographers and artists by showing ownership.
Nevertheless, the use has expanded well beyond attribution alone. Presently, stock photo agencies make wide use of watermarks to reduce unauthorized use and for branding and promotion of their own agency.
Despite all these good purposes, users very often need to remove watermarks from their photographs. There are several reasons:
· Watermarks: However obtrusive these may be, especially in certain instances, they also interfere with the aesthetic beauty of an image. They hinder a viewer's experience and sometimes shield some of the main features of the photo.
· Usability: In most cases, watermarked images are restricted. They cannot be used commercially, and the use of the image is strictly confined to the intended purpose. This will limit its potential audience and reach.
· Professional: An interesting mark of professionalism and credibility is that of giving work without watermarks. It draws attention to the work and takes it away from the photos.
So, while the watermarks do their job, the desire to eliminate them is pretty understandable. But now, with the development of AI-based photo editing, platforms such as inMind have opened up a way for most people.
Now, let's get to learn how to use insMind to remove the watermark from your pictures.
Step-by-Step Guide to Removing Watermarks with insMind
InsMind is a cutting-edge platform designed to revolutionize the way we approach image editing and design. With its suite of AI-powered tools, users can effortlessly add realistic shadows and reflections, remove unwanted objects, and resize designs to fit various publishing platforms.
The Magic Eraser feature allows for instant clean-up of images, making professional photo editing accessible to all.
Here are the steps to remove the watermark from your images:
Step1: Sign Up/Login
Begin by visiting the insMind platform. If you're a new user, sign up for an account, or log in if you already have one. Once logged in, click "Start Creating" to open the editing suite and explore the powerful tools available at your disposal.

Step 2: Upload Your Image
Easily upload the image you want to edit by clicking on the 'Magic Eraser' button. Your image will be ready for editing in just moments, thanks to insMind's efficient platform.
Step 3: Erase Watermarks
With your image loaded, select the brush tool to pinpoint and erase watermarks or any other unwanted elements. Simply apply the brush over the watermark, and then hit "Start" to let insMind's AI take over, removing logos, text, or any distractions cleanly and precisely.
Step 4: Apply Your Image
Once the watermark is removed, you can make further adjustments by clicking "Apply". This will take you to the editor where you can tweak opacity, crop, or use the smart-crop feature to enhance your image’s composition.
Step 5: Download Your Clean Image
After perfecting your image, click "Download" to save your photo. The image will be free of watermarks and ready for any use, whether it’s for professional presentations, online posting, or personal archives.
Additional Tips to Help You Edit Photos
Here are some additional tips that will help you edit photos with insMind:
· Use High-Quality Images:
Start with high-resolution images for better editing results and overall image quality. Higher resolution images contain more detail, allowing for more precise editing without sacrificing clarity or sharpness.
· Adjust Lighting and Contrast:
Play around with brightness, contrast, and exposure settings to achieve the desired look and feel. Properly adjusting lighting and contrast can dramatically improve the overall appearance of your photos, making them more dynamic and engaging.
· Resize and Straighten:
Use resizing and straightening tools to remove unwanted objects and improve composition. Cropping allows you to remove distractions and focus on the main subject, while straightening helps correct any tilting or off-center framing.
· Pay Attention to Details:
Take the time to zoom in and check for any remaining imperfections or artifacts after removing watermarks or objects. Attention to detail is key to producing polished and professional-looking images, so be sure to thoroughly inspect your edits for any inconsistencies.
· Save Your Originals:
Always keep a copy of the original image before making any edits to preserve the integrity of your photos. Saving the original allows you to revert back to the original version if needed and ensures that you always have a clean starting point for future edits.
Conclusion
Removing watermarks from photos has never been easier, thanks to platforms like insMind. With its user-friendly interface and powerful AI technology, anyone can now effortlessly enhance their images and eliminate distractions.
Whether you're a professional photographer or just someone who loves capturing memories, insMind offers a hassle-free solution to this common frustration.
So, why wait? Give insMind a try today and see the difference for yourself.




































![How to Add Logo to Photos Online for Free [The Simplest Method] How to Add Logo to Photos Online for Free [The Simplest Method]](https://static.xsbapp.com/market-operations/market/side/1718795949162.jpg)
![How to Remove Tattoos from Photos [Ultimate Guide 2024] How to Remove Tattoos from Photos [Ultimate Guide 2024]](https://static.xsbapp.com/market-operations/market/side/1718787534476.jpg)


