How to Replace a Face in a Photo Without Losing Quality - 2 Ways
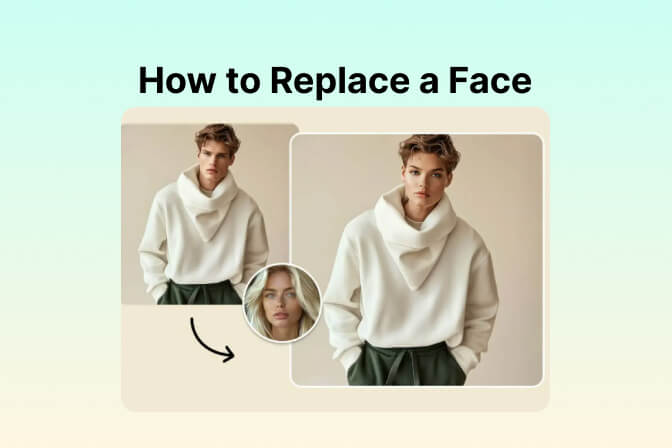
By replacing faces in photos, you can adopt creative ways to enhance images, fix imperfections, or simply have fun. From editing group pictures to swapping faces with friends, this trend allows people to explore their imagination and add a touch of humor to their visuals.
With many tools available today, achieving professional-looking face swaps is easier than ever. insMind has emerged as a standout choice among these tools, offering AI-powered precision for seamless editing. This article will explore how to replace a face in a photo with insMind and Photoshop, guiding you through the process.
Table of Contents
- 01 How to Change/Replace a Face in a Photo with insMind
- 02 How to Change Face in Photo with Photoshop
- 03 Interesting Use Cases of Replace Face in a Photo
Method 1. How to Change/Replace a Face in a Photo with insMind
For professional-grade face swapping, insMind is the ultimate tool combining advanced AI with seamless editing capabilities. Moreover, insMind's realistic blending technology ensures that the swapped faces match perfectly with the original image.
Additionally, this AI-powered platform offers a variety of creative face-swapping options to let you experiment with different styles. To start with insMind's fun face-swapping process, follow these steps while learning how to change your face in the photo:
Step 1. Access the AI Face Swap Tool
Begin by opening the insMind website on your browser and navigating to the "Free Tools" tab. From there, locate the "AI Face Swap" tool and click on it to open its homepage. Once you're on the AI Face Swap tool page, click on the "Upload a Photo" button to select and add the photo where you want to replace a face.

Step 2. Upload the Original and Target Image
Upon uploading the image, it will be displayed within the "Original Image" area in the AI Face Swap panel. Next, tap the "Select a Photo" button in the "Face Image" section to upload the target face you want to replace with the original image.

Step 3. Begin the Face Swapping Process
When both source and target faces are uploaded, press the "Click to Generate" button to begin face-swapping.
After the face swap process is complete, press the "Download" button at the top-right corner of the interface. Select your desired export file format or quality from the drop-down menu that appears. Once you've made your selection, tap the "Download" button to save the swapped image to your device.

After going through the above discussion, it's evident that using insMind is a straightforward and effective way to replace photos. Its advanced face blending technology ensures that the face swap is both precise and seamless, without the need for any manual adjustment. Therefore, users looking for a quick solution for creating fun face swaps must give insMind a try.
Method 2. How to Change Face in Photo with Photoshop
As one of the most reliable alternatives, this tool helps you learn how to replace faces in photos. Using its object selection tool, users will be able to cut the face from the source image and place it on top of the target image. However, manual input and careful adjustments are required for a seamless result.
Moreover, to make the face swap more natural, you can use the match color feature to match the skin tones between the new face and the target image. For optimal results, editors can use the layer masks feature to non-destructively refine edges and seamlessly blend the swapped face into the target image. Follow the below step-by-step guide to use Photoshop for face swapping:
- After importing both the source and face images, use the "Selection Tool" tool to carefully outline the face you want to place on the target picture.
- Then, copy the selected face and paste it on top of the image you want to replace. Using your cursor, carefully position it in place by aligning the face with the body.
- Once you've pasted the face, reduce the "Opacity" of the face to blend it into the image. Afterward, adjust its size to match the dimensions of the original face as closely as possible.

- To create an overlap of the face with the body, head to the top menu and click on "Select," then choose "Modify" and select "Contrast." Moving forward, navigate to the "Layers" section from the right-side panel and click on the body layer that contains the original face. Upon making a selection similar to the pasted face, press "Delete" on your keyboard to remove the original face.
- For blending the new face onto the old one, select both layers and head to the "Edit" option on the top toolbar. Then, select the "Auto-Blend" layers option to open a pop-up window. From there, choose "Panorama" as the Blend Methods, ensure both checkboxes are marked, and press "OK."
- To apply final touches, tap on the "Eraser" icon on the left of the screen and remove any visible edges to smoothen out the picture.
Part 3. Interesting Use Cases of Replace Face in a Photo
After learning how to replace someone's face in a photo, it's important to understand this technique's various use cases across different industries and creative fields. Replacing faces brings a fun touch to your projects and has practical applications in multiple sectors. To learn more about how this technique can be utilized, the following are some of their key applications:
Replace Face with Another Gender: When you are curious about how you'd look as the opposite gender, these tools allow you to experiment with gender-swapped versions of yourself. It's popular for entertainment, self-discovery, and even character design.

Replace Face with Your Baby: If you are wondering how your baby would look with your facial features, swapping your face with your child's can create adorable outcomes. This use case scenario is ideal for sharing on social media or creating cherished family keepsakes.
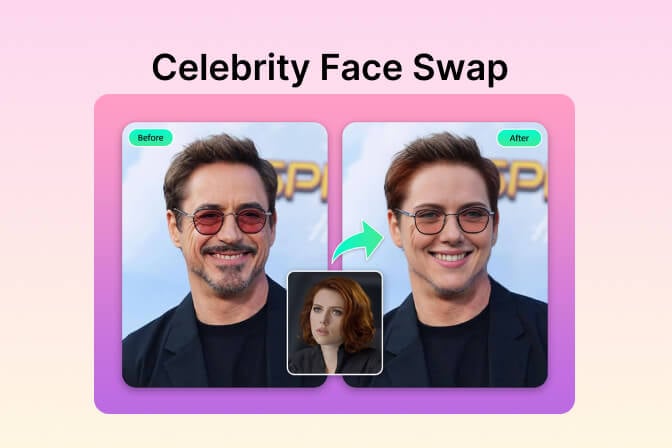
Replace Face with a Celebrity: You can step into the limelight by replacing your face with that of a celebrity. Such face swap technique is optimal for role-playing or simply enjoying a playful fantasy of living as a star for a day.

Replace Face with Famous Art Painting: Users even get the ability to transform their face into a work of art by replacing it with iconic figures from famous paintings. Whether it's Mona Lisa's mysterious smile or Van Gogh's intense gaze, this creative use adds a touch of cultural flair.
Conclusion
In conclusion, replacing photos is a powerful technique with numerous creative and practical applications across various industries. While Photoshop offers a reliable method for learning how to replace faces in a photo, its dependence on manual adjustments and complex features can make it challenging for beginners. This opens the door for AI-powered face swap tools like insMind AI, offering a one-click solution that delivers seamless results with minimal effort.
Ryan Barnett
I'm a freelance writer with a passion for editing and designing photos. Here at insMind, I strive to educate users on image creativity, photography, and enhancing product photos to help grow their businesses.



























































![How to Add Logo to Photos Online for Free [The Simplest Method] How to Add Logo to Photos Online for Free [The Simplest Method]](https://static.xsbapp.com/market-operations/market/side/1718795949162.jpg)
![How to Remove Tattoos from Photos [Ultimate Guide 2024] How to Remove Tattoos from Photos [Ultimate Guide 2024]](https://static.xsbapp.com/market-operations/market/side/1718787534476.jpg)
