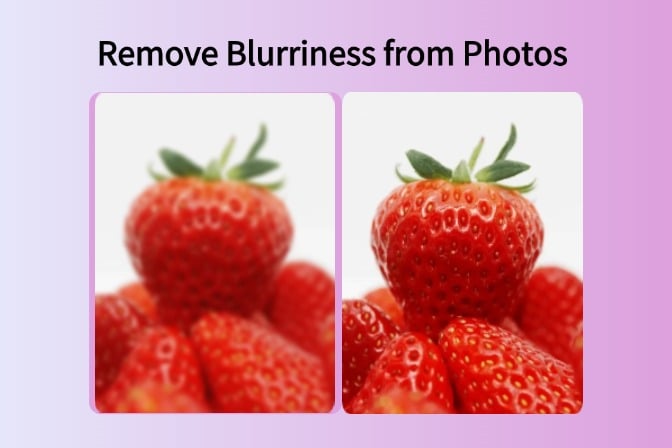
As a social media influencer or photographer, you may strive to capture the perfect photos. However, if these images turn out blurry, knowing how to sharpen an image can immensely help enhance its intricate details. Moreover, sharpening fuzzy photos can soften the edges and define lines, giving a professional feel. In this article, we'll go through multiple ways on how to sharpen a blurry image to help you improve the overall outlook.
Table of Contents
Way 1. How to Sharpen an Image with insMind AI Image Enhancer for Free
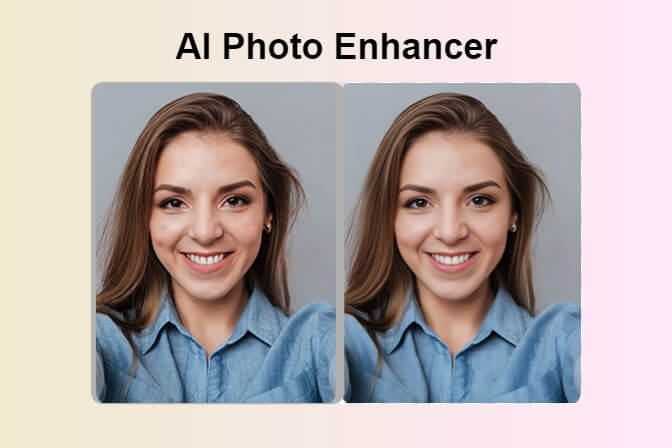
Professionals may need high-quality images to boost their e-commerce sales, set up a portfolio, and other assorted operations. To help them do so, insMind AI Image Enhancer effortlessly improves the overall quality of the image in ultra-HD resolution. Its AI algorithm can boost the clarity of any type of image, including landscape, portraits, and even text, for the ease of the users.
Furthermore, the insMind image enhancer can improve the overall quality, color, and edges, giving you a clear and crisp image. This way, users can quickly fix blurry and grainy photos by increasing saturation. You get the ability to restore old, faded, and damaged photos with this enhancer to eradicate the defects and provide a refined piece. Now, let's learn how to sharpen blurry photos with insMind by following the given steps:
Step 1. Upload Blurry Photo to insMind Image Quality Enhancer
Start with accessing the insMind AI Image Enhancer across your browser to repair your image. Use the "Upload a photo" button to add the desired blurry photo from the dialogue box.

Step 2. Choose Sharpen Quality Level
As the image opens across the respective AI image enhancer tool, select from any of the two available levels. With the HD level, you can enhance images up to 1x; however, if you wish to enhance your image up to 4x, you should go with "Ultra HD".

Step 3. Download High-Resolution Image
Once satisfied with the quality change, press the "Download" button to save the high-resolution image on your device. Navigate to the "Edit" button if you want to make some changes such as including an AI background to the enhanced images before downloading them.

Way 2. How to Sharpen Fuzzy Photos with Photoshop
One of the best photo editors and enhancer tools, Photoshop, comes with a vast collection of outstanding features. You can enhance image quality with the sharpening tool and drag it all over the edges to pop out the details. Likewise, by controlling the amount, radius, and threshold, utilize this tool to give an image a sharp look. In the following section, learn how to sharpen images in Photoshop with a few clicks:
Step 1. Open Photoshop on your computer and access the blurred image on its main interface. Head to the left side panel, and from within the "Layers" tab, duplicate the layer by dragging it to the "+" icon.

Step 2. Navigate to the top and access the "Filters" tab to open a drop-down menu. There, select the "Sharpen" option from the displayed list and select "Unsharp Mask" from the protruding menu.

Step 3. When the "Unsharp Mask" dialogue box appears, change the "Amount" to 180% and turn the "Threshold" to 0. After that, adjust the radius until the image looks high-quality and loses all the fuzziness. Finally, "Preview" the "before" and "after" results and press the "OK" button to finalize the image.

Way 3. How to Sharpen an Image with GIMP Sharpening Tools
GIMP is a free image manipulation program through which every photographer and designer can enhance their photos with the sharpening tool. This feature helps you get sharp borders, uniform colors, and accentuated image edges to create a high-quality photo. You can obtain a more natural and sophisticated look for your images while using this tool. Here, we have provided straightforward steps on how to sharpen an image in GIMP:
Step 1. Install and access the GIMP software and open its main interface on your computer. As you import the blurred image, lead to the top toolbar and choose "Filters." From the drop-down menu, extend the "Enhance" option and select "Sharpen (Unsharp Mask)."

Step 2. After that, a small settings dialog box will appear on your screen from where you can modify the image. In these settings, change the "Radius" value to 2.490 and the "Amount" value to 1.470. Next, "Preview" the final result with the previous image and make more adjustments if it still looks blurry. Once you are satisfied with the changes made, select the "OK" button to finalize all results.

Part 4. Reasons Why insMind is the Best Choice to Sharpen Blurry Image
Aside from all the other tools, such as Photoshop, insMind proves to be the best choice to enhance and sharpen images. This tool not only enhances but also brings vibrancy to your old and blurry photos within a few steps. Get to know more about the AI Image Enhancer feature from the following key benefits:
- High-Quality Output: With this next-generation AI image enhancer, you can improve the overall quality of the images and receive high-quality results.
- Easy to Use: insMind is an easy-to-use and effective enhancer tool that beginners can utilize to produce perfectly enhanced images.
- Quick & Efficient Results: The AI algorithm makes it easy for users to produce high-quality results within seconds and doesn't require manual adjustments.
- All-in-One Platform: You get to use features other than the sharpening tool with insMind, such as AI backgrounds, AI shadows, and resizing options.
- Powerful AI: This tool uses a powerful AI photo enhancer mechanism, which automatically enhances the image without needing to adjust anything.
Part 5. Helpful Tips for Users to Take Sharp Images on Camera
When you struggle to capture the perfect picture, you may need some tips to improve your camera work. Users who don't know how to sharpen fuzzy photos can take guidance from these helpful tips:
- Using a Tripod: By utilizing a tripod, you can immensely increase the quality of the images as it keeps the camera still and lets you capture stunning pictures.
- Eye Autofocus Mode: Photographers must have the Eye AF mode enabled as it ensures perfect focus and avoids taking blurry pictures.
- Enable Single Focus: The single focus feature of a camera locks its focal point on a subject, making it easy to take sharp images.
- Alter Shutter Speed: When you increase the shutter speed on your camera, it prevents motion blur so that you can take photos without worrying about fuzziness.
- Aperture Settings: If you want a detailed close-up photo with your camera, using the aperture settings can help capture refined and crisp details of someone.
Conclusion
Throughout this article, we have learned that sharpening an image can improve the overall professional appearance of the image. You can utilize such pictures on social media, boosting your sales and portfolio. To achieve that, we looked at the top methods of how to sharpen an image with Photoshop and GIMP.
However, if you are looking to get an enhanced image instantly, use the insMind AI Image Enhancer tool, which uses an AI algorithm to sharpen the image. Head on over to its website and discover several advanced photo editing tools to get an improved outlook.














































































![How to Add Logo to Photos Online for Free [The Simplest Method] How to Add Logo to Photos Online for Free [The Simplest Method]](https://static.xsbapp.com/market-operations/market/side/1718795949162.jpg)
![How to Remove Tattoos from Photos [Ultimate Guide 2025] How to Remove Tattoos from Photos [Ultimate Guide 2025]](https://static.xsbapp.com/market-operations/market/side/1718787534476.jpg)
