How to Make Passport Size Photos at Home: A Step-by-Step Guide
Taking pictures for the passport at home can be very simple due to the new tools, like insMind. Beginning with background erasing to resampling photos for specific country standards, this beginner's guide will teach you the proper technique for the most successful outcome. We all know that these are very useful in identity cards, permits, visas, and other travel.
Now it is not necessary to have them done by a specialist, making passport photos at home is both easy and cheap. In this guide, there is a step-by-step process of creating passport-photo size photos that meet the country's standards and shows how insMind Background Remover and AI Background Changer are helpful to aid in this process.
Table of Contents
- 01 Part1: How to Develop Passport Size Photos at Home: A Ste-by-Step Guide
- 02 Part2: Tips for Professional-Looking Passport Photos
- 03 Part3: Get Familiar with Country Specific Guidelines
- 04 Part4: The Benefits Of Creating Your Passport Photo At Home
- 05 Part5: Common Mistakes to Avoid
- 06 Part6: insMind Simplifies Passport Photo Creation Experience
Part1: How to Develop Passport Size Photos at Home: A Ste-by-Step Guide
Here is our detailed guide on how you can make your passport-size photo at your home without needing any expert tools or skills.
· Take a Suitable Photo
The first part of this process is taking the right photo. It is important to note that every other photo will not be perfect for this requirement. So, getting the right photo is the basis of having a good passport-sized photo. Follow these tips for a proper photo:
Lighting:
Choose ambient light instead of bright spotlights, in order to avoid shadows, cast on the figure. Natural daylight works best, however artificial light with diffusion is also acceptable.
Angle and Posture:
The facial perspectives add to the neutral impression obvious once the person stands straight and heads level with the camera.
Background:
You should cover the wall or curtain or any object if you can to avoid distractions. It is easier to edit a picture that has a plain background preferably in a neutral color.
· Remove the Background
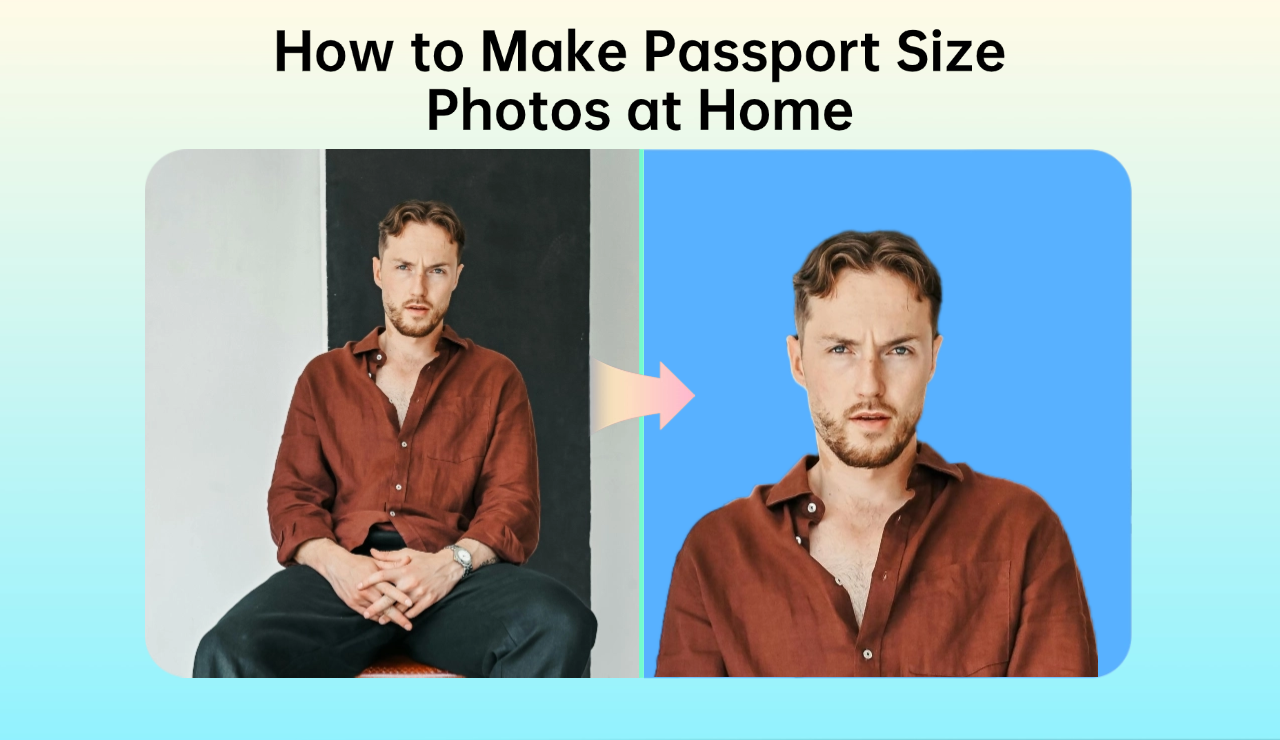
Subsequently, the captured photograph requires the background to look neat and empty to meet state requirements. Here’s how to use insMind Background Remover to delete background from image:
Step 1: Access the Tool:

Open the insMind Background Remover. It is an online tool and works on every computer that has an internet connection irrespective of the browser and the operating system you use.
Step 2: Upload Your Image:

To do it, either drag and drop the photo you’d taken or upload it.
Step 3: Let the AI Work and Download the Result:

Step4: Choose a white background
 Taking out the background from the subject becomes very easy. The tool does this for you. Now download the photo with the background erased for further enhancements.
· Resize the Image
When you remove the background from your photo, it is then necessary to be sure the photo meets the size requirements for a passport. Resize your photo without losing quality by using insMind Image Resizer.
Step 1: Access the Tool:

Visit the insMind Image Resizer.
Step 2: Upload Your Photo:

Choose the image with a clean background.
Step 3: Choose Dimensions:

Enter the dimensions necessary for your country’s passport.
Step 4: Download the Resized Image:

After that save your image to your offline storage by clicking Download.
· Adjust Background with insMind AI Background Changer.
If your country needs specific background colors, you can choose to use insMind AI Background Changer to pick up the perfect background.
Step 1: Access the AI Background Changer:

Go to the AI Background Changer.
Step 2: Upload Your Image:

Then upload that resized photo.
Step 3: Select Background Color:

Go to the Background section and choose the desired color. Light grey or another required shade is available to choose from.
Step 4: Preview and Download:
Save the updated image after review.
· Final Edits and Export
Fine-tune your passport photo before and then print or submit. Here are some final editing tips for you to follow:
Brightness and Contrast:
Using insMind Photo Editor you can adjust these settings on the image so that it’s clear.
Format and Resolution:
JPG or PNG format save the image and make sure it meets the resolution requirement.
Part2: Tips for Professional-Looking Passport Photos
Since you are creating your passport pictures as a beginner and have no prior experience or expert tools, here are some tips that you can follow for creating and submitting the most professional images:
Proper Lighting for Clarity
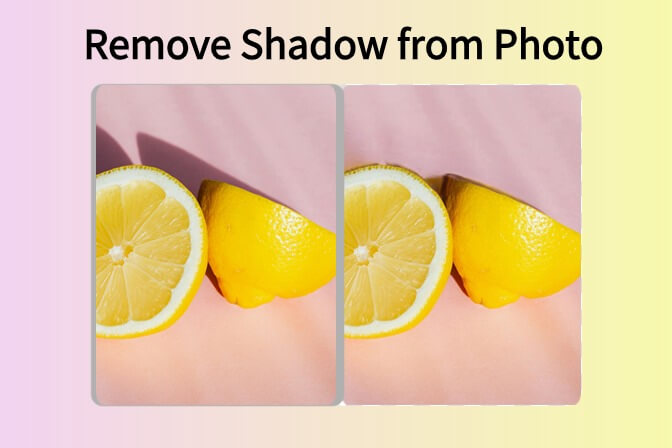
Passport photos can be ruined by shadows. Don’t let there be drastic contrasts. To achieve a clean and professional look; you can remove shadows with the insMind Remove Shadow from Photo tool in post-production.
High-Resolution Images
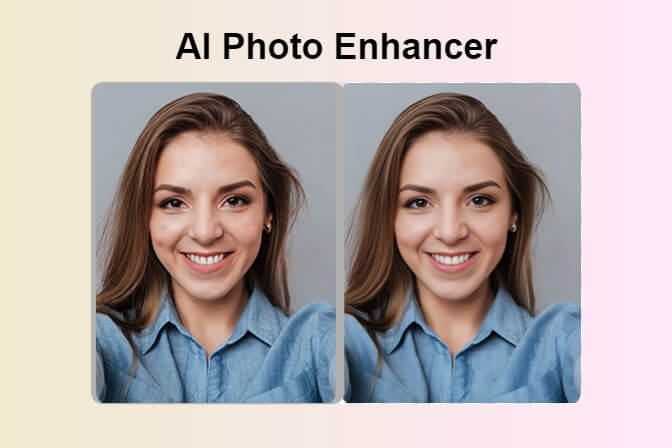
Rejects may be made based on low-quality images. The insMind AI Image Enhancer tool allows for upscaling and sharpening of your photo to make it crisp, with resolution specs met.
Part3: Get Familiar with Country Specific Guidelines
Passport photos are unique from country to country. Before you begin editing, be sure to know all the rules. Here’s a quick reference that you can follow according to your country:
|
Country |
Size |
Background |
Guidelines |
|
Hong Kong |
40mm x 50mm |
White or Light Grey |
A full face is visible, and there is a neutral expression, no shadows. |
|
United Kingdom |
35mm x 45mm |
Light Grey, Cream, White |
Head size 29-34mm, no smiling, glasses allowed without glare. |
|
Japan |
35mm x 45mm |
Plain White or Light Blue |
Head height 32-36mm, no accessories obstructing the face. |
|
China |
33mm x 48mm |
Plain White |
Present the frontal view to the camera with the entire head and face visible. |
|
United States |
2x2 inches (51mm) |
Plain White or Off-White |
Head height 25-35mm, neutral expression, no shadows or heavy makeup. |
|
India |
51mm x 51mm |
White |
A clear view of face and ears, no headgear unless for religious reasons. |
Part4: The Benefits Of Creating Your Passport Photo At Home
Here are some of the best benefits of creating your passport photos at home.
Lots of Options
If you are risk-adverse, a good passport photo has to meet stringent regulations when applied by your local photography business. However, outside that situation, there are benefits to creating your passport photos at home.
Cost Efficiency
Home passport photos eliminate the cost of hiring professional photography studios, which commonly charge large fees for simple tasks. Tools like insMind help you get professional results, without costing a small fortune. Over time, the cumulative savings do add up, especially if you have families or businesses that need frequent photo updates.
Convenience
Tools such as insMind allow you to zero in on your goal without ever having to deal with preplanning appointments or taxiing to a studio, saving you precious time, even if it's in the middle of a hectic day or a sleepless night.
Customization
With DIY passport photo creation, you have full control over your final image. You can adjust brightness, contrast, or background color to perfectly match requirements for country-specific requirements. This flexibility ensures your photos are either official or if you need fine-tuning details to your pleasure.
Privacy
Editing your passport photos at home keeps your personal information safe. You won’t have to give out personal images to third parties, protecting against failure use or data breach via online tools from insMind which are both safe and easy to use.
Part5: Common Mistakes to Avoid
As you are creating your passport photos, here are some common mistakes that you need to avoid for better results:
Incorrect Sizing
Rejection of your image can occur if the wrong dimensions are used. Before submitting, always check the size and resolution requirements for your country.
Shadows on the Face
Sometimes facial features are obscured by shadows and candidates are rejected. Use proper lighting during the shoot or then use tools such as insMind Remove Shadow from Photo to correct labels.
Overediting
Adjustments are needed but too much editing can make the photo seem artificial. Limit yourself to such simple enhancements as brightness and contrast, and changing the background.
Failure Not to Follow Country Specific Rules
Your photo is invalid if you ignore rules like background color or facial expression. You have to thoroughly research the requirements and apply them while you are editing.
Part6: insMind Simplifies Passport Photo Creation Experience.
With insMind, you get the best experience of creating your passport photos at home. Here's how:
Comprehensive Tools
Whether you want to remove backgrounds from photos, resize images, or improve quality, insMind has got it covered. This one-stop platform simplifies the editing process.
AI-Powered Features
The AI-driven tools such as Background Remover and Image Enhancer result in professional quality with very little effort. With the AI it’s precise so it’s quicker and easier.
Free and Accessible
All of insMind’s tools are free and are online so that they are accessible to everyone. The platform adjusts according to your needs when you use it on a computer or a smartphone.
User-Friendly Interface
insMind is a good bet for beginners as the layout is easy. You can make beautiful passport photos in minutes no matter how inexperienced you are at editing.
Conclusion
How to make passport-sized photos at home is now made much easier using the correct tools and techniques. With insMind’s AI-powered features, you can create quality pictures that meet the professional level and international guidelines with this comprehensive guide.
Whether you want to remove backgrounds for a neat finish, want to fit your image to particular pixel requirements, or need to satisfy cross-country constraints; insMind is easy and convenient. With this approach, you always have full control over the editing process and save yourself time and money since you no longer need to call upon the services of a professional.
With insMind’s incredible tools, e.g. Background removal and image resizing, you will effortlessly be able to create high-resolution passport photos. The intuitive design of the platform helps everyone from beginner to expert. Polish the skills you to use passport photos to accurately represent yourself and have compliant passport photos at home without leaving a smudge behind.
Ryan Barnett
I'm a freelance writer with a passion for editing and designing photos. Here at insMind, I strive to educate users on image creativity, photography, and enhancing product photos to help grow their businesses.






















































![How to Add Logo to Photos Online for Free [The Simplest Method] How to Add Logo to Photos Online for Free [The Simplest Method]](https://static.xsbapp.com/market-operations/market/side/1718795949162.jpg)
![How to Remove Tattoos from Photos [Ultimate Guide 2024] How to Remove Tattoos from Photos [Ultimate Guide 2024]](https://static.xsbapp.com/market-operations/market/side/1718787534476.jpg)
