Passport Size Images vs Regular Photos: Everything You Need to Know
In our day-to-day lives, we use photos for different use cases, whether your reason is for official documentation or creative expression. Passport photos are strict and have to be according to the guidelines and regular photos are a bit flexible in artistic and personal context.
Modern tools like the insMind Passport Photo Maker make navigating the requirements of both easier than ever. To get what you're looking for, you need to know the details of each type. Are you putting that image on paper or posting it on social media?
With this extensive guide, you can learn the basics of a passport photo and have success taking both regular photos and passport photos.
Table of Contents
Part 1: The Essentials of Passport Photos
A passport photo is a specific type of photograph to be used for official identity. Passport photos help keep things consistent and adherent to that legal standard, no matter if you are applying for a passport, visa, or government ID.
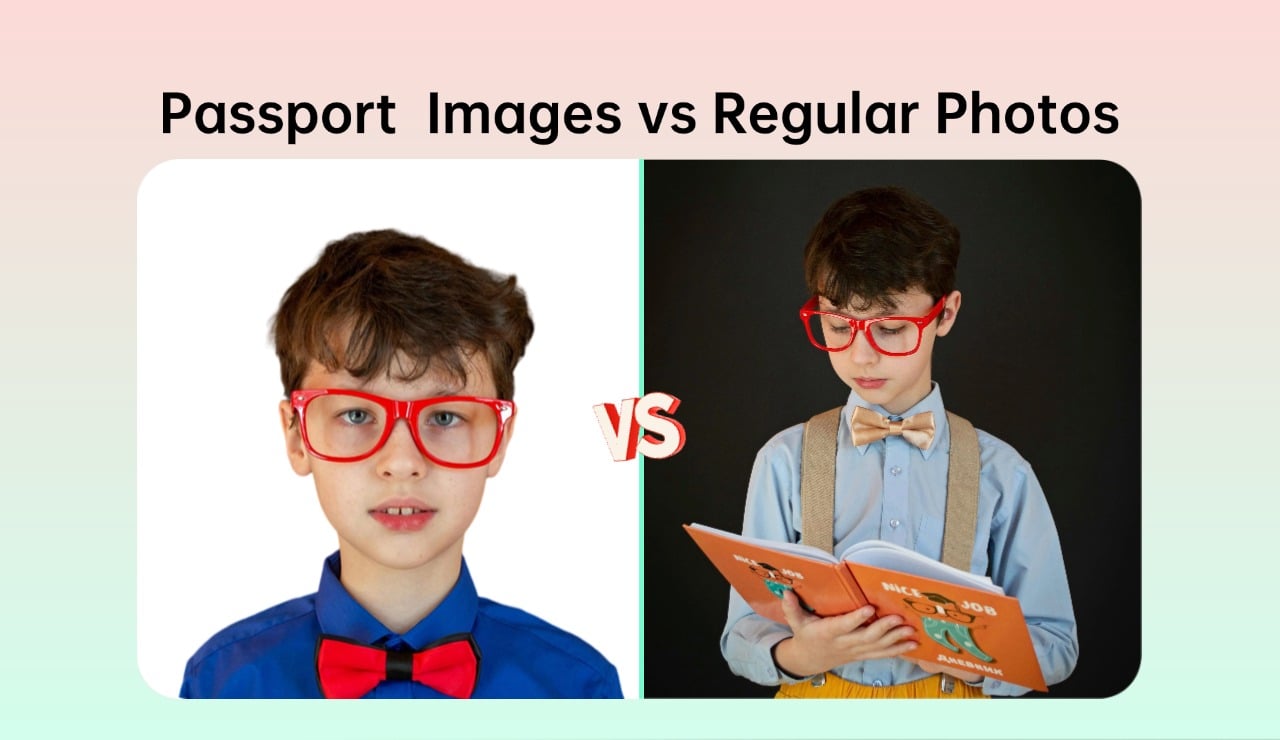
They speed up identification, helping to ensure consistency on official records. Passport photos are quite different from casual pictures in that dimensions, background, and position are all important things to get right.
Key Characteristics of Passport Photos
A passport photo has specific characteristics to meet the standards internationally which are listed below:
· The size of passport photos varies between countries. For instance: passport photos in some parts of the world need to be 2x2 inches. Though the dimensions are a little different, usually 35x45 mm, in some other parts.
· This means passport pictures should not feature any patterns or a busy background to draw attention solely to the face of the subject. Sometimes you can just be rejected for photos based on whether there are shadows or patterns. So, the background colors usually used are white or light blue.
· The face has to be neutral; both eyes open and looking directly into the camera. Strictly prohibited qualities include tilting the head and using exaggerated expressions.
· The lens must be clean. If a hat or sunglasses are worn on the face in the photo, that accessory should be removed.
Common Errors to Avoid
When capturing passport photos, it is important to avoid the following mistakes to achieve perfect results:
· Improper lighting can create unwanted shadows and can lead to a lower-quality in the photo. It's about getting even lighting that feels soft at the same time.
· Don’t wear bright or reflective clothing that blends into the background. The best attire is solid, non-white.
· Each country has its specs. Ignoring these may mean that you get rejected, meaning time and money have been wasted.
With these mistakes avoided, your passport photos will turn out to be perfect in terms of quality and meeting every official requirement.
Part 2: Understanding Regular Photos
Normal images are regular photos, taken for personal, personal, and creative goals. In other words, they aren't rigidly guideline-bound, and they're often used to document moments, tell stories, or display artistic skill.
Key Features of Regular Photos
Below are the key features of regular photos that you must know:
· Experimentation and improvement are made easier with regular photos because they allow us to experiment with angles, poses, lighting, and composition. It's also possible to boost the visual appearance through props and filters.
· In contrast to passport photos backgrounds across regular photos can be wildly varied from outdoors to indoor vibrant environments.
· Filters, color grading, and retouching give us the tools to adapt regular pictures to any cliche or theme.
Cultural and Creative Significance
Regular photos capture the moments, emotions, and cultural expressions. For storytelling, they are critical from family portraits to artistic projects. Yet, most of the time, when these personal touches are added to these photos they become downright cherished keepsakes.
Part 3: Passport Photo vs. Regular Photo Tips
Whenever you are taking pictures, you need to get professional results. Whether you need a passport photo or a regular photo, this section covers tips and tricks to follow for either case.
Passport Photo Tips
Let us get started with tips that you need to follow to capture amazing passport photos:
· For clarity and compliance, use soft even lighting, and a plain background. Don't be in direct sunlight, that'll give you harsh shadows.
· If it’s an overhead camera, then point it up and place it about 3 to 5 feet away from the lens.
· Shoulders relaxed and keep your head straight. This means that when you wear them in solid contrasting colors, the face will stand out.
With insMind, you can Enhance Your Passport Photos.
insMind Passport Photo Maker simplifies creating compliant passport photos. Here’s how to use it:
Step-by-Step Guide
Below are all the steps you need to follow to use insMind passport photo maker online:
Step 1: Access the Tool:

Head over to insMind Passport Photo Maker online on your browser.
Step 2: Upload Your Photo:

Select an image that has good light and a clear view of your face. Drag and drop it to your browser window to upload it to insMind.
Step 3: Adjust the Background:

The background of your image is removed and replaced automatically by the tool with a transparent background. You can set it to any color by clicking on it.
Step 4: Crop to Size:

Click the Resize button to use the tool in a way to lets the dimensions apply based on the passport or ID you want.
Step 5: Download the Photo:

Put your final JPEG or PNG format high-resolution picture and download it on your device for sharing and storing it.

This process involves automatic background removal, cropping, and size adjustment features from insMind to convert your images into perfect passport photos.
Regular Photo Tips
Now that you are done with your passport photos, let us get into the tips for creating g stunning regular photos like professionals:
· Angles, perspectives, and poses are all playthings and are all important to creating visually appealing compositions.
· Use natural and artificial lighting to combine to get what amounts to unique effects like soft glows or dramatic shadows.
· Editing enriches colors, adds artistic filters, fixes the imperfections, and turns ordinary into extraordinary.
How to Adapt Your Approach
Photographing with passport photos requires that you make concessions to one style to accommodate the other. Getting passport photos right matters for precision; properly complying with sizes, backgrounds, and facial expressions for legal standards for passport photos.
On the other hand, taking regular photos lends itself to self-expression, and experimenting with angles, lighting, and filters to show personality and artistic vision. When to put rules first, and when to value creativity so you hit the mark, while saving the photo's integrity and expressive heart, whether official or just fun.
Part 4: FAQs
· What is the most common size requirement for passport photos?
In the U.S. passport photos are usually 2x2 inches; in the UK, they are 35x45 mm.You can convert photo to passport size with insMind photo editor tool.
· Can I take a passport photo using my smartphone?
Yes! With a modern smartphone and tools such as insMind Passport Photo Maker, you can create high-quality passport photos using your smartphone camera.
· How do regular photos differ from passport photos in terms of composition?
Photos for a regular person invoke their creativity while passport photos enforce following strict official guidelines. Meeting these guidelines will ensure that the image meets international standards for documents and professional usage.
· Is there a photo editor that can help create passport-compliant photos?
Yes. The insMind Passport Photo creator with size adjustment, background removal, and alignment tools.
· What are some editing tips for regular photos?
Tools to adjust brightness, and contrast and apply unique filters to make your regular photos shine. However, when editing your regular photos, aim to make them appear as natural as possible as over-editing will result in fake-looking images.
· Can I use a regular photo as a passport photo with edits?
Regular photos can be converted to passport-compliant images using insMind with proper adjustments to size and background. You must make sure that your posture, expressions, and facial accessories are compliant with the passport photo requirements stated by your government.
Part 5: Common Mistakes When Creating Photos
When creating your images, you can make a lot of mistakes from the capturing phase to editing and uploading. So, in this section, we have highlighted some common mistakes that must be avoided by you at all costs for the best results.
1. Distorting the Image
Up-sizing or down-sizing a photograph means stretching or compressing it so that it is no longer in proportion. Keep the same quality always for visual integrity even when reducing the image size.
2. Using Low-Resolution Images
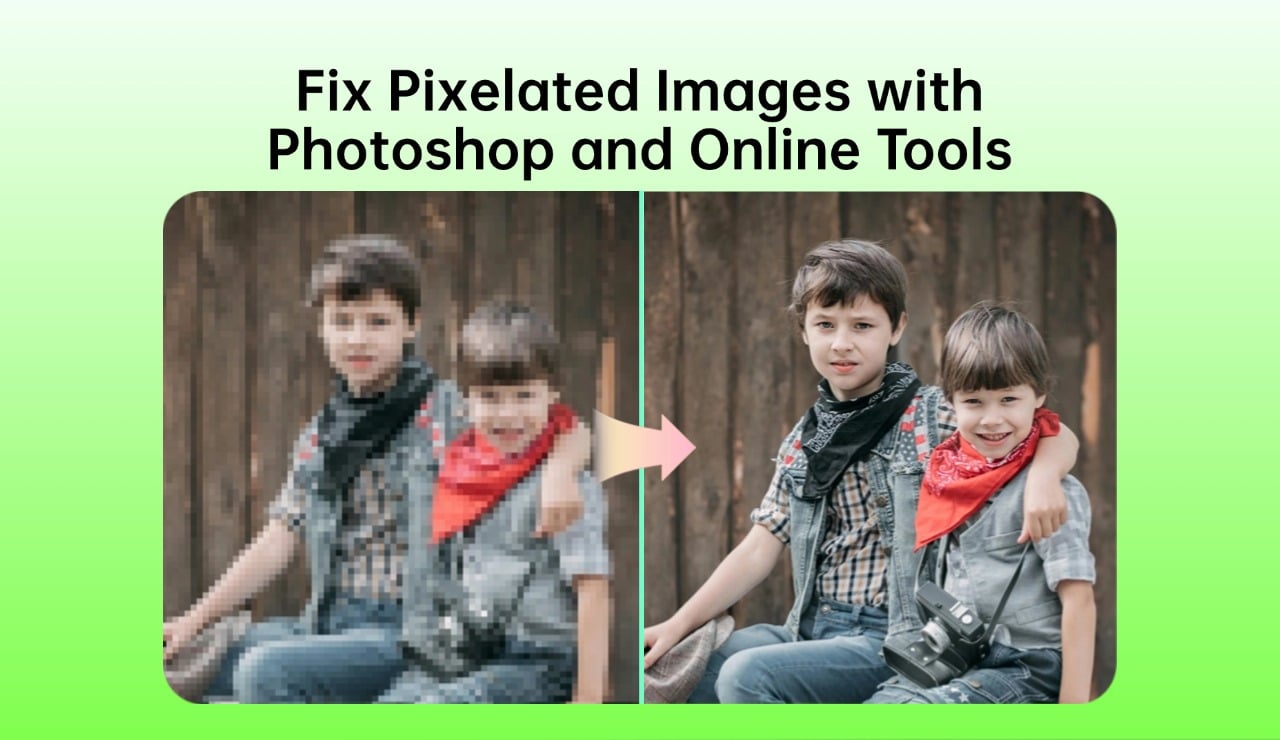
When you resize, images look pixelated at low resolution. So, start with a high-quality picture for clarity and sharpness in post-editing. Removing this simple mistake can make your images look crystal clear even after they are compressed by social media platforms after uploading.
3. Over-Cropping the Image
Crop too much and you can remove a crucial part in a passport photo. Keep the subject centered and framed correctly always.
4. Choosing The Wrong File Format
File formats matter. They are light and load faster, and PNGs keep their classier quality. Choosing between formats is easy using tools like insMind. So, it is crucial to always choose the format between JPEG and PNG according to your use case.
Conclusion
Taking photos for official and personal purposes doesn’t have to be difficult. Knowing the difference between passport and regular photos, and using apps like the insMind Passport Photo Maker, you will get accurate and creative shots every time.
Whatever method you follow, whether it's to use the images for some official documents or for your personal social media accounts, these techniques are sure to lead to photos coming ahead of your needs, every single time. With insMind, there is no need to hire a professional for simple photos as with the power of your smartphone camera combined, you can make stunning images.
Ryan Barnett
I'm a freelance writer with a passion for editing and designing photos. Here at insMind, I strive to educate users on image creativity, photography, and enhancing product photos to help grow their businesses.


