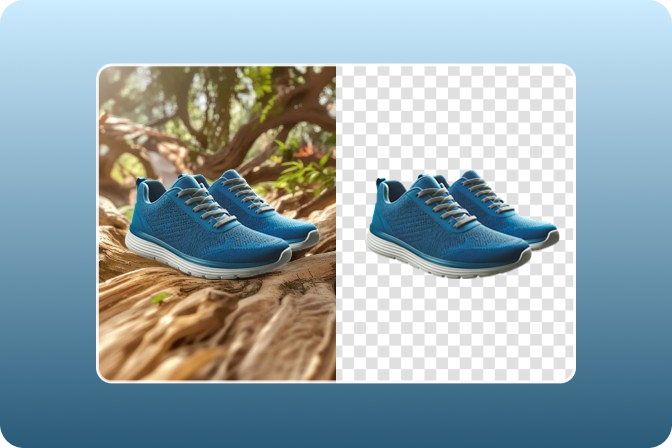
How to Remove Background from Hair in Photoshop and Easier Way
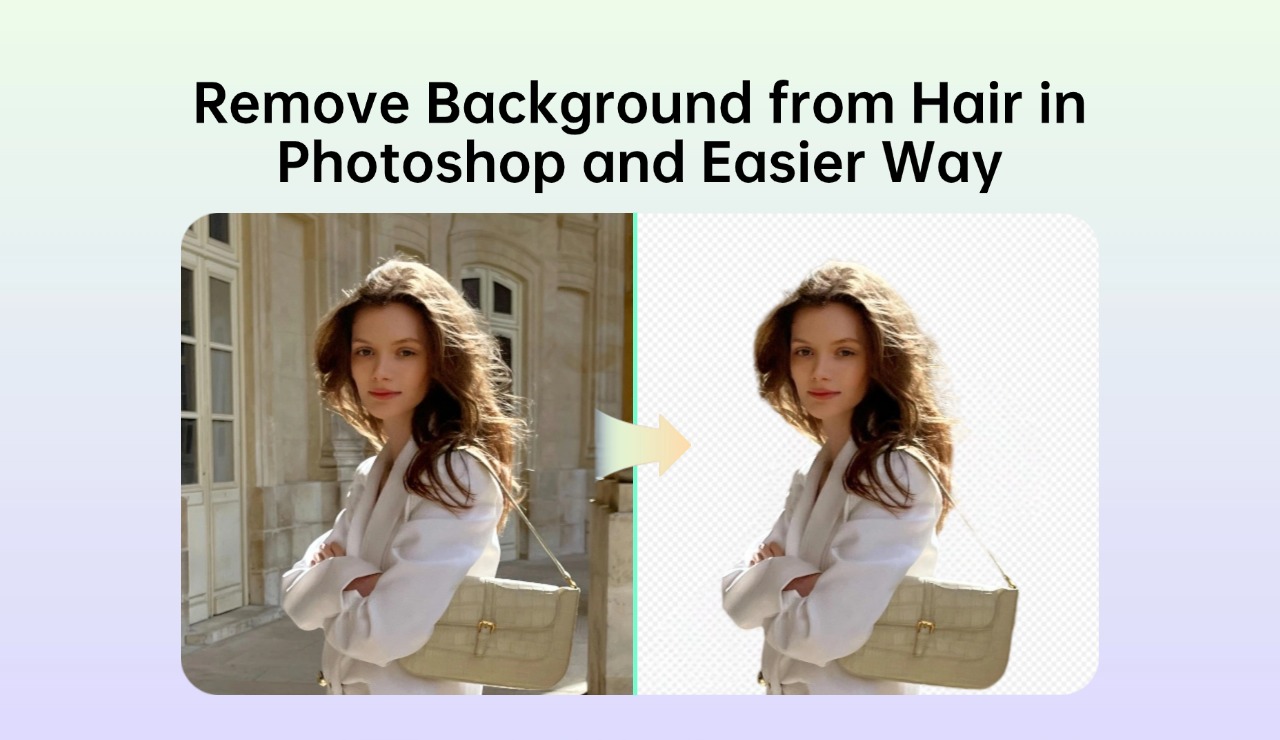
A transparent background is vital in creating visually appealing and professional designs. Whether for advertisements, portraits, or creative projects, clean background removal ensures the subject stands out. But in the case of hair, this task is much more complicated. Hair is one of the most challenging features to cut properly as it has thin strands, jagged edges, and details. Conventional techniques make it difficult to capture these characteristics, and images may appear artificial or unfinished.
Hair’s unique texture and transparency require careful attention and the tools to maintain its realistic appearance. This involves erasing image background while maintaining the hair’s natural movement and volume. Background removal that is not done correctly can be disastrous for the final image, mainly if the image is being produced for business purposes.
This article will address these challenges by discussing two crucial Photoshop techniques that might be useful in handling hair details. Additionally, we’ll introduce an easier, faster option: an AI-based picture background remover. This free and efficient tool helps the process, thus allowing anyone to do it easily. Anyone can benefit from using these techniques to get crisp and professional outcomes without any hassle.
Table of Contents
Part1. Photoshop Techniques for Removing Backgrounds from Hair
The right tools in Photoshop make pulling out the background from images with hair easy and accurate. For simple backgrounds, the Channel Tool is one of the most efficient ways to preserve the details of hair and get a perfect separation of the background. Follow these instructions to get the best results in your work.
Step-by-Step Guide
1. Open the Photo
First, open the image in Photoshop. Check the contrast between the photo’s subject and the background to edit the photo easily.
2. Channel Selection
To view the red, green, and blue channels, you should go to the Channels panel.
Determine which channel provides the greatest difference between the hair and the background. Create a copy of this channel to edit.
3. Adjust Levels
To improve the contrast, select Levels (Ctrl+L or Cmd+L). This will help make the hair strands and the background easily distinguishable.
4. Refine the Channel
Lighten and Deepen tools should be used to make changes in certain areas of the image. Reduce the background brightness and increase the figure contrast to see clear edges on the figure.
Clean up the small stuff with black-and-white brushes, and be careful with the hair strands, especially the edges.
5. Invert and Finalize
Go to the channel selection and invert it (Ctrl+I or Cmd+I) to make the mask. Then, load the selection and copy the subject to a new layer. This results in a clear positive space in the figure.
6. Edge Cleanup
Use the Deepen tool with low opacity to remove any fringes around the hair. This step makes the hair look like it has yet to be worked on and fits well.
7. Place on New Background
Lastly, place the cut-out figure on another background. To avoid any obvious join lines, it may be necessary to smoothen some edges by bringing them into contact with the background.
This method is good for images with plain backgrounds and can be used to get clean photo background removals. It guarantees that even such details as hair are maintained well, which leads to the perfect look of the image. If you want a free remove background feature without much struggle, try an AI picture background remover, making the process easier. These tools can easily strip out the background from images while keeping the finer details, which is time-consuming.
Pros
The Channel Tool is most efficient when the image has a plain, high-contrast background. It gives the user excellent control of the cut-out process, making it suitable for hair. This makes the work neater and more professional, especially with delicate textures.
Cons
This method takes much time and demands high accuracy. Some operations, including edge enhancement and detail cleanup, may be done manually. It can be less than perfect for beginners or those who want a ready-made solution to background elimination.
Part2. For Complex Backgrounds— The Refine Edge Tool
One of the difficulties of an image with a complex background is removing the background while maintaining the complex hair structure. The Refine Edge tool is perfect for this challenge since it provides natural and precise results. Below, you will find a brief how-to guide on correctly utilizing the Refine Edge tool, which is particularly helpful for hair.
1. Open the Photo
Import the image into Photoshop. Ensure that the image you use has high definition to remove the background.
2. Outline Clear Edges
You should use the Pen Tool to create smooth outlines in areas without transition between the background and the hair.
Do not choose challenging areas to distinguish from the background, as these will be edited using the refine edge function.
3. Convert Path to Selection
After the outline has been drawn, press (Ctrl+Enter or Cmd+Enter) to make this an active selection.
Lastly, select the area and then blur it slightly using (Shift+F6) to give the edges the look of a feathered selection.
To make the background white, create a new layer and paste the selection into it, but this time, the subject will be the background.
4. Refine Hair Details
To eliminate a visible hairline or add some naturalness, use the Smudge Tool to blend it with the background or fix hairs from the model’s head.
To cover any gaps or missing parts, paint them with a 4px brush to boost the density of thicker hair parts.
For a more realistic look, you can use a brush size of 2 to draw some very thin and split strands of hair that grow naturally.
5. Enhance Realism
Proceed to the refining step to add more detail and texture to the hair, especially the grudge. This is because the hair looks natural, and one can easily blend it with any new environment in which the client may want it tied.
This tool is useful when applied to images with the subject’s hair blending with the background, which can be a complex one or even a kaleidoscope. It can even choose details like hair, which is helpful for photo editing graphic designers.
Pros
The Refine Edge tool is excellent for detailed and delicate hair selection and complex backgrounds. It also helps to hold the slightest hair strands and gives the hair natural texture and volume. This technique gives a good, realistic, and professional finish, therefore suitable for high-quality image editing.
Cons
It is not very easy and requires expertise in Photoshop. It also needs a lot of work and fine-tuning, especially for newbies. Although the tool produces quality outcomes, it cannot be easily controlled, mainly when using complex or multicolored backgrounds.
Part3. Using AI Tools for Quick Background Removal
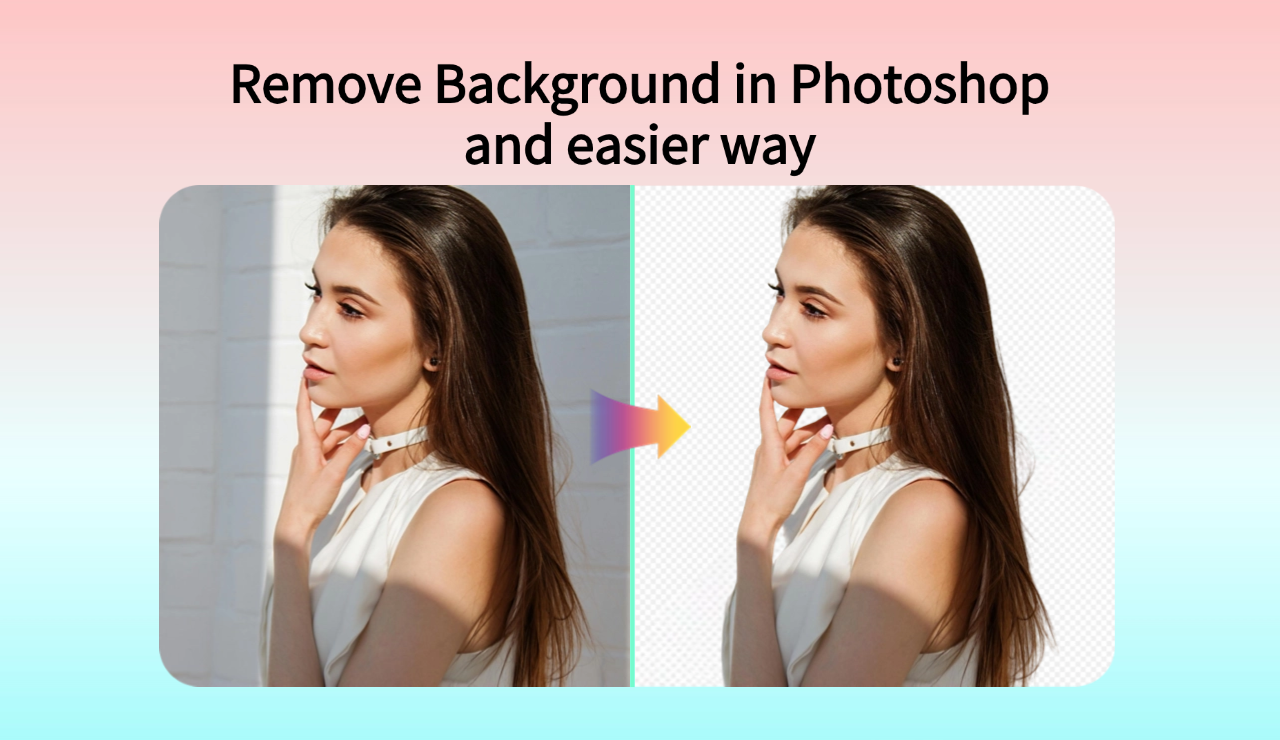
Removing the background from images is tedious, especially when dealing with pictures with complex qualities such as hair. Another good application similar to insMind AI Background Remover uses artificial intelligence to remove the background of images that can be used for personal and business purposes. This tool is designed to help with that and will give fairly decent results comparable to those of a professional using Photoshop, even if the user needs to be more skilled in the program.
Here are some of the features of the insMind AI Background Remover;
Hair handling is one of the benefits that the insMind AI Background Remover provides. This application enables users to detect and remove image background in real-time with minimal human interference, even from the thinnest hair strands. It can create smooth and natural-looking wrinkles with great ease in areas that are difficult to fold with hands.
This tool is straightforward and can be used by anyone who needs to edit—you don't have to be tech-savvy. You don't have to master new techniques or spend much time on shading and highlights of the portrait—simply choose the picture, and the tool will do the job. This makes it ideal for anyone who wishes to remove the background with little effort.
How the insMind AI Background Remover Works
The insMind AI picture Background Remover is a tool with a free remove background feature with no hassle when it comes to the hardest parts of the image, for example, hair. Here’s a simple step-by-step guide to how it works:
1. Access Background Remover Tool in insMind
Go to the official tool page at Background Remover Tool. You will be taken to a clean interface, which is designed for you to go through with ease.

2. Upload the Photo
Then, let’s import the image into the insMind platform. The tool supports many file types and can open most photos.


3. Apply the AI Background Remover
You only need one button to make the AI-based program work and process your image. It recognizes the subject and erases the background, removing unwanted hair without affecting fine skin details, including hair strands, to give you a perfect finish.

4. Review and Download
After you have processed the image, it is essential to decide whether it is satisfactory. If satisfied, you can download high-quality photos for personal or commercial use.
This easy-to-use process does not call for expertise or adjustment; thus, it is ideal for anyone who needs an immediate and effective solution to their background removal needs. For any purpose, whether for professional or personal use, it makes the photo background remover task efficient but with quality.

Not only is it fast, but the insMind AI Background Remover is also very flexible. It is versatile enough to be used for basic photo editing and even in professional projects. If you want to cut product images for an online store or fix images for social networks, this photo background remover will be useful.

Setting the background by itself can save time and effort, including complex areas like hair. Users no longer have to spend time learning how to create those sharp edges or master the tools’ functions.
This tool is useful for individuals who need to learn about editing documents. Its interface is easy to use, and anyone can get the best results.
Choosing the Right Method
For users who want fast and easy results without sacrificing quality, the insMind AI Background Remover is a perfect solution to conventional methods. With this tool, you can easily and quickly remove an image's background and return to other artistic work. It is a game-changer for anyone willing to attain a professional appearance easily.
|
Method |
Best For |
Skill Level |
Speed |
Precision |
|
Channel Tool (Simple BG) |
High-contrast backgrounds |
Intermediate |
Moderate |
High |
|
Refine Edge (Complex BG) |
Intricate hair details |
Advanced |
Slow |
Very High |
|
AI Tool (insMind) |
Quick and general edits |
Beginner |
Very Fast |
Moderate |
Call to Action
The result can be completely different if you edit an image and remove a background. Using a picture background remover gives you a neat and professional finish. Whether you need to remove your background for free or require professional background removal, there is a way for you.
You can use tools like Photoshop for a more accurate job or artificial intelligence tools like insMind for a faster and more efficient result. These photo background remover tools can help you easily free remove background from images. The following are methods to remove image background efficiently. Try it out today and watch how to improve your photo editing skills and quickly get professional results!
Ryan Barnett
I'm a freelance writer with a passion for editing and designing photos. Here at insMind, I strive to educate users on image creativity, photography, and enhancing product photos to help grow their businesses.






















































![How to Add Logo to Photos Online for Free [The Simplest Method] How to Add Logo to Photos Online for Free [The Simplest Method]](https://static.xsbapp.com/market-operations/market/side/1718795949162.jpg)
![How to Remove Tattoos from Photos [Ultimate Guide 2024] How to Remove Tattoos from Photos [Ultimate Guide 2024]](https://static.xsbapp.com/market-operations/market/side/1718787534476.jpg)
