How to remove background in Photoshop and easier way
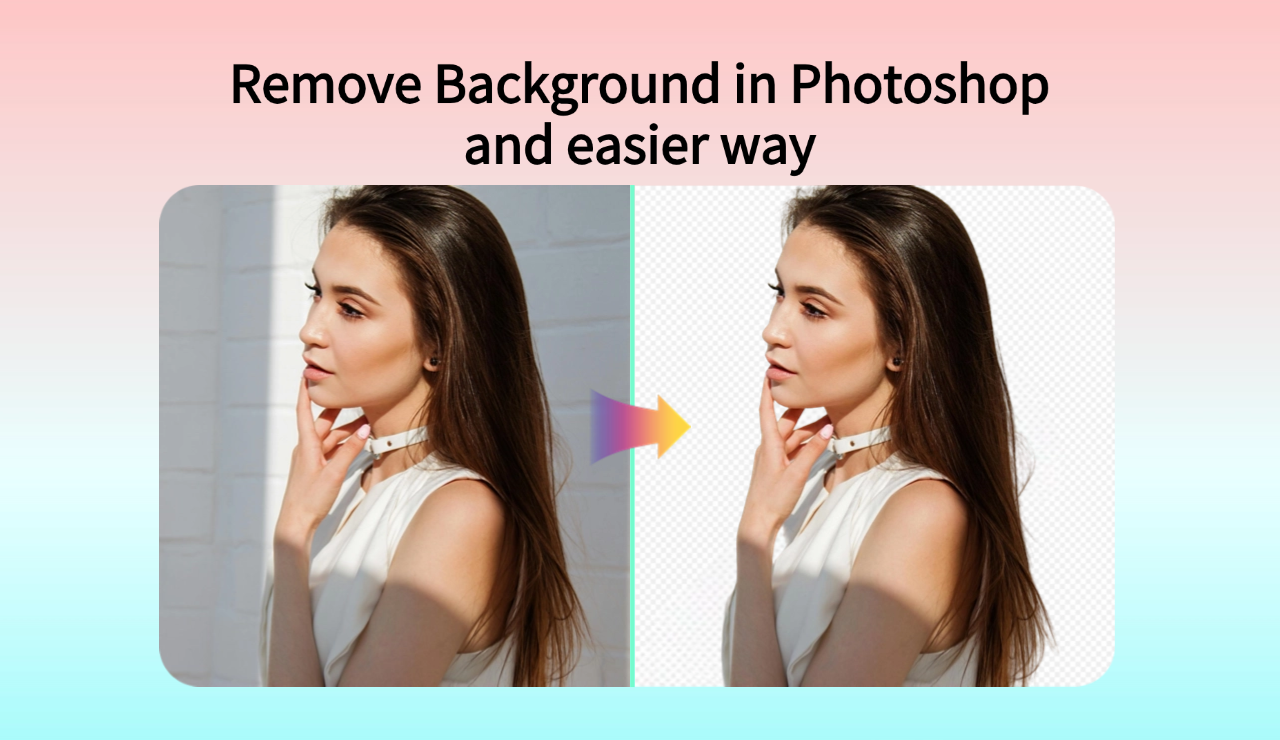
Removing backgrounds from images is crucial for creating polished and professional visuals. It helps draw attention to the main subject, whether it's a product, person, or object, by removing any distractions. This makes the photo more impactful and ensures the main message is clear. It also gives pictures a clean, professional look, which is vital for building audience trust and credibility.
A transparent or simple background makes placing pictures on different backgrounds easier without worrying about color conflicts or rough edges. Photoshop can help you make an image background invisible or remove the background from an image. Find a simpler tool to remove the background of an image, such as insMind Background Remover, for quick and efficient results.
This guide will help you understand how to remove background from image using the right tools.
Table of Contents
- 01 Part 1: Remove Background from Image Using the Quick Selection Tool
- 02 Part 2: Delete Background from Image Using the Remove Background Tool
- 03 Part 3: Remove Background for Beginners with insMind
- 04 Part 4: Why Choose insMind As an Image Background Remover?
- 05 Part 5: insMind - More Than Just A Tool
Part 1: Remove Background from Image Using the Quick Selection Tool
The Quick Selection Tool in Photoshop is perfect for removing backgrounds while maintaining control over your selection. Follow these steps to refine your editing process.
-
To edit the image, open it in Adobe Photoshop and select the Quick Selection Tool in the toolbar. It may be hiding under the Magic Wand or the Object Selection Tool if you can't find it.
-
Use the toolbar settings to resize the brush, making it suitable for your chosen object. To select the subject, click and drag the mouse over it. Photoshop can also select the edges and continue to refine the selection while you paint.
-
If Photoshop chooses some parts of the background, to deselect them, hold the Alt (Windows) or Option (MacOS) key and drag over the area to deselect it.
-
To fine-tune the selection, go to the window menu and choose Select and Mask. Move to the Properties panel and fine-tune the selection slightly by sliding the Smooth, Contrast, and Shift Edge sliders. This will ensure that the edges are well cut and avoid mess.
-
Go to Select > Inverse on the menu bar to invert and delete the background. To delete background from image, just press the Delete key on the keyboard.
-
On the Properties tab, set the selection to be output as a Layer Mask. This preserves transparency. Save the final image in PNG format so it does not have a colored background.
Part 2: Delete Background from Image Using the Remove Background Tool
The Remove Background Tool is a fast-editing option. Despite its effectiveness for simple background images, the approach needs a little fine-tuning to achieve the best outcomes.
-
First, open the image in Photoshop and select the layers window. Then, simply press the key combination Ctrl + J for Windows or Command + J for Mac to duplicate the layer.
-
The Properties panel should be on the right side of your workspace. If it is not visible, press the Window button and select Properties.
-
In the Properties panel under Quick Actions, click on Remove Background. Photoshop will then work on the image and remove the background, creating a rough cut-out of your subject.
-
To improve the cut-out, go to Select > Select and Mask. To increase visibility, change the view mode to Overlay. To eliminate background fragments, use the Brush Tool from the toolbar with the setting 'Subtract.'
-
Adjust the Edge Settings to refine the selection in the Properties tab by softening sharp corners. You can enhance the selection's sharpness and shift the edge inward or outward.
-
Output your refined selection as a Layer Mask. Export the image in a PNG format to ensure that the image's background is clear.
Part 3: Remove Background for Beginners with insMind
Deleting the background from an image can be overwhelming when using advanced editing tools, especially if you are a beginner. But with insMind, it's easy, fast, and highly advanced so anyone can do it. This simple tool is perfect for those new to creating images with a transparent background and looking for a solution that will help them produce a professional result. Whether you want to remove background from image for your online shop, social media, or design, insMind makes it easy.
Step-by-Step Guide on How to Remove Background from Image
Removing the background from your image has always been challenging. Follow these steps to use the insMind background remover and get professional results in minutes.
Step 1: Open the Background Remover Tool
First, go to the insMind Background Remover Tool. This simple website can be used from any device with an internet connection, and there is no need for downloads or installation!
When the page opens, it has a simple layout and a button asking you to choose your picture.

Step 2: Upload Your Photo for Editing
Click the ‘Upload a Photo’ button to access the photo upload section. A pop-up window will open, and you can select a file from your device.
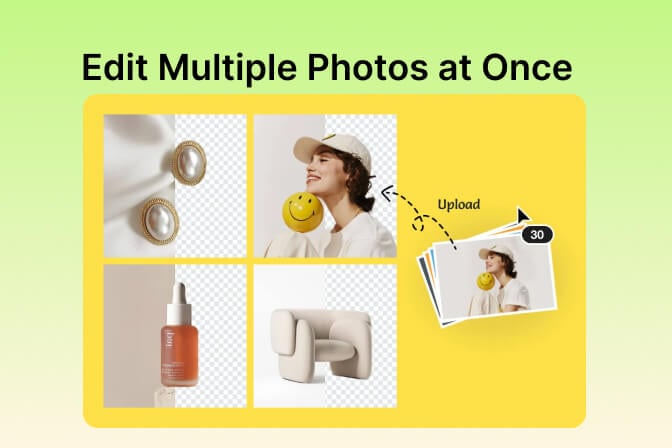
Choose an image from which you want to remove background for a professional appearance. You can also choose to remove the background of multiple photos in batches, making the process even more efficient..

Step 3: Use the tool's interface to erase image background
When you are done uploading your photo, the remove bg process starts on its own. As seen in the insMind interface!
The tool then identifies the subject from the background. A progress bar displays "Cutout in Progress." During the process, you witness the tool working on your image.
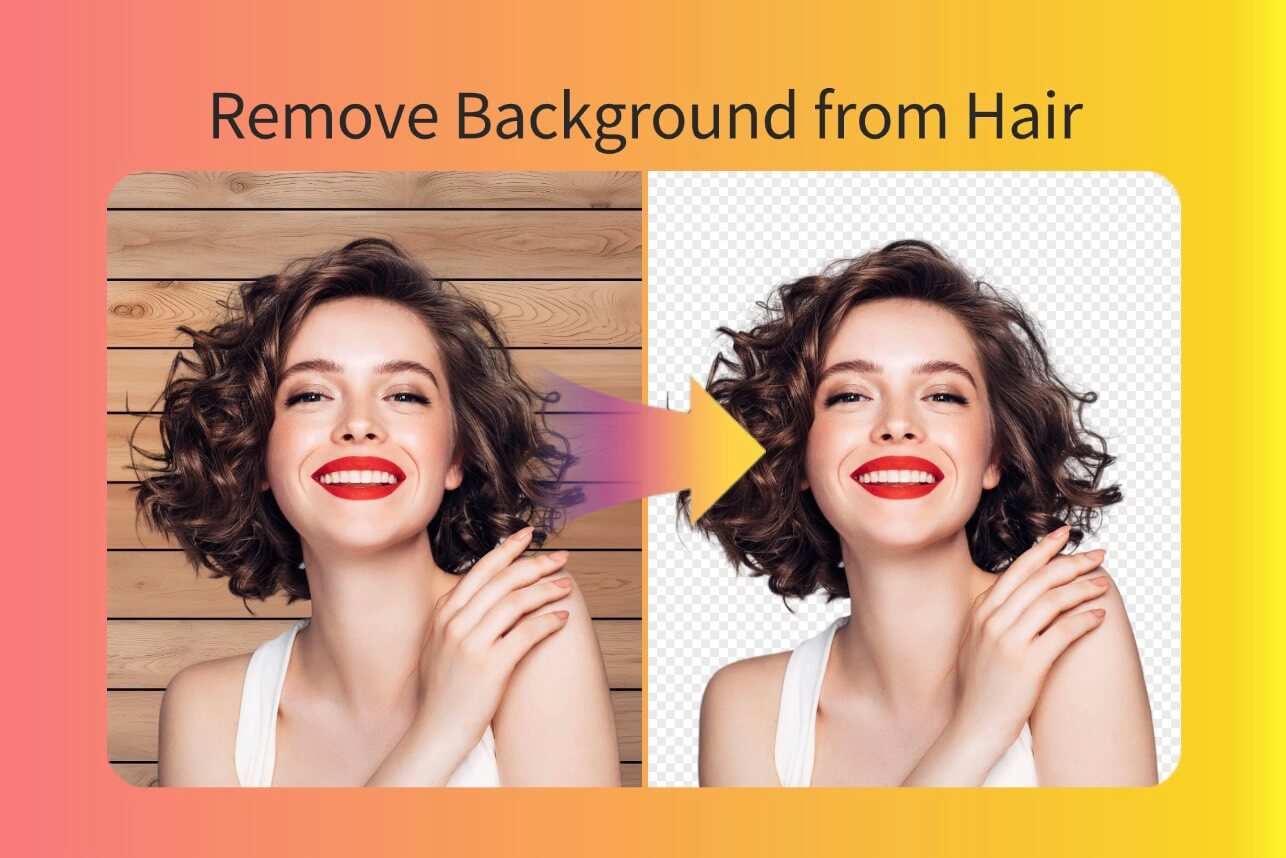
This automated process accurately makes clean cuts, including when it cuts around hair or patterns. Most images are edited within seconds, which is quite efficient compared to manually editing them individually.

Step 4: Preview and Refine
You will be left with the edited image once the background is erased from the image. insMind lets you preview and redefine your image if something is left for better results.
Replace Background: To add a new background, choose the color, texture, or a custom design option from the sidebar on the left of the screen.
Touch Up: On the right side of the screen, there are tools to adjust the shadow, contrast, or any part where the background can still be seen.
The simple, well-defined subject without background is ideal for online shops, business proposals, or individual work.

Step 5: Download Your Image
Are you satisfied with the result? You can download it easily now. To do that, click the Download button at the top of the page. You can download the final result as a high-quality PNG file for free. You can also share it online and use it in presentations.
That's it—with that simple step, your photo is ready to be used. Congratulations—you have just erased the background of your image with such ease!
Part 4: Why Choose insMind As an Image Background Remover?
1. Background Remover Free
insMind has a free background remover tool that will help you remove any image's background without much effort. It is quick, easy to navigate, and user-friendly, even for first-time users.
2. Automatic Background Removal
The tool has an auto-select feature that removes the background, and the final image has a transparent background. This will clean up your image and make it look more professional in no time.
3. Replace Background
After this, you can change the image's background to any color, pattern, or design, giving the image a new look.
4. Precise Cutouts
insMind’s tool can work with challenging areas, such as hair and detailed patterns, so the bg remove process from pictures will be as precise as possible.
5. Touch-Up Tools
There are also options to smoothen the cutout using touch-up tools to adjust the shadow, contrast, or any other image feature.
6. Accessible and Easy
The insMind image background remover operates through a browser that does not require downloading or installation and is thus compatible with any device.
Part 5: insMind - More Than Just A Background Eraser Tool
insMind is a background eraser and a photo editing solution that leverages artificial intelligence. It helps you go beyond the basics when it comes to photos. insMind can help you enhance your images by removing the background, making your image more vibrant, or adding special effects. Once you have removed the background of an image using the background remover, you may change the size of your image, edit the brightness, add shadows, or even use AI to create unique custom backgrounds that will enhance the subject in the picture.
The transparent background is convenient when you want to eliminate the clutter from your image or create a product image or social media post. Also, the background remover tool is very simple; even a non-tech person can use it to improve photos' visuals. If you have to remove the background of many images simultaneously, the Batch mode is a great tool that can do it in a few clicks, which will be useful for businesses that have to manage many images.
But that's not all! There are even more choices available to you! Check out other AI tools from insMind, including Photo Image Resizer , Add Shadows, Image Brightener, Darken Image, etc. These features are very useful for creating content, selling products, and designers who want to make high-quality visuals.
Using insMind, you can use the power of AI to create beautiful pictures with an easy-to-use website to help you do so.
Conclusion
Removing the background from an image is essential for creating polished, professional visuals. Tools like Photoshop provide advanced methods for this task, such as using the Quick Selection Tool or the Remove Background tool to ensure a clean, transparent background.
However, for beginners or those who want simple and quick solutions, the insMind background remover is a free and simple tool to remove the backgrounds of images. A clear background will always be helpful when editing product images for an online store or creating graphics for social networks. For your pictures to make the desired impression for yourself or your business, these tools are perfect for the purpose. Thanks to the background remover free and other AI-based tools, like glare reduction, photo enhancement, and more, insMind makes it easy for everyone to create high-quality professional visuals.
Ryan Barnett
I'm a freelance writer with a passion for editing and designing photos. Here at insMind, I strive to educate users on image creativity, photography, and enhancing product photos to help grow their businesses.






















































![How to Add Logo to Photos Online for Free [The Simplest Method] How to Add Logo to Photos Online for Free [The Simplest Method]](https://static.xsbapp.com/market-operations/market/side/1718795949162.jpg)
![How to Remove Tattoos from Photos [Ultimate Guide 2024] How to Remove Tattoos from Photos [Ultimate Guide 2024]](https://static.xsbapp.com/market-operations/market/side/1718787534476.jpg)
