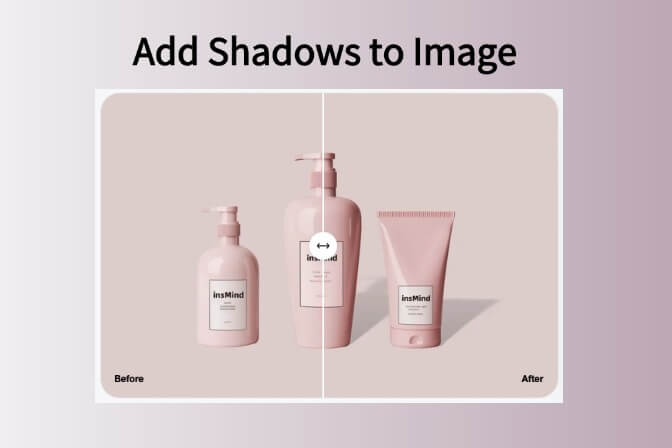
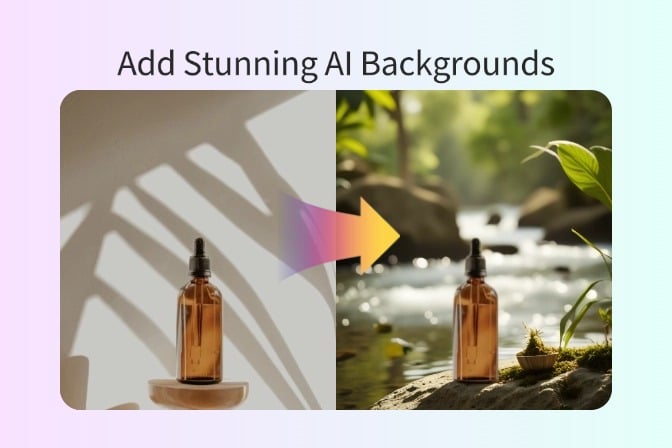
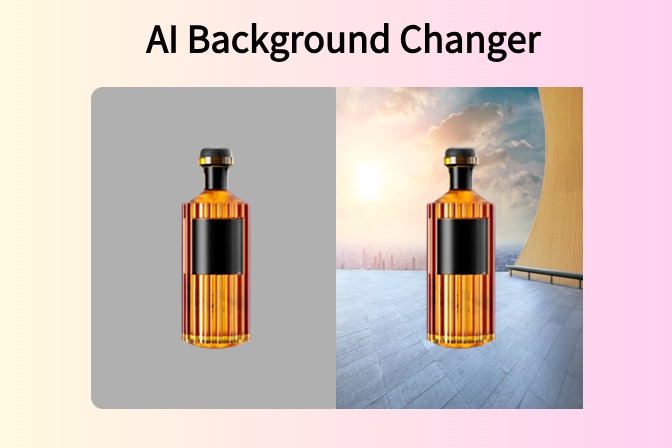
In today's highly competitive environment of E-Commerce, the appearance of the goods is critical. This is because customers may rely only on the images of the products they want to buy. An additional option is to give additional shadowing to the product images; this will increase the chance of the product’s desirability since items appear more realistic when they have a shadow.
There is an amazingly useful utility, insMind which can become a marvelous addition offering an aI-based service that enables the users to add shadow to images with no effort. This robust feature helps users maximize the kind of output they want for their pictures to compete in the market. In this blog, we will discuss the importance of adding shadows and how insMind can help you with that.
Table of Contents
Part 1. Why Shadows Matter in Product Photography
Shadows are very important when it comes to product photography since they bring out the reality of the products. This is because when products are photographed without the presence of shadows, the end product looks rather boring with no detail on the item being able to grab attention.
Shadows provide depth and background that, in turn, enable customers to understand better the item: its shape, texture, and size. This makes the product appear more real and three-dimensional and closely resembles how it would look if were real.
The psychological impact on customer perception and engagement
The psychological implications of shadow regarding its impact on customers’ minds and their engagement levels are quite remarkable. This is particularly useful when a customer is confronted with realistic images with accurately placed shadows. This is because it increases their confidence in the product.
By spending more time with the customers, there are better chances of gaining more conversion rate and customer satisfaction. All in all, it can be concluded that, besides beautifying the photos of a product, the customer's behavior and perceptions are also affected positively by the presence of shadows.
 Part 2. Benefits of Using AI to Add Shadows
Below are some of the key benefits of using AI to add shadow to images rather than manual editing:
· It gives exceptional time efficiency over manual editing
· The shadows added to these images are more consistent and precise
· Tools like insMind provide ease of usage while giving you customizability over the results.
· There is no need for any professional editing experience.
· It saves cost since you do not need to pay for anything or hire a professional editor
· AI tools can scale as per your needs, and they help significantly in improving engagement.
· While adding shadows in your images with AI, you can use other features from tools like insMind to get further customizations as needed.
Part 3. Step-by-Step Guide to Adding Shadows with insMind’s AI Shadow Generator
Here is our detailed guide on how you can add shadow to an image easily with the AI Shadow Generator tool from insMind.
Step 1: Access the AI Shadow Tool in insMind
Open insMind in any web browser and access the Shadow Generator tool from the free tools list. Otherwise, you can click here to go to that tool directly.
Step 2: Upload your photo to the tool

Click the Upload a Photo button to select a file from your file manager. Alternatively, you may drag and drop a photo from your computer to the browser window for uploading it.
Step 3: Select the Object
Wait as your image uploads and when the upload is complete you can click the image to select the main object in it. AI will automatically detect the object in your image.
Step 4: Add the Shadow

Click shadows from the right menu to see different types of shadows available for the image. You can try different shadows to see which one looks more natural and attractive.
Step 5: Download

Once you are done with the editing you can click Download from the top right corner and select your preferred quality and image format. Now your image will be downloaded to your offline storage ready to be shared.
Part 4. Tips for selecting the right shadow settings (e.g., angle, opacity, blur)
Choosing the appropriate shadow settings is crucial to get high-quality product images. Follow these insights to ensure you get the best shadows:
1. Make sure that the angle at the shadow corresponds to the angle of the light source in the image. Parallel angles are less obvious and do not cause shadows to blurt when arranged to give a more natural appearance.
2. To make the shadow look realistic, adjust the level of opacity of the shadow. If it is too dark, then it may completely overshadow the product; if it is too light, its application may be very difficult to notice. Applying an adequate opacity value increases attractiveness and does not overshadow the product.
3. The blur level of your shadow should be relative to the distance of the product from the surface. In the case of objects just above the surface, though, a fine shadow is preferable. Thus, for items that are further away, it is desirable to have a softer and more blurred shadow.
4. Make sure that the color of the shadow matches the color of the ambient light in the area it is in. Having said that, it must be noted that shadows in the well-illuminated area will be lighter, or softer in contrast to the surroundings and vice versa.
5. Change the size of the shadow to the size of the product and its position on the image. Correct scaling helps in making a shadow clear and as realistic as the object on which it is cast.
If you adjust these settings correctly, it will be possible to create a shadow that will give a product photo a more professional look.
Part 5. User Testimonials
Sandra, Perfume Store Owner
InsMind AI Shadow Generator became available to owners of online stores’ product photos and enriched insMind’s product photos with shadows that looked very professional, really looking like real shadows, and stimulated more interest of clients and increased sales.
Mark, Mobile Accessory Store
Working at a mobile accessories shop and experiencing how difficult it is to make it popular, I found insMind’s tool very handy. With the help of shadows, my product picture became deeper and looked different. Since I used this fantastic AI tool, I can smoothly see that I have more and more sales.

Conclusion
Probably the most important aspect that needs to be implemented to properly emphasize your product is the addition of shadows to your product photos. This will make the displayed images more realistic and attractive to potential consumers of the goods.
InsMind AI Shadow Generator is the tool that makes it easy and effective to enhance the sales potential of your online presence and deliver a professional look. Don’t wait any longer, get on board at insMind today and take your product photos and bring them to life for clear differentiation in the market ear. Take your product photos to the next level and increase your sales with the help of an AI solution.

