Image conversions do not have to be a complicated process. In case you ever got lost between deciding whether to use PNG or JPG for your images, you are not alone. Let us give a brief on the general differences between the two formats, namely PNG and JPG.
It is common practice to have PNG images converted into JPG to make the images more manageable. Luckily, insMind makes it easy and fast. In this guide, you will learn how those two formats differ and how to optimize your images after the conversion with the help of insMind’s tools.
Table of Contents
Part 1. The differences between PNG and JPG formats
Before proceeding with the conversion let us have a brief look at the PNG and JPG format.
PNG Format
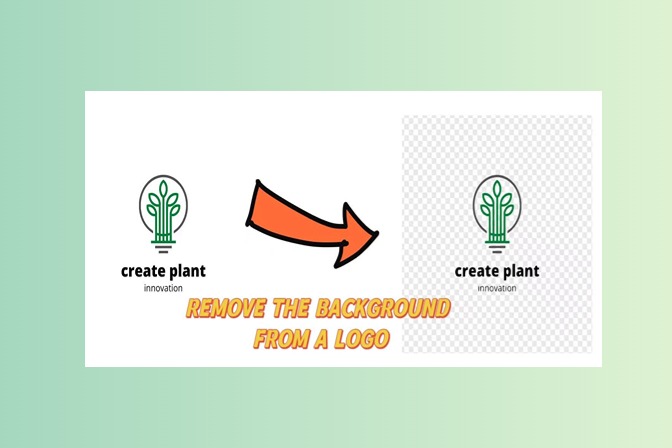
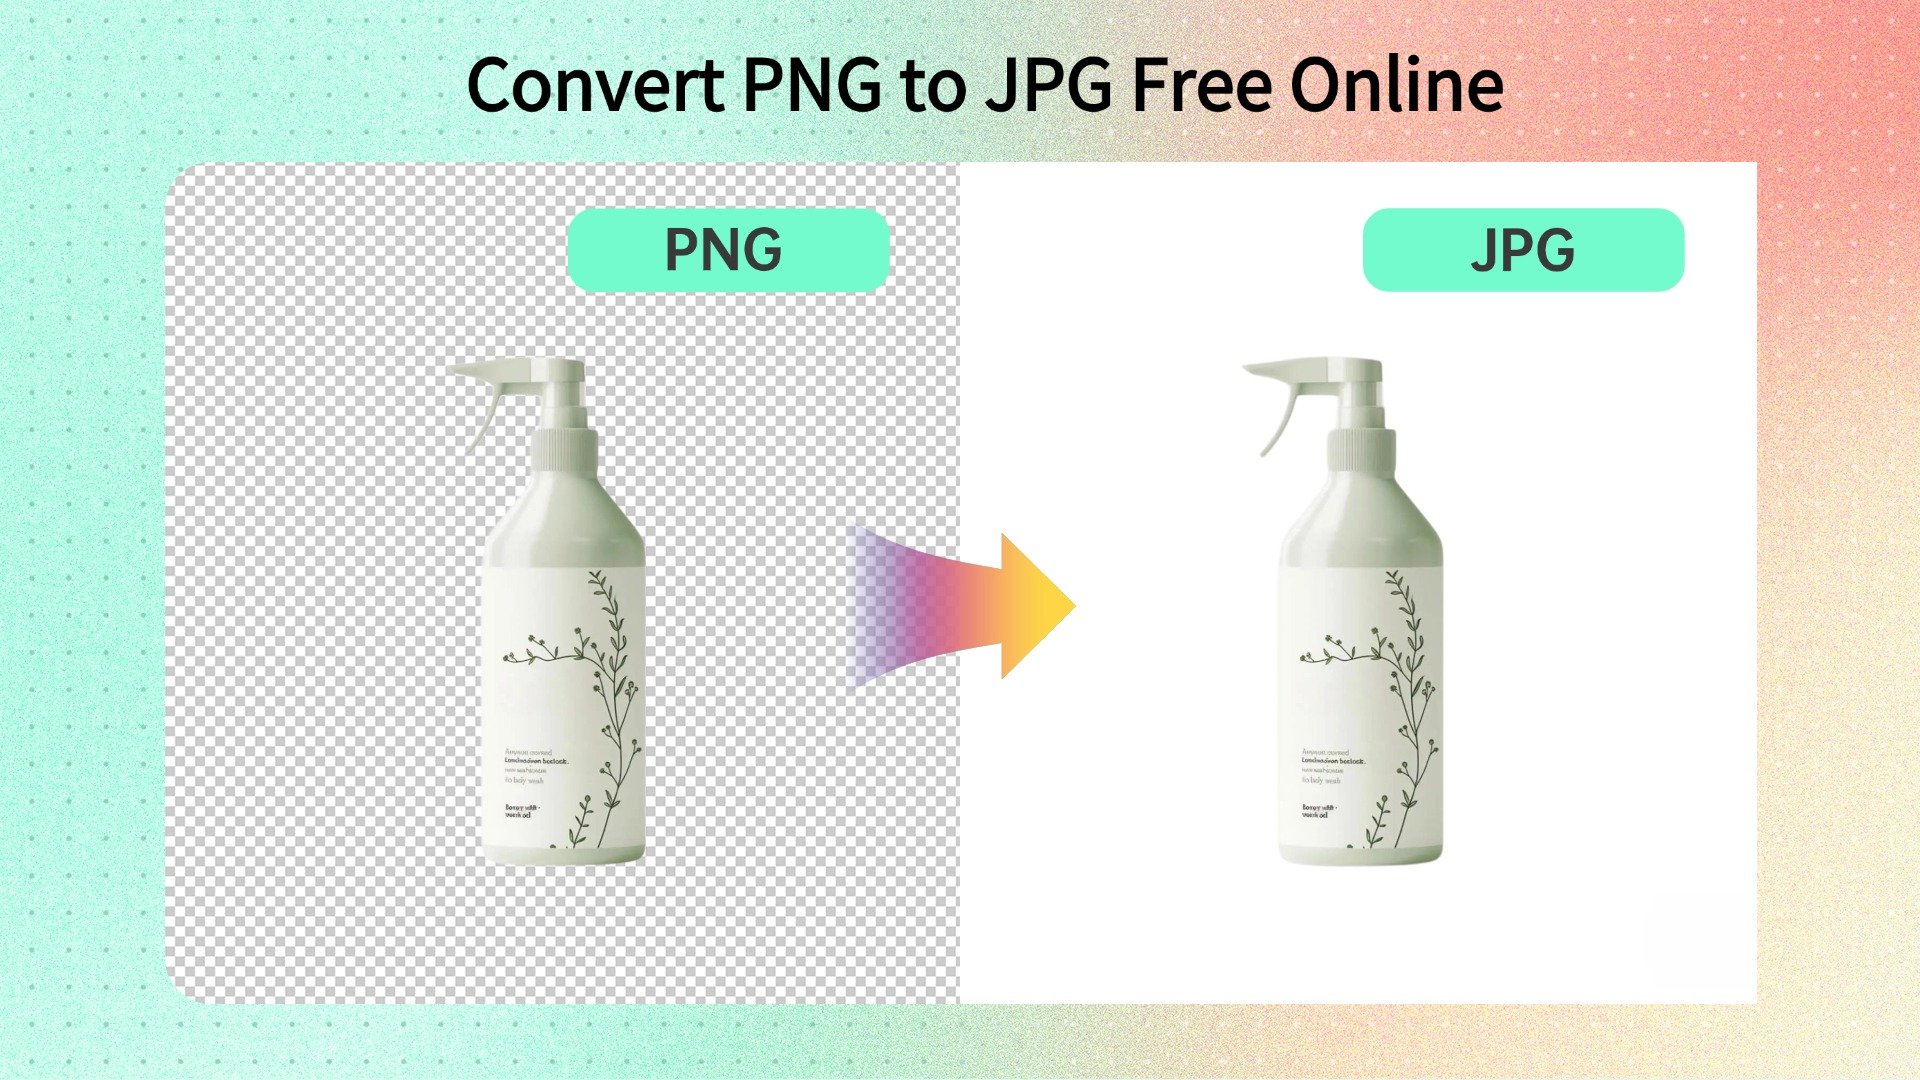
PNG means Portable Network Graphics. It is particularly recognized for lossless compression which brings the fact the image will look exactly as it used to be even after having been compressed. Therefore, PNG is suitable for images requiring a transparency element such as logos, icons, and web designs.
This is mainly because high-quality images are unsuitable for compression so when saved as PNG files, they tend to be large. This makes them less useful in scenarios where space is at a premium or where quick access is required, such as the home page of a site filled with pictures.
JPG Format
JPG which is also called JPEG operates in the lossy approach. This means there will be some compromise of the image quality to get a much smaller file size. JPEG is common for photos and graphics on the internet because it downloads fast and occupies little disk space.
However, compared to PNG, JPG has its disadvantage that the image cannot have a clear background. JPG images have somewhat lost quality but are still satisfactory in file size and image quality which may be useful when sharing images on the internet or storing many images.
When to use PNG vs JPG
PNG is appropriate when you want to create high-quality pictures with a transparent background, for instance, logos, complex graphics, etc. PNG is also best suited for images with texts, especially when sharpness plays a crucial role.
On the other hand, JPG is ideal for dealing with photographs and images that do not require transparency and the finest details. It is common to convert images in PNG format to JPG format because the file size is relatively small and easily shared.
Part 2. How to Convert PNG to JPG in Adobe Photoshop?
The most common software for working on images and illustrations is Adobe Photoshop. You can use it to convert your PNG images to JPG format but following the steps below:
1. Open the Photoshop software and click “File” from the top then click “Open” and open your PNG file.
2. Now click “File” again and this time select “Export” then “Export as”.
3. Now go to the Save As popup and select JPG as your output format.
4. Finalize by clicking “Export” and you will be done.
While it gets the job done, not only is the process very complex, it also requires you to purchase this premium tool. Above all, using Photoshop has a steep learning curve and it is only good for experts if you need efficiency.
Part 3. How to Convert PNG to JPG in insMind?
While Photoshop may not be the best software for everyone, insMind is an online tool that anyone can use. It does not require you to download or install anything and gives an instant experience. The best part about using insMind is its straightforward procedure that ensures it is beginner-friendly.
Step 1: Access insMind PNG to JPG Converter
Go to a browser on your computer and access insMind PNG to JPG Converter online.
Step 2: Upload PNG Photo
Click the “Upload a photo” button and select the desired image from your offline storage.

Step 3: Download JPG Photo
The PNG image will be instantly converted to JPG format and now you can click “Download” to save it without any additional conversion steps.
 Part 4. Enhance your images after conversion
After the conversion of PNG files to JPG using insMind, there can still be ways of enhancing your pictures. insMind includes several features that you can use to enhance your JPG images and make them appear even far superior after conversion. Here are three ways you can enhance your images:
· Add Border to Photo

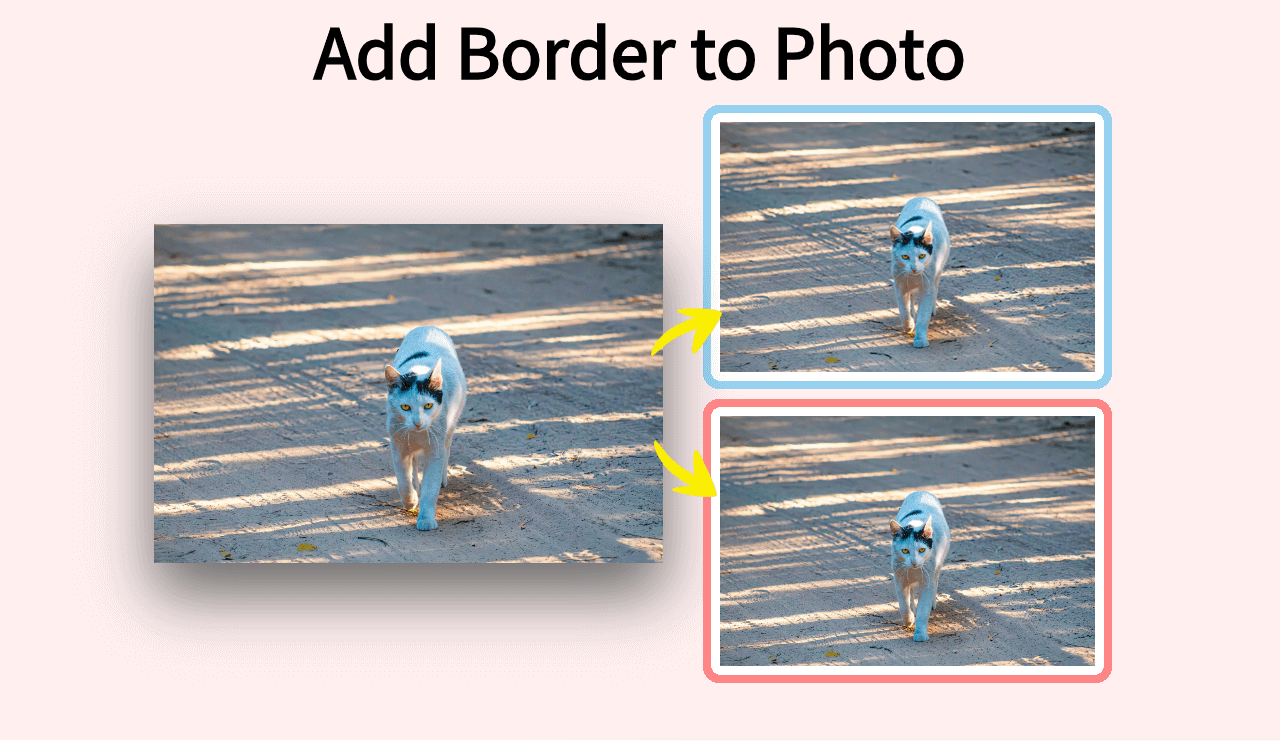
A border around the image or the main object can enhance it and at the same time frame it giving the picture a professional touch. Edges also play a part in the image to make people focus on it as well as give it a framed look. When you are uploading the profile picture or when you are posting any picture on the website for the product. Similarly, any picture will look good with a border when uploaded on a social site.
Once more, with insMind, using borders in your JPG images has never been easier, you just need a few clicks. This also gives one a window to choose whatever thickness and color of the border that he or she wants.
· Remove Text from the Image

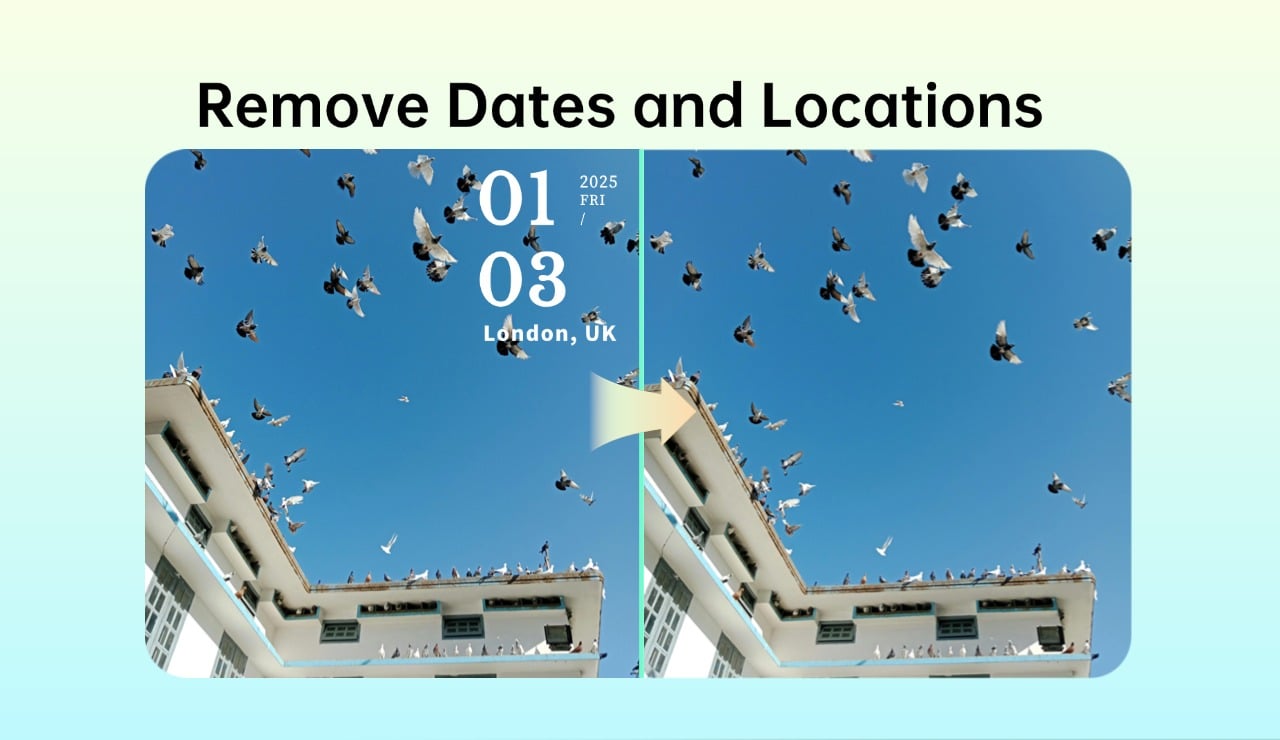
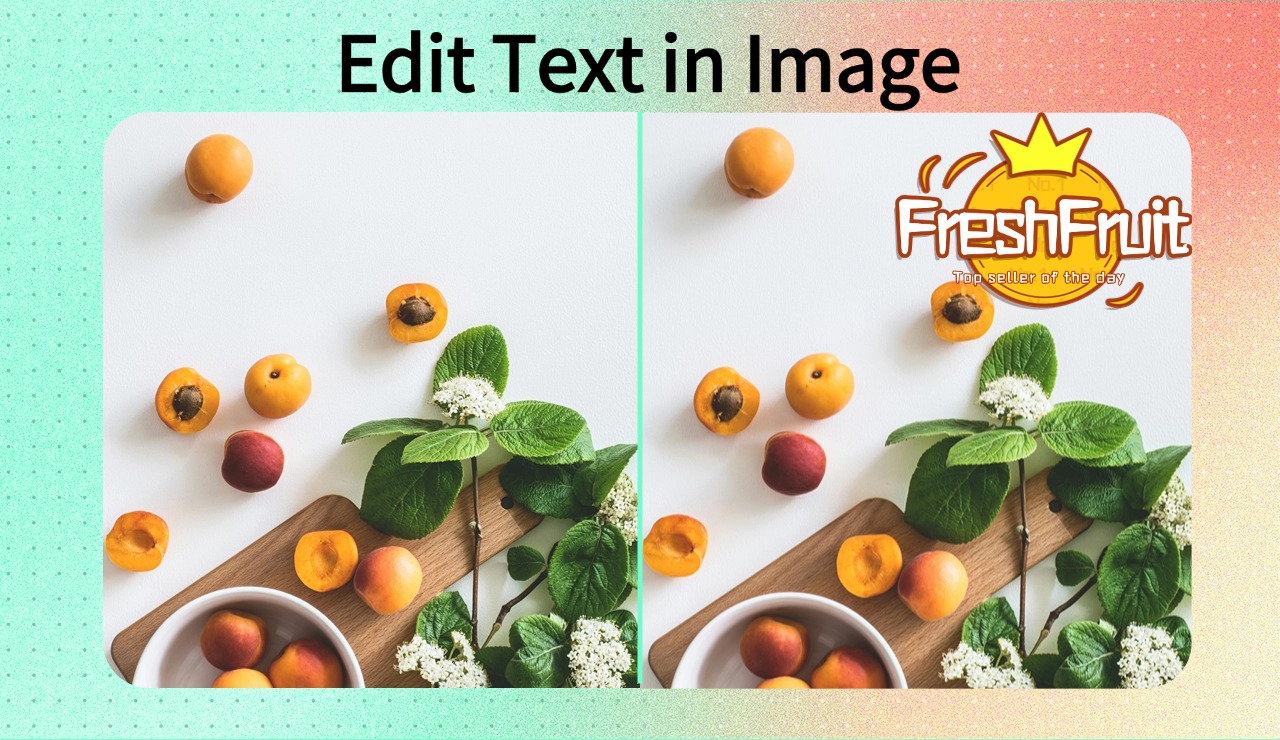
Now and then, there could be such an image where you found something undesirable that we have to erase. Maybe it is a watermark or there’s a caption that no longer suits the design work that was put into creating the piece of art. Becoming free from the text often helps to improve the given picture from the aesthetic point of view, as well as make it usable for various contexts.
It is important to note as much as text might be important on InsMind’s interface, there is always that text that should not be seen, and its removal can be made easy. It doesn’t require any skills in design to work on the images in JPG as it generates a clean and professional look when done.
· Cleanup Picture

You may find various defects such as spots, blemishes, or any unwanted objects. It enhances the final look of your pictures, making them have a professional impression. When it comes to correcting some key problems that appear in the JPG images, you can complete the cleanup procedure in a short period with the help of insMind.
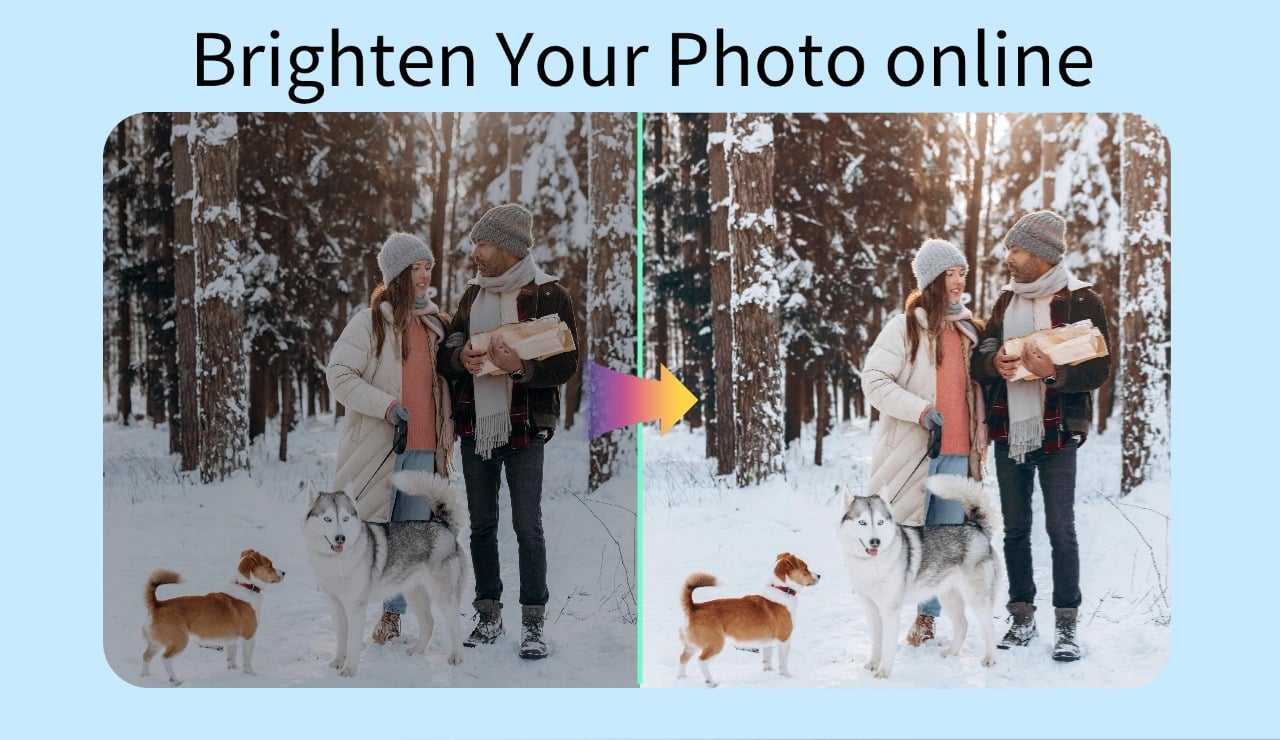
It enables you to clear the images, erase unnecessary items, smoothen the hitches, and even brighten the images to increase visibility. If you want to use converted photos for any type of purpose, including personal or professional work, the cleanup tool makes it possible to have a clean-looking photo.
Conclusion
PNG images are great for maintaining high-quality content or for providing a transparent background. However, sometimes you need to work with JPG images. In that case, you must know how to convert PNG to JPG. Knowing this process will make your images widely compatible across a lot of devices and platforms.
Another important thing to know is the right tool for this conversion. insMind is your best pick if you want an easy experience, unlike Photoshop which is not perfect for beginners. With insMind, any conversion can be done within a second and you can download the image immediately.
Ryan Barnett
I'm a freelance writer with a passion for editing and designing photos. Here at insMind, I strive to educate users on image creativity, photography, and enhancing product photos to help grow their businesses.






















































































![How to Add Logo to Photos Online for Free [The Simplest Method] How to Add Logo to Photos Online for Free [The Simplest Method]](https://static.xsbapp.com/market-operations/market/side/1718795949162.jpg)
![How to Remove Tattoos from Photos [Ultimate Guide 2025] How to Remove Tattoos from Photos [Ultimate Guide 2025]](https://static.xsbapp.com/market-operations/market/side/1718787534476.jpg)
