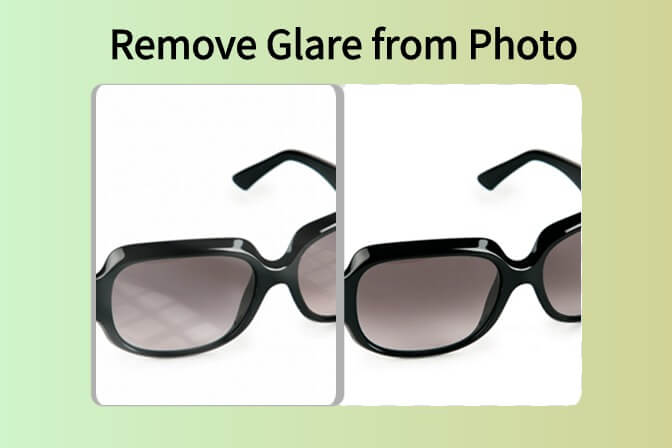
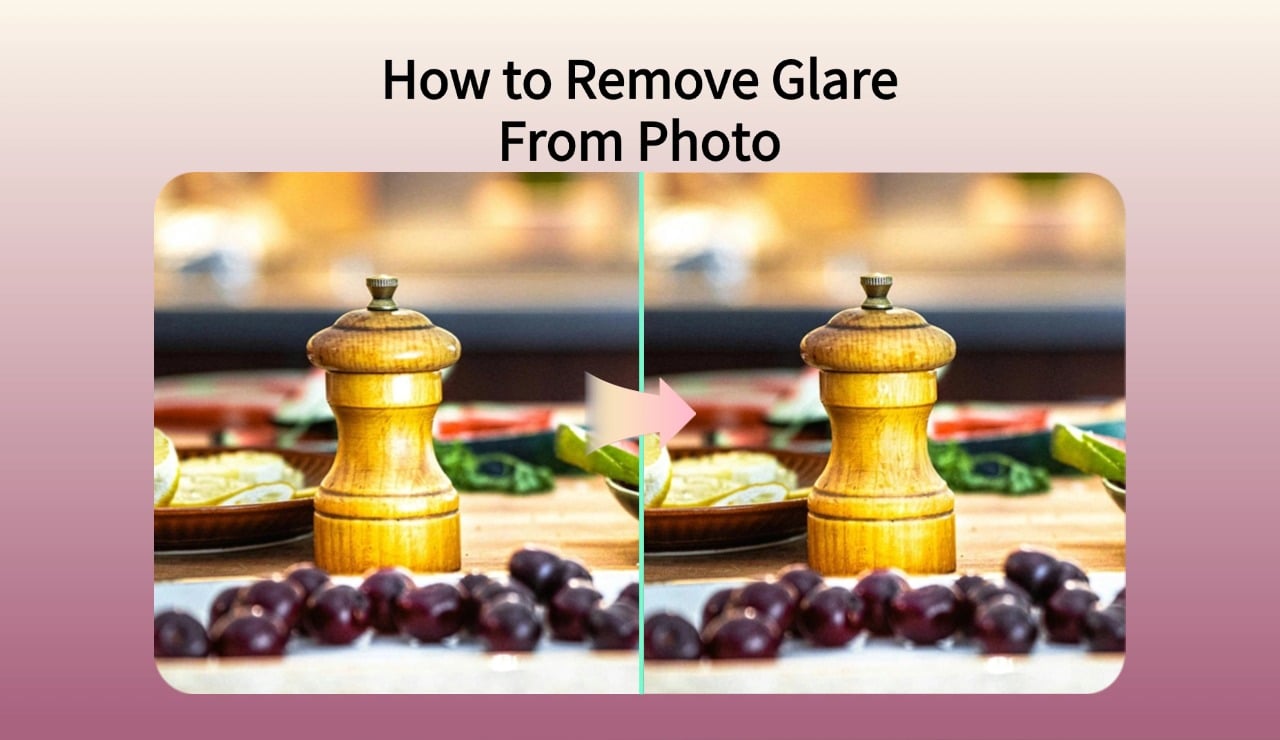
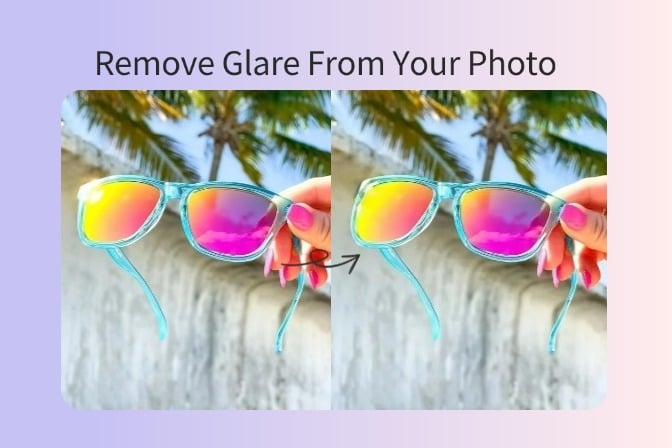
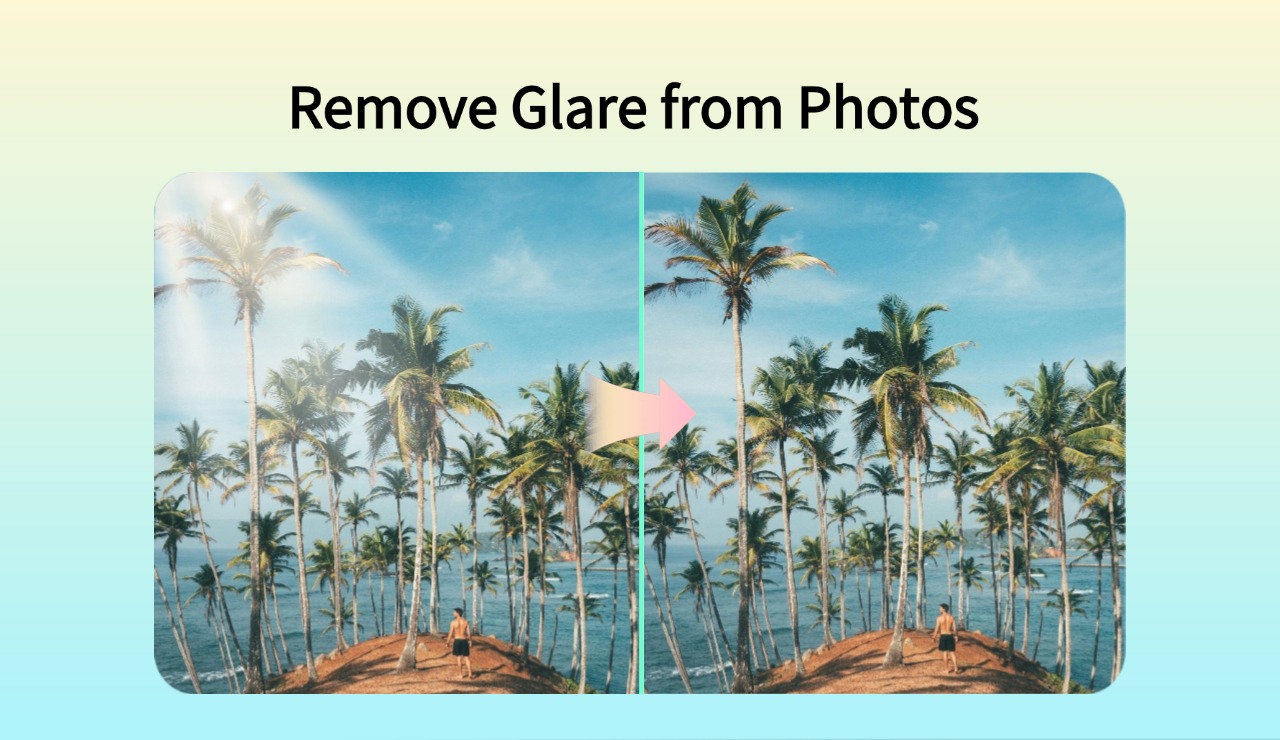
Glare removal is important for creating clear and appealing photos. Glare happens when strong light reflects off surfaces like glass, metal, or water. This reflection creates bright spots that cover parts of the image, making it hard to see details. These light spots lower the quality of photos, causing them to look unprofessional. Removing glare helps improve the clarity and sharpness of photos, giving them a polished look.
Clear photos are important for photographers, online sellers, and social media users who need high-quality images. Glare removal tools make it easy to fix photos and remove unwanted light. These tools allow users to quickly adjust images, making them clear and bright without light interference. With these tools, anyone can produce high-quality photos that look natural and well-crafted.
Table of Contents
Part 1. Common Causes for Glare on Photos
● Direct Sunlight on the Lens
The main type of lens flare is caused by direct light that falls on the camera lens. Shadows occur when the sun is too bright and makes some sections of the photo to be illuminated while others are dark. This strong light strikes the lens and effectively diminishes the focus of the image; therefore, some elements are not as clear as they should be. Glare resulting from direct sunlight generally occurs in an open environment while taking images of a shiny object.
● Reflections on Glass Surfaces
The structures of the glass surfaces cause reflections of light, but this often causes glare. If you try to photograph an object through a window, the reflections of light on the glass will give a bright and probably washed-out picture. This type of glare is usual in cases when the number of windows in a room is large or in photography when an object is placed behind the glass. Reflection of the glass generates light or blurred points due to effects from the angle of incidence.
● Flash Reflections
The problem with using a flash is that it can cause glare in some of the areas that are normally dark. Whenever a flash hits objects around the area, such as mirrors or other metallic objects, the result will be the appearance of bright areas in the picture. This type of glare happens since such surfaces reflect the flash. Common problems with flash glare include objects that appear to be brighter in different areas and thus make the photo look patchy.
● Artificial Lighting
Bright interior lighting is also able to cause glare in a photo. Such lights as Fluorescent or LED provide bright light and can cause glare when they bounce off objects. This reflection sometimes results in overexposed areas in the image if the lighting is very close to the subject. Light glare resulting from artificial light sources is a common issue in interior lighting with multiple sources.
● Angle of the Light Source
Another factor reported is the angle of light since it determines the level of glare in a picture. One of the most common issues that result from the light source being aligned toward the camera is that it causes bright spots. This glare occurs due to direct light on its lens. It is still possible to remove some of this glare by tilting the light or the camera differently.
● Shiny or Reflective Objects
Certain objects, like metal or polished surfaces, can reflect a lot of light. When light hits these objects, it can create glare that covers parts of the photo. This type of glare usually happens when the object is in direct light. Reflective objects need to be placed carefully to avoid unwanted light reflections.
Part 2. insMind is the Best Tool to Remove Glare From Photos for Free
The insMind tool provides an easy and free way to remove glare from photos. This tool is designed to make photo editing simple, offering features that allow you to remove unwanted light reflections quickly. Here are five key features of insMind's glare removal tool:
● Easy-to-Use Interface
insMind tool is another online tool that is easy to use to remove glare in a very short time. They are categorized as meant for easy arrangement in a logical or linear pattern that would enable one to locate each tool without much difficulty. It is designed in a very simple way that enables users to make the necessary edits with a lot of ease. There are no complex functions, and therefore, it can be operated easily by anyone who downloads it.
● Magic Eraser Tool
The Magic Eraser Tool in insMind is specifically designed to eliminate glare with one mouse click. This feature helps to eliminate intrusive light outbursts on your photo. By using this tool, it is possible to select specific areas on a photo that are affected by glare and recover the required detail.
● No Quality Loss
insMind is created to maintain the original quality of your image intact. Throughout the process of glare removal, the photo remains bright and does not get blurred. This is so useful, especially when editing photos taken with high-end cameras that may have a lot of glare. One can remove it without compromising on the quality or color.
● Fast Processing
The insMind operates in such a way that there isn’t a long waiting period between operations and results. The efficient usability makes the tool rather helpful, as it enables you to edit as many photos in a short amount of time. The fast response time facilitates the provision of results as soon as possible within a short period.
● Free to Use
Unlike some other photo edit tools, glare removal is free in insMind. This feature makes it easy for anyone who may need to edit their photos but doesn’t want to spend any amount of money. The actual tools are available for free and are intended for working professionals, so the tool can indeed be of valuable use.
How to Use insMind to Remove Glare From Photos
Step 1: Access the Glare Remover Tool in insMind
Open the insMind tool and go to the Glare Remover Tool. This tool is specially made to handle light reflections in photos. Once you are in the tool, you can begin the editing process to remove glare from your image.

Step 2: Upload Your Image
Upload the photo that you want to edit. The tool allows you to upload photos from your device quickly. After uploading, the image appears on the screen, ready for editing.

Step 3: Highlight Unwanted Glare
Use the tool to mark the areas in the photo where the glare is visible. Highlighting the glare helps the tool detect and focus on the specific areas that need editing. This step ensures that only the unwanted glare is removed, leaving other parts of the image intact.

Step 4: Use the Magic Eraser Tool to Remove Unwanted Glare
Select the Magic Eraser Tool to remove the highlighted glare. The tool automatically detects the brightness in the marked areas and removes it. This tool is effective in removing even small reflections, leaving a clear, glare-free image.

Step 5: Download Your Edited Image
Once the glare is removed, you can download the edited image. The tool saves the image in high quality, keeping it ready for any purpose. After downloading, you have a clear and polished photo without any glare.
Part 3. Other Methods To Remove Glare From Photos
● Adjust Camera Angles
One of the ways that can be used to eliminate glare in images is to change the angle of the camera. To avoid direct light to the lens, it is only a matter of slightly moving the camera up, down, or tilting it slightly away from the source of light. If the light is not directly going into the lens, fewer of these bright areas are formed, and the photo is more clear. Testing positions will make you realize that in some orientations, the glare is not particularly conspicuous.
● Use Polarized Filters
Polarizing filters specifically work on cutting down on glare in images, especially images on surfaces that are smooth, such as water or glass. These filters sit on the front of the lens and reduce some forms of light. Polarized filters work to limit reflections of light that contribute to glare. This filter controls the amount of light that gets to the camera sensor in a bid to avoid causing bright spots in the photographs. Polarizing filters are widely used in street photography because light frequently bounces off the metallic objects outside.
● Select the Proper Lighting
Reducing glare can be accomplished by selecting the appropriate lighting. Outdoor pictures should be taken early in the morning or late in the afternoon because the light is milder. Midday sun is extremely bright and usually accompanied by glares. Actually, one might consider choosing what time of day to shoot as it is a great way to avoid lighting and bright reflections. Regarding indoors, preferable is diffused light rather than direct, intense light, which causes strong reflections. Shading, for instance, by keeping curtains drawn to minimize natural light or turning off indoor lights decreases glare. The importance of the lighting cannot be overstated when it comes to learning how to avoid photographing reflections.
● Adjust Your Position
The proximity that a subject has in relation to the light source can affect glare in the photographs. Take a position with your back towards the source of light. However, it means that you place yourself in a manner that the source of light is on the side. Even rotation by a few degrees can significantly decrease the probability of reflecting light to the lens and the formation of glare. As can be seen, this method helps to capture shiny objects or something reflected on the surface of any object.
Part 4. FAQS
1. What causes glare in photos?
Glare happens when light reflects off shiny surfaces and goes straight into the camera lens.
2. Can I remove glare from photos for free?
Yes, tools like insMind offer free options to remove glare.
3. Does lighting affect glare in photos?
Yes, softer lighting reduces glare, while strong direct light increases it.
4. Are filters useful for glare removal?
Yes, polarized filters help reduce glare on reflective surfaces.
5. Can changing camera angles help?
Yes, adjusting the angle keeps light from directly hitting the lens, reducing glare.
Ryan Barnett
I'm a freelance writer with a passion for editing and designing photos. Here at insMind, I strive to educate users on image creativity, photography, and enhancing product photos to help grow their businesses.


















































































![How to Add Logo to Photos Online for Free [The Simplest Method] How to Add Logo to Photos Online for Free [The Simplest Method]](https://static.xsbapp.com/market-operations/market/side/1718795949162.jpg)
![How to Remove Tattoos from Photos [Ultimate Guide 2024] How to Remove Tattoos from Photos [Ultimate Guide 2024]](https://static.xsbapp.com/market-operations/market/side/1718787534476.jpg)
