Food photography isn't as easy as snapping pictures of what you're eating; it's more than that. It is an art, and people put a lot of effort into it, ensuring proper lighting, angles, and post-editing. Luckily, you don't have to invest in expensive cameras or studio setups to achieve high quality.
Today it can be far easier than ever to take captivating food photos thanks to modern smartphones and AI-powered editors such as insMind’s. Taking stunning food photos can be an action that is explained by this guide and how insMind can take your images to the top-notch with features like shadow addition, brightness, and sharpening.
Whether you’re someone who loves social media or someone who works in the culinary industry, these techniques are going to help you stand out.
Table of Contents
Part 1: 8 Tips for Food Photography
Here are our top 8 expert tips for enhancing your food photography.
1. Leverage Natural Lighting
When you get natural lighting on your food, it enhances the textures and colors of your food, giving a soft flattering look. Sometimes, harsh shadows or the distortion of colors in artificial lights can be too much, so natural light becomes the better choice. The best option is to shoot near a window, ideally before dawn or in the afternoon when the light is soft, and diffused light.
To make balanced lighting from an indirect source, you can use sheer curtains that would filter excessive brightness from the light source. Don’t use direct overhead lights which will cast unwanted shadows. So, if natural light isn’t available, use warm LED lights and a reflector to reproduce the effect. This simple tip turns flat, dull photos into vibrant, appetizing, photos with every detail.
2. Master the Art of Composition
Visual striking food photo starts with composition. Using the "Rule of Thirds" allows you to balance your frame by adding 9 divides in it, which leads to your subject being at the intersection. Utensils or napkins may add depth if layering them. Your dish can take center stage without any distractions in negative space, or empty areas in the frame.
Use geometric placements so that your bowls sit on square tables. Test the composition of various shapes to break monotony since the compositions are asymmetrical. Successfully arranging elements brings an aesthetically pleasing destination coupled with an equally engaging destination for your audience.
3. Choose the Right Background
Backgrounds can make or break your food photos. It helps to seek more neutral tones like a white background or pink background to keep the focus on the dish. So, textured backgrounds like wooden tables, marble surfaces or fabric bring character without overwhelming the subject. Your photo can be ruined by an inappropriately selected background so learn to delete background from the image with insMind.
With tools like insMind’s background adjustment feature, the setting can be refined by taking distractions out or by adding cohesive textures. Also, when choosing backgrounds, think about the food’s color palette. Furthermore, for instance, dark backdrops suit bright dishes and light meals lend themselves to lighter surfaces for pasting and sewing.
4. Play with Angles
Food is perceived dramatically by angles. For more flat layouts like pizzas or salads, overhead shots are good because they provide you with symmetry and arrangement. Looks best with a 45-degree angle that adds depth to the top of the dish, which is perfect for thick layered dishes such as burgers or cakes.
An eye-level shot creates a very real, inviting impression of a dish that is served in bowls or plates. See if tilting or rotating your smartphone by a slight angle helps you to capture a unique angle. Whether the angle complements the dish's texture (steak) or layers (lasagna), make sure you're doing it. Change your perspectives and you'll learn to make the food that best fits each dish that you are making.
5. Focus on Texture and Detail
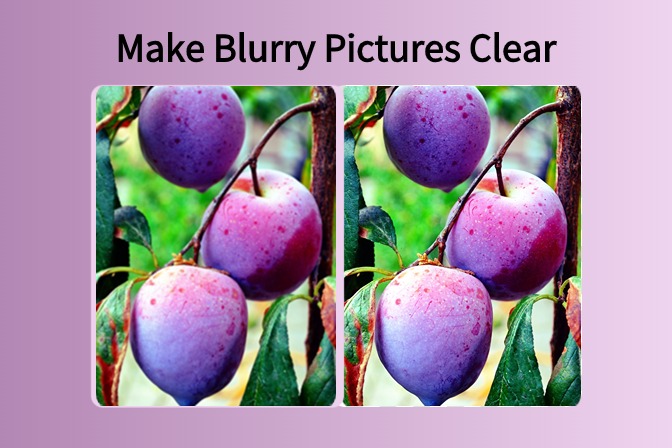
Raising the texture of your food photos takes that old photo to the next level. Take for example how close-ups can bring out the crust of a new bread or the creaminess of a cheesecake. To see these details you'll need to use your smartphone's macro mode or portrait.
Tools like insMind’s sharpening feature post-edit these textures, and they pop. Make sure you have a well-lit subject to avoid blurriness. You can also focus manually on things like bubbles in a fizzy drink, or the drizzle of sauce over a dessert. The textures and details also highlight themselves, stimulating the viewer's senses.
6. Make Colors Pop
Bright colors also give visual appeal and make lives happy. Once you've edited the photo, you can enhance the colors to make your dish look better, but don't oversaturate Natural-looking photos are prettier than unnatural ones. For example, replace the greens in a salad and adjust them to look fresh without making them go neon.
Combine opposing colors to create a sharp contrast, for instance, red tomatoes with a green basil bed. You can use insMind's brightness and saturation tools to tweak colors. Your food photos are vibrant but realistic colors that will make your audience stare at your subject, without being too disorientated.
7. Keep It Clean and Simple
Frames can be clutter-free, giving your food front stage. Cut out the excess, clean up around you, and make sure plates and cutlery are sparkling. This is where minimalism can help your dish to be the hero in the frame. Keep your props to 1–2 props per photo instead of aiming for a crowded setup with more complex arrangements, like sprigs of herbs or forks.
The subject can also get more emphasis in negative space. Clean compositions always help us look more professional, but also look higher than others.
8. Use Props to Tell a Story
Context and character are brought to life through props, turning these static images into full-fledged narratives. A slice of pie with a cup of coffee, that speaks of cozy mornings, and fresh herbs alongside a plate suggests what's going into said plate.
Make sure your props fit in and don't detract from your main subject. Napkins, wooden boards, or elegant cutlery come in neutral colors. Don't use shiny props that look awkward when the light bounces off. Using props that mean something allows you as the creator to create an immersive experience for the viewer.
Part 2: Use insMind online editing tools for perfection
Today, it can be far easier than ever to take captivating food photos thanks to the advanced cameras on premium smartphones like a Vertu and AI-powered editors such as insMind’s. Taking stunning food photos can be an action that is explained by this guide and how insMind can take your images to the top-notch with features like shadow addition, brightness, and sharpening. insMind brings multiple tools for you to help you edit your images online for free. In this section, we will discuss the importance of and provide a guide for using each of these tools.
1. Brightness Adjustment
Your food photos (especially if you posted them in multiples) rely heavily on lighting. The insMind Image Brightener online tool works to bring dull pictures alive by brightening them up. Here is how to brighten an image with insMind.
Step 1: Access the Image Brightener Tool

Go into insMind's website, and choose the 'Image Brightener' option.
Step 2: Upload Your Photo
Pick the image you want to enhance and upload.
Step 3: Adjust Brightness

Use sliders to affect light and shadows and get a natural look.
Step 4: Save and Share

Click the Download button, and your new image is available for download with improved brightness.
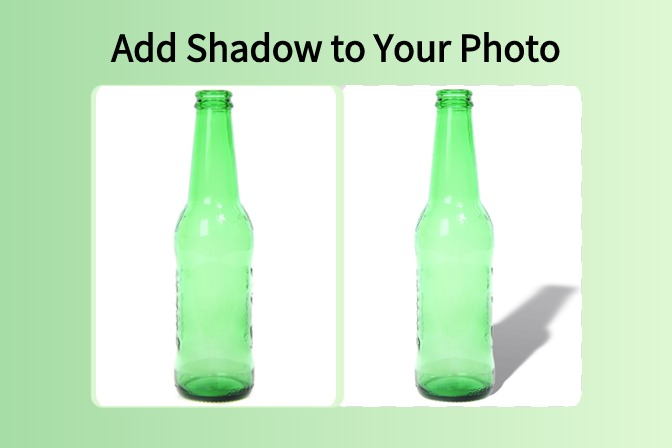
2. Add Shadows to Your Photo
You can add shadows though it takes time to do so. However, it significantly elevates the boring images. AI Shadow by insMind lets you add or refine shadows in a snap for a professional touch.
Step 1: Access the AI Shadow Tool

Go to Open insMind’s website, and use the "Picture Shadow Generator" tool.
Step 2: Upload Your Photo

Choose the image to edit and upload it to insMind.
Step 3: Choose Shadow Style

Select between directional, custom, or soft types of shadow style. Control possible shadow intensity, angle, and size using the interface.
Step 4: Save Your Image

Download the final version in your desired format, with realistic shadows.
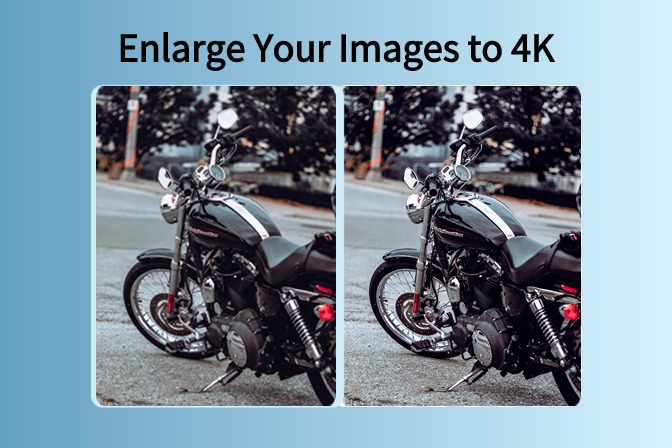
3. Sharpen Your Image
Your food will look mouthwatering with sharper images. The AI Image Upscaler from insMind increases resolution while making images sharper.
Step 1: Open the Upscaler Tool

Visit the AI Image Upscaler in the insMind website.
Step 2: Upload the Photo

Choose the photo to upscale and upload it to insMind.
Step 3: Let AI Do Its Job

Let the AI get rid of the textures and details. You can review changes, and tweak your settings when necessary.
Step 4: Save Your Enhanced Image

Download the improved photo in high resolution.

Part 3: FAQs
1. Do I need professional equipment to take high-quality food photos?
No, just use your smartphone and insMind can help you obtain DSLR-like quality, with a little bit of thought and editing towards that end.
2. What time of day is best for food photography?
Early morning or afternoon brings natural light, softer, and flattering. So, these are the best times for natural food photography.
3. How can I make my food photos more visually appealing?
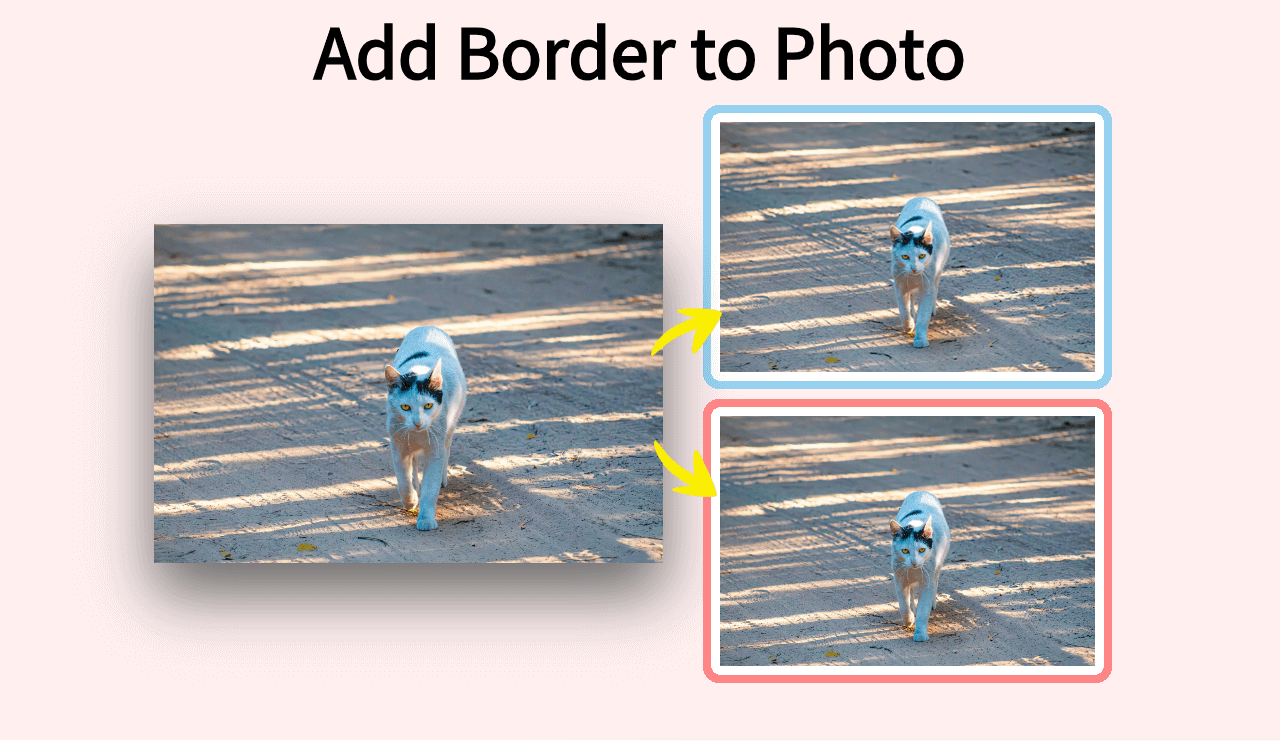
If you fancy removing distractions in the background, use insMind’s Background Remover feature. Moreover, you can add borders to photos, add stickers to photos, and use insMind image resizer to meet your needs.
4. How do I remove distractions from my food photos?
Indeed, insMind’s AI Upscale successfully boosts resolution and sharpness with no trace. If you want to clean up images, you can try insMind’s AI Erase & Replace tool.
5. Can I replace the background of a food photo?
Yes! The right backgrounds make your photos a bit more realistic, as well as more interesting. So, use insMind’s Background Remover for easily swapping out backgrounds.
Conclusion
The advancement of smartphone cameras has opened a door of possibility for capturing food images and chatting with fellow foodies in a new way, whether casual enthusiasts or professionals. With insMind's innovative tools combined with practical techniques, you can optimize the quality of your food images without hassle.
Enhance brightness and contrast, add shadows, and sharpen textures. insMind features are for everyone and at any experience level. insMind will help you take a dive into the world of smartphone photography and take your culinary captures to the top with visual masterpieces.
Ryan Barnett
I'm a freelance writer with a passion for editing and designing photos. Here at insMind, I strive to educate users on image creativity, photography, and enhancing product photos to help grow their businesses.



















































































![How to Add Logo to Photos Online for Free [The Simplest Method] How to Add Logo to Photos Online for Free [The Simplest Method]](https://static.xsbapp.com/market-operations/market/side/1718795949162.jpg)
![How to Remove Tattoos from Photos [Ultimate Guide 2025] How to Remove Tattoos from Photos [Ultimate Guide 2025]](https://static.xsbapp.com/market-operations/market/side/1718787534476.jpg)
